DIY Kusama Pumpkins
HALLOWEEN PUMPKIN TUTORIAL
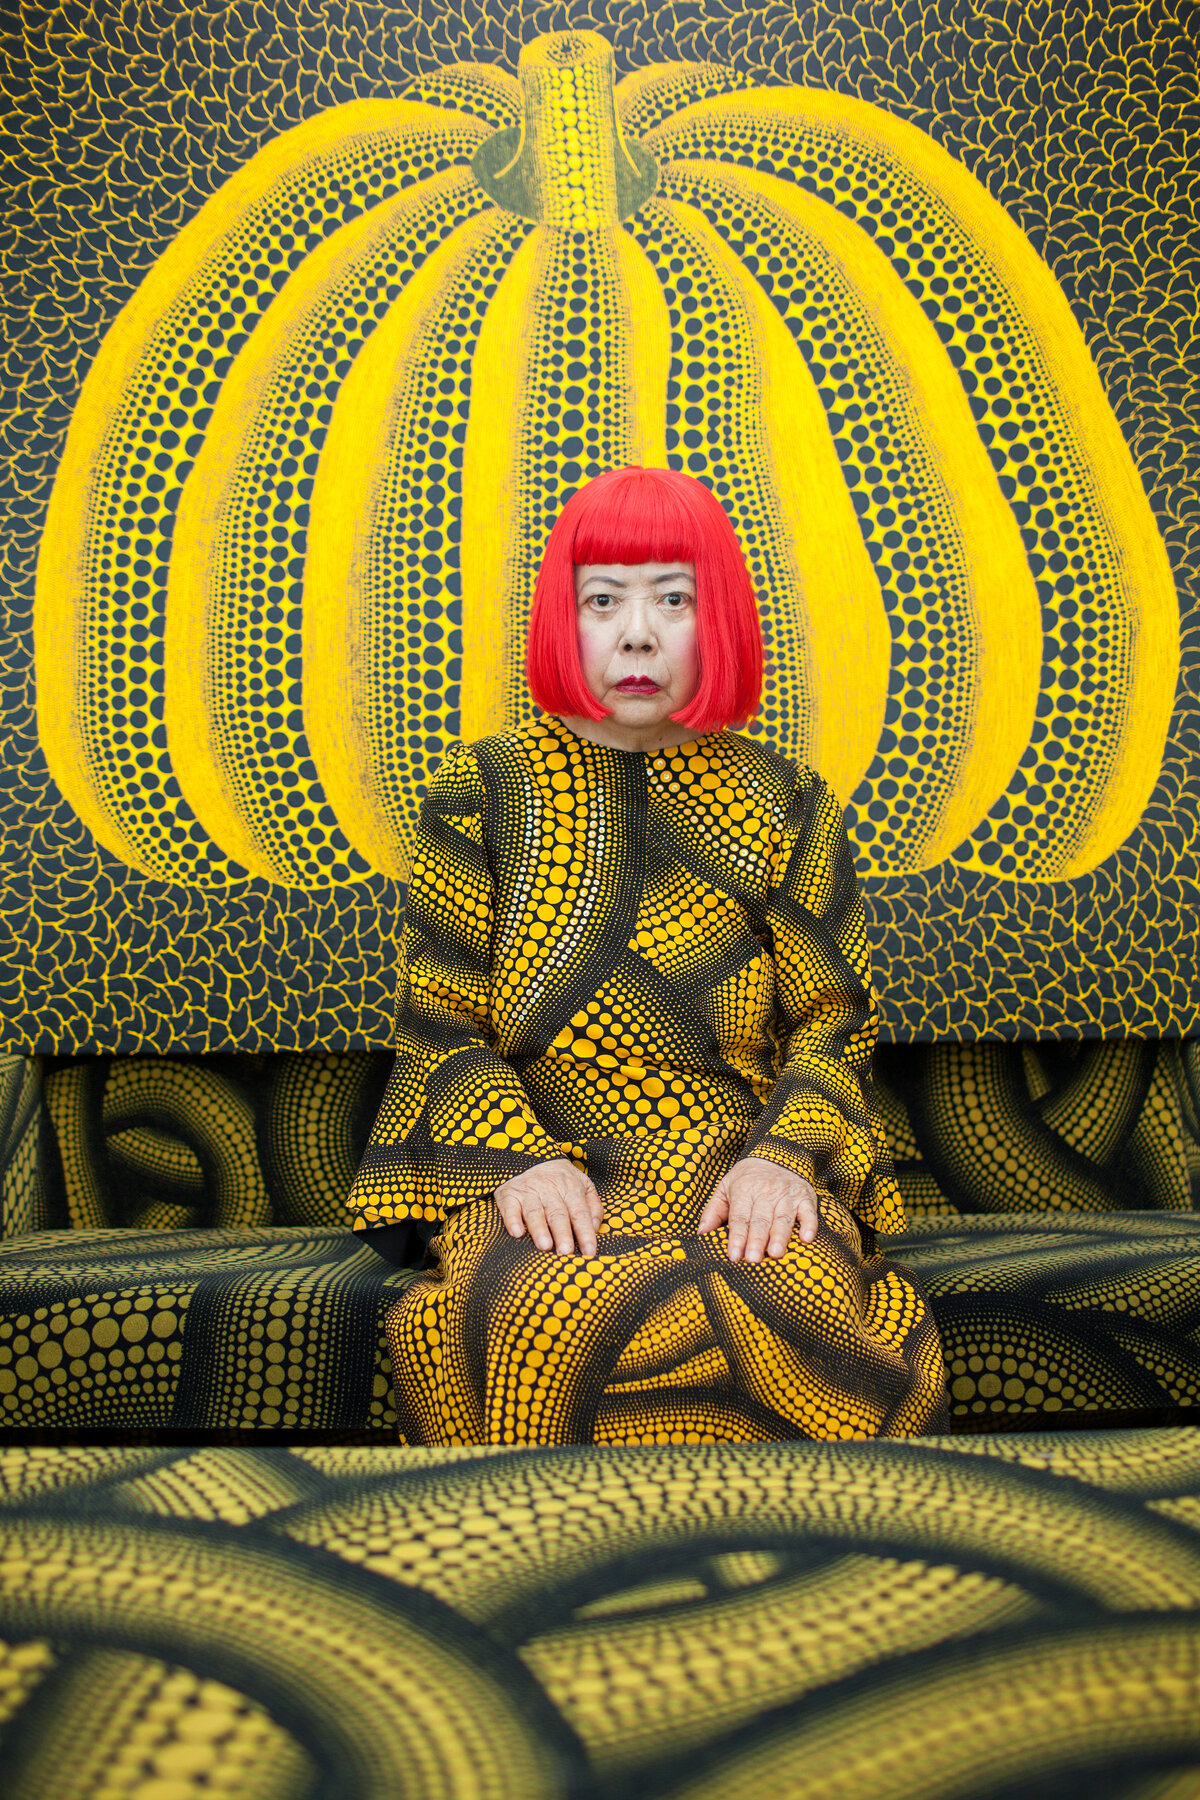
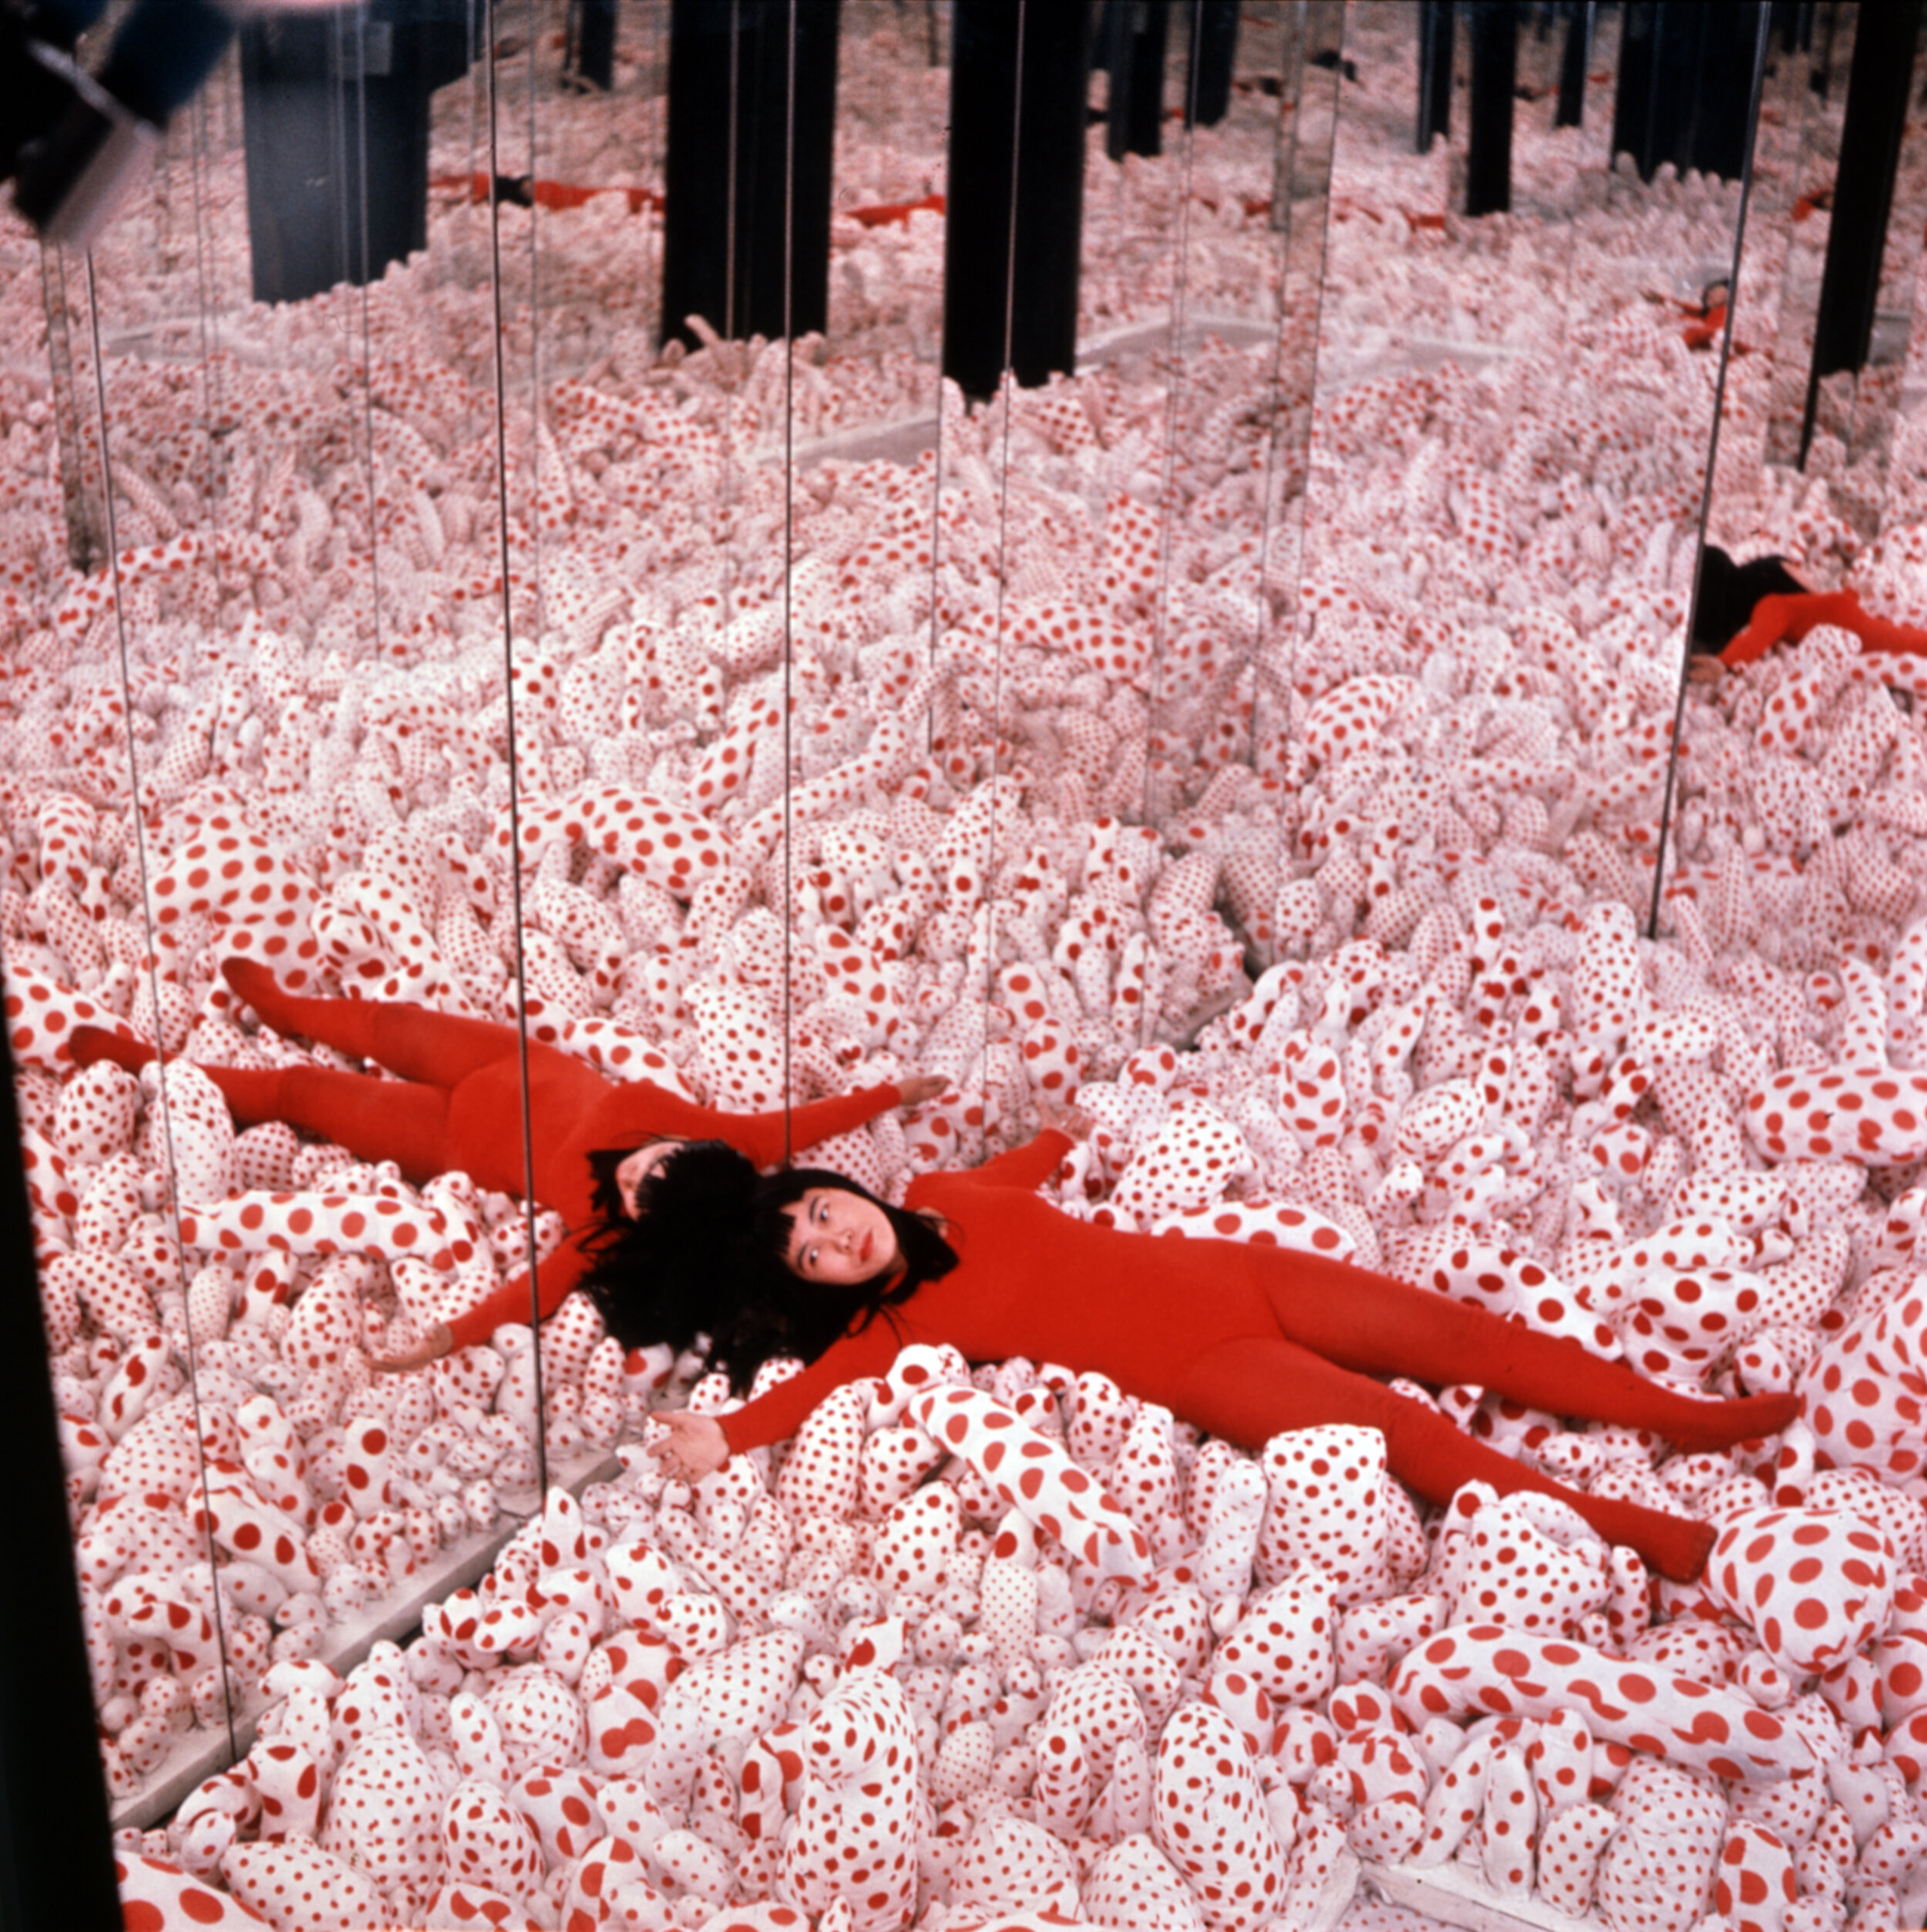
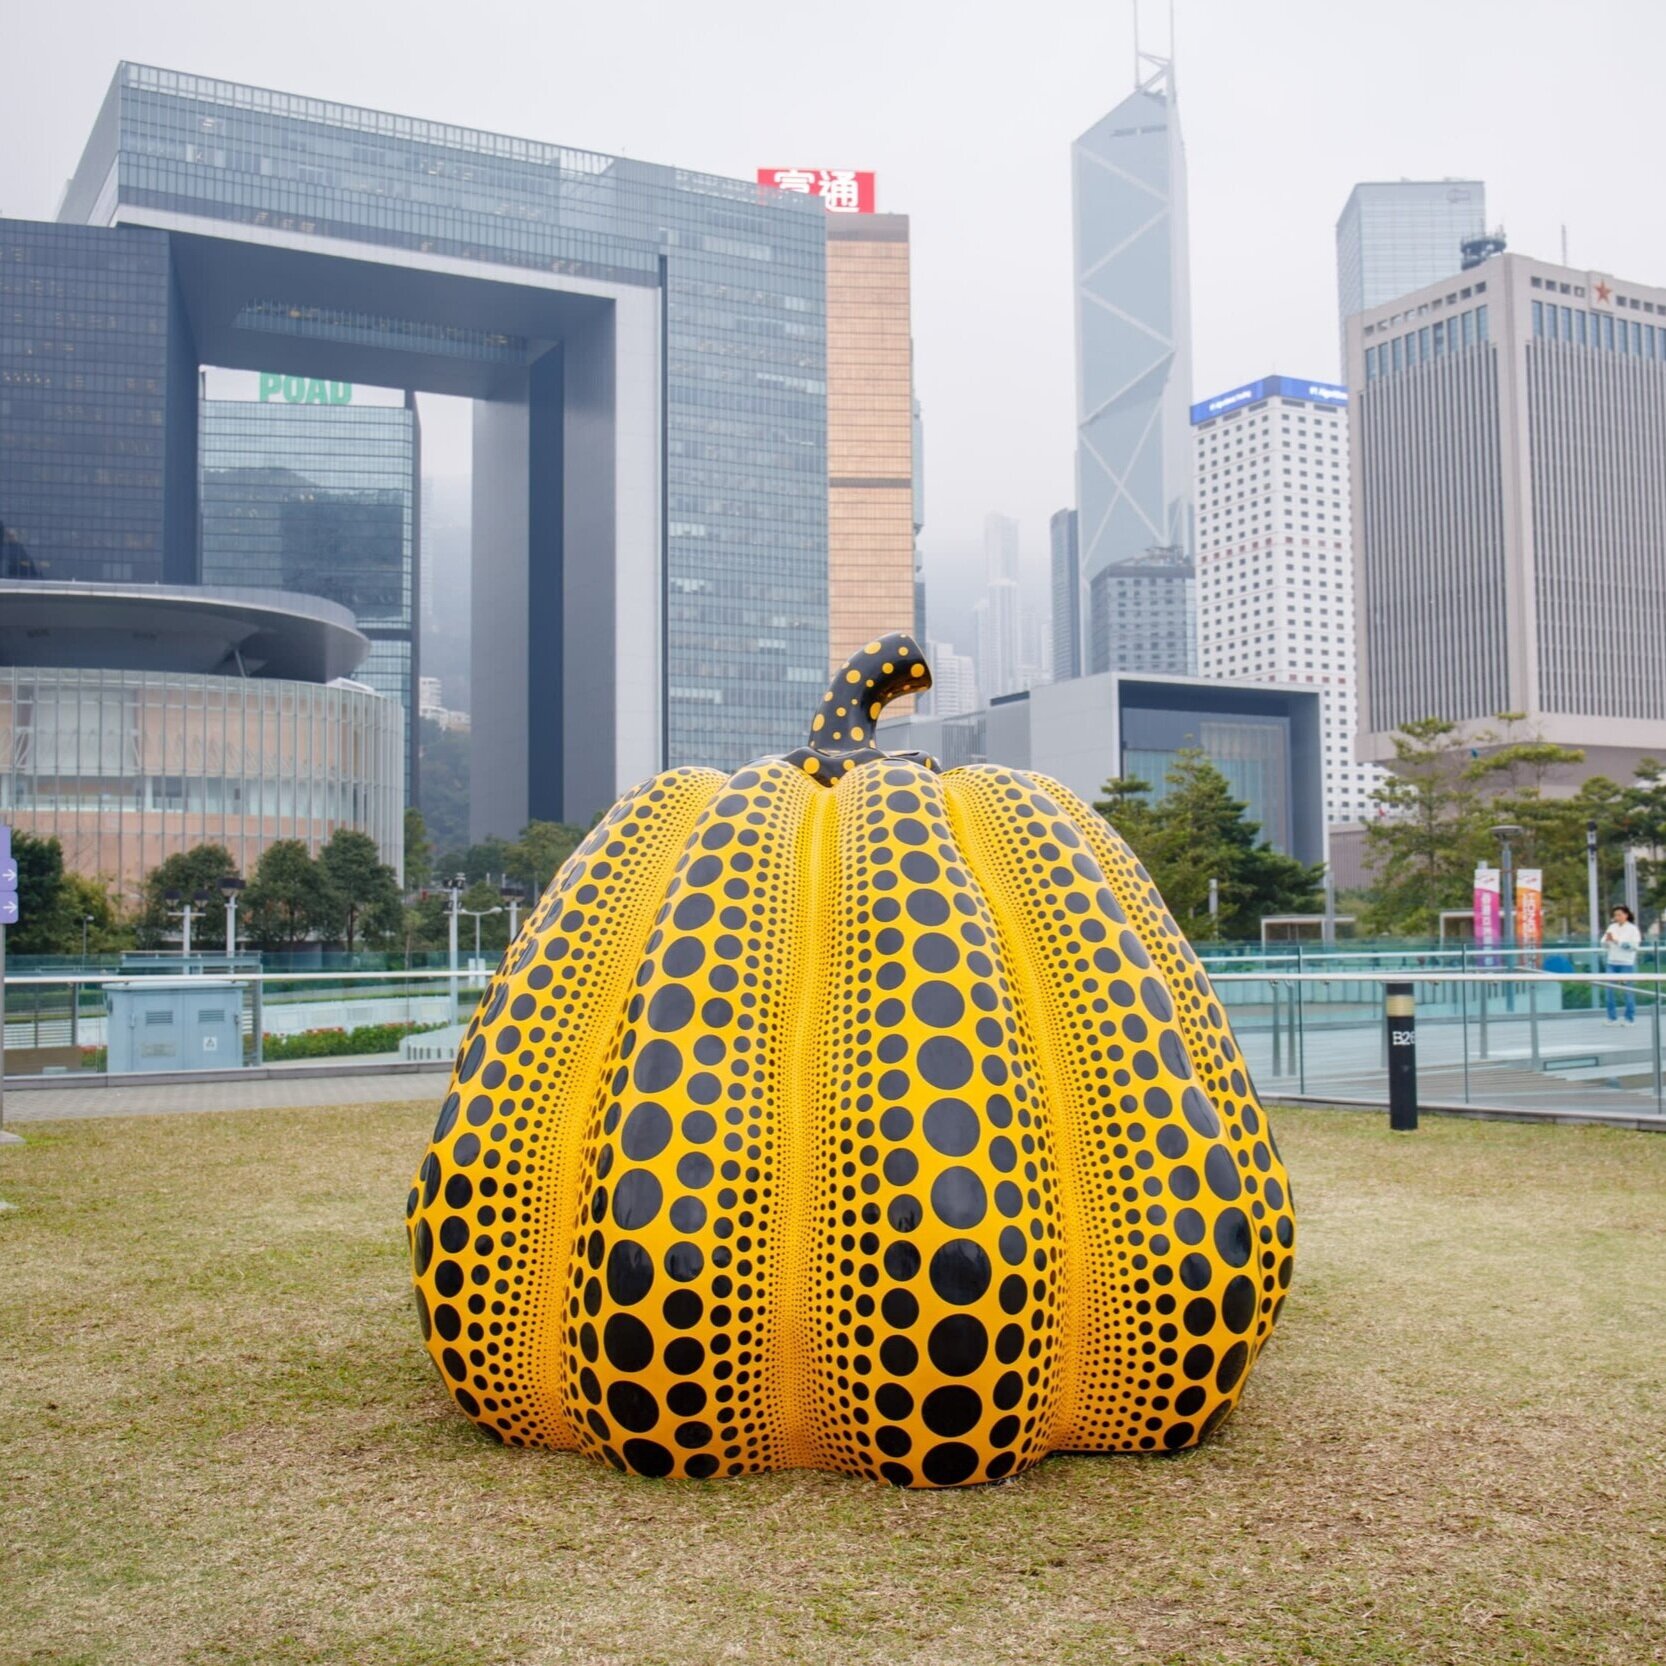
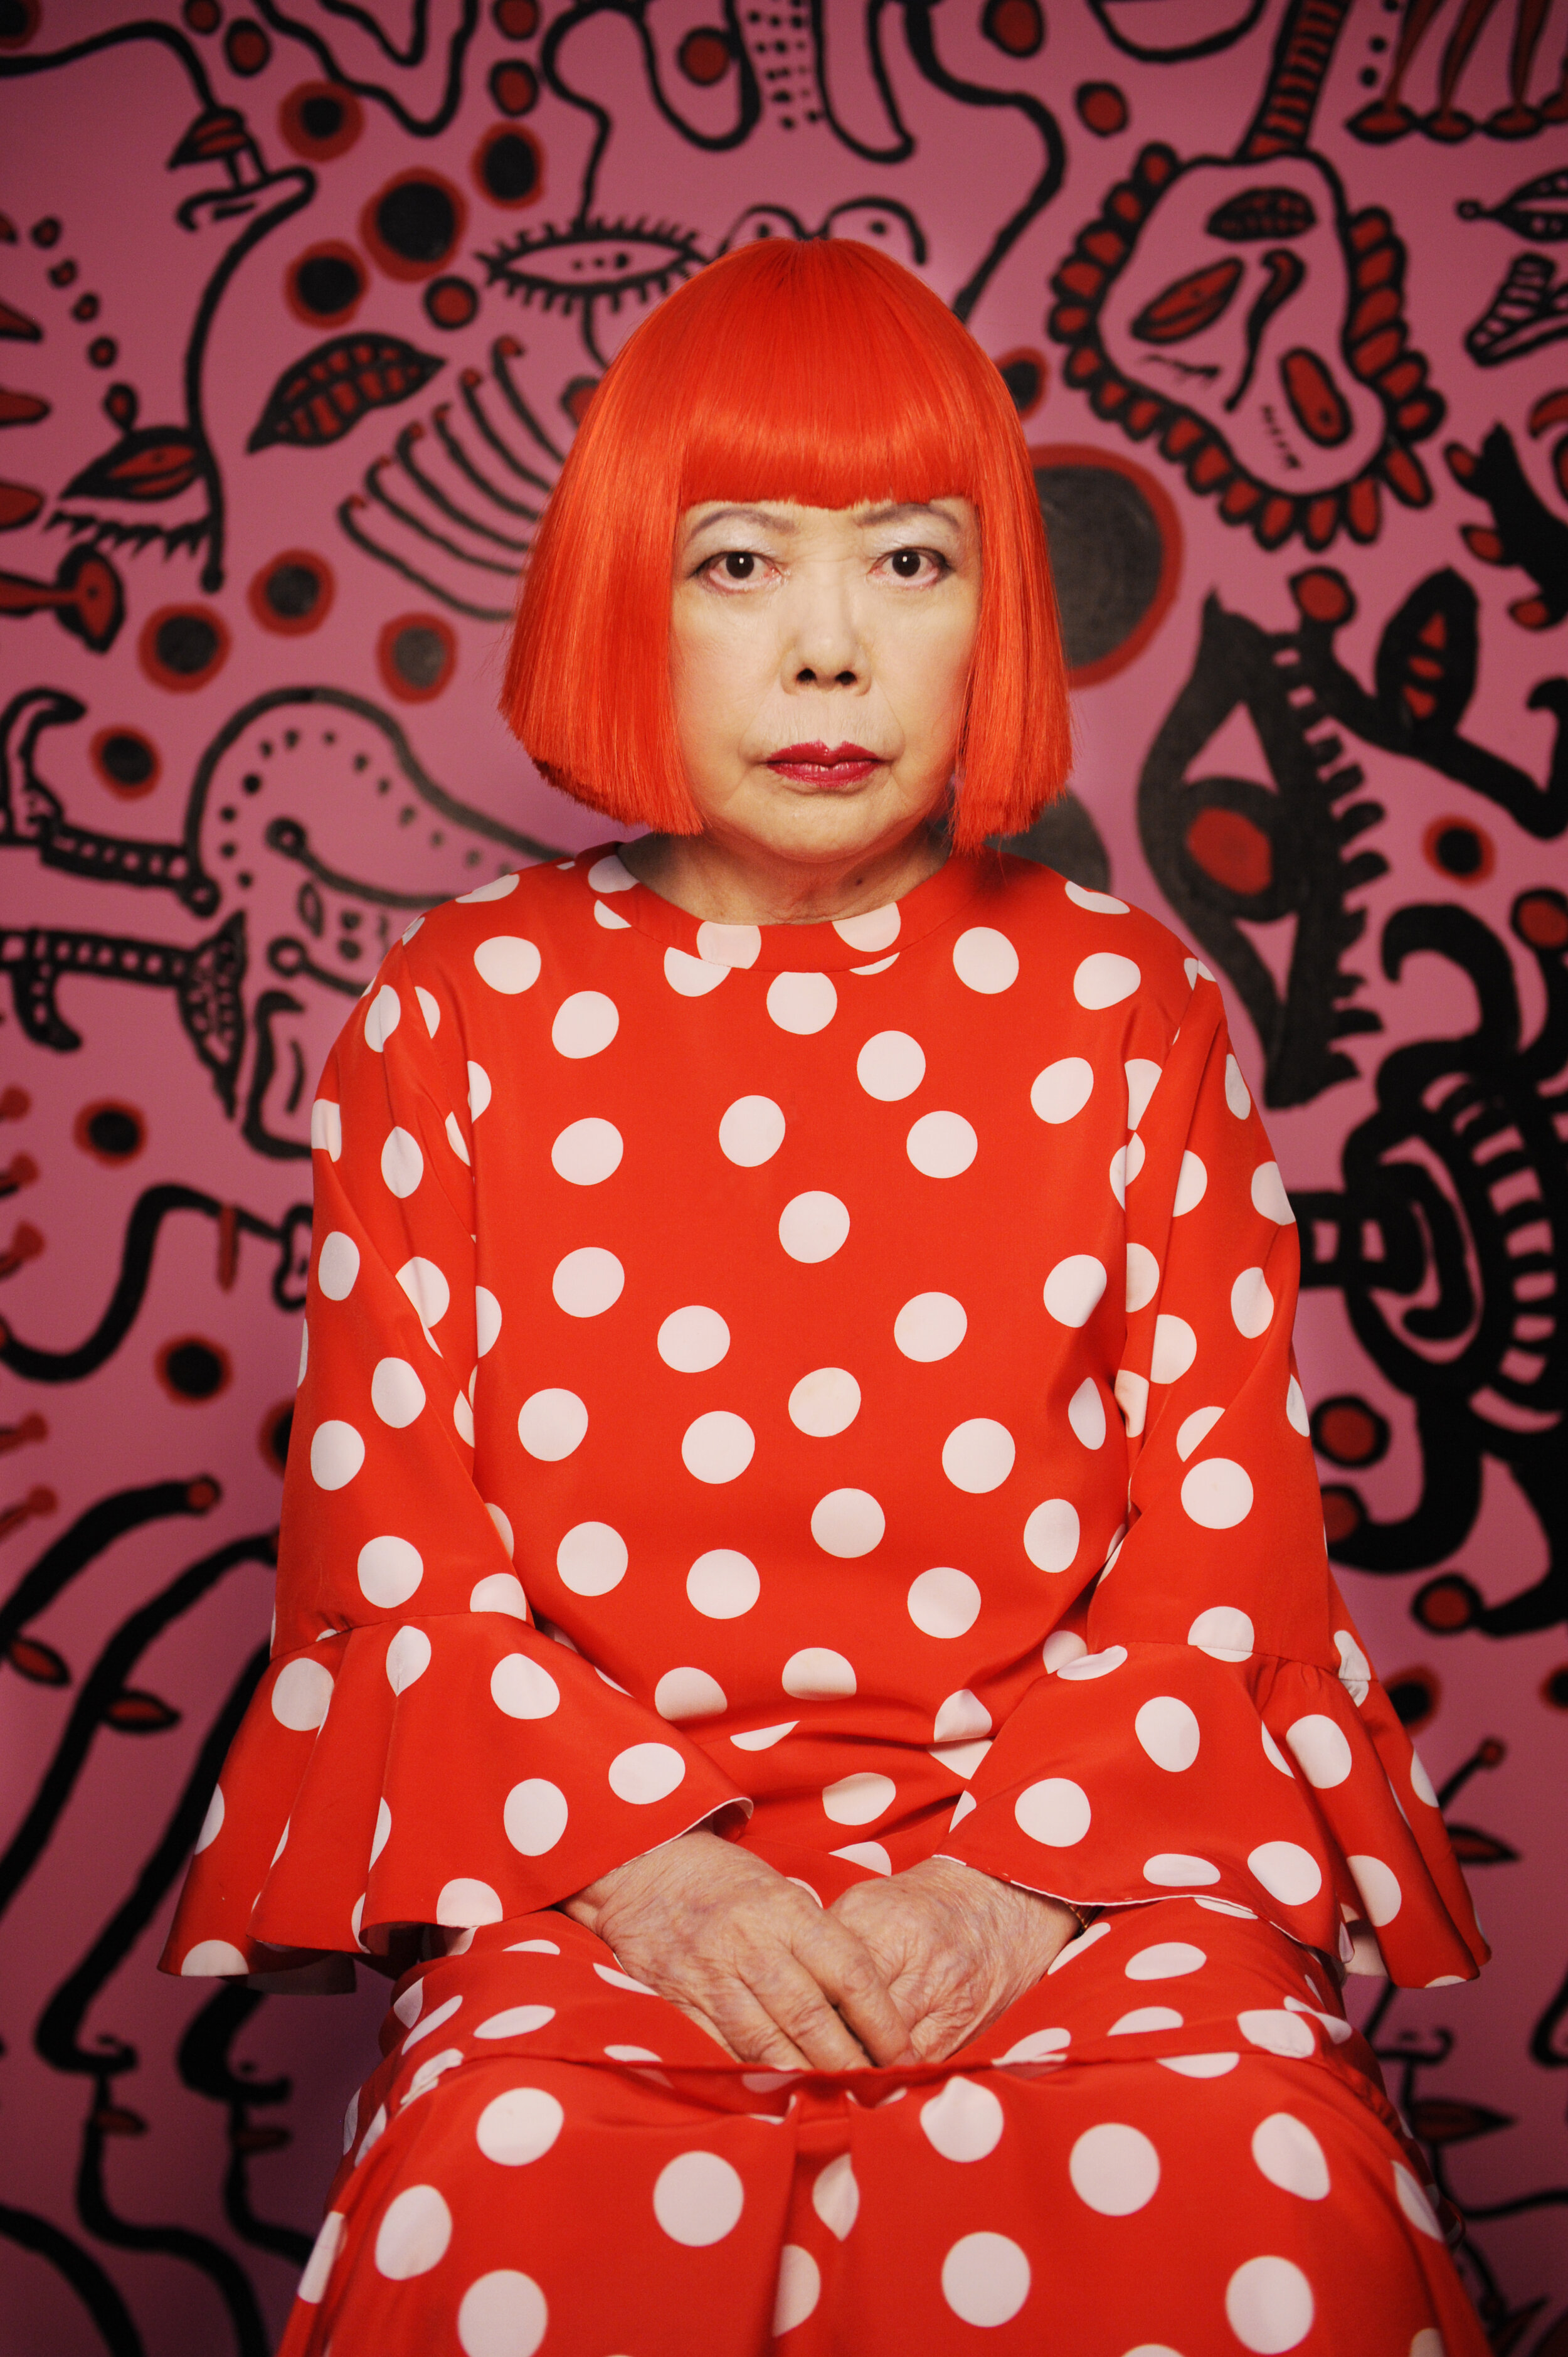

I am a big fan of the Japanese contemporary artist, Yayoi Kusama. She is known for her trademark dot designs as well as her
paintings
sculptures
installations
performance art
(to name a few…)
To find more about the artist check out her website here.
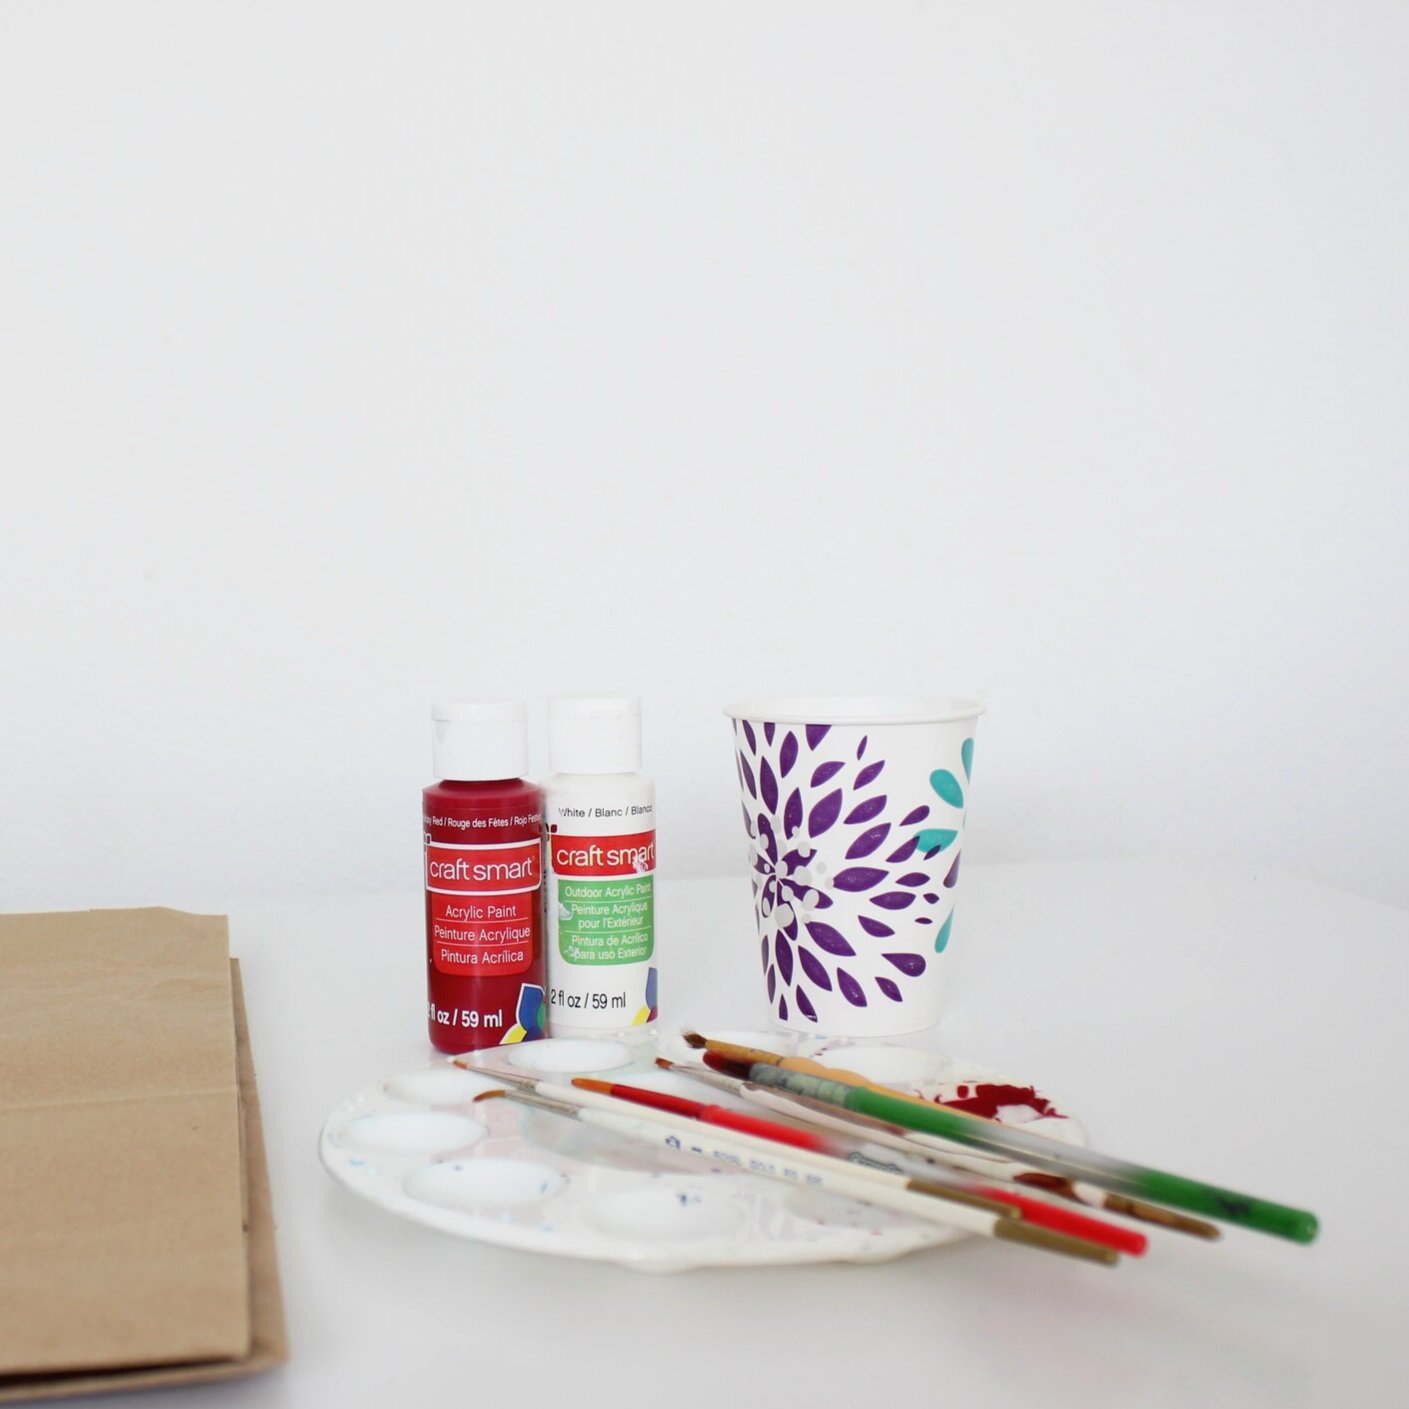
Supplies needed:
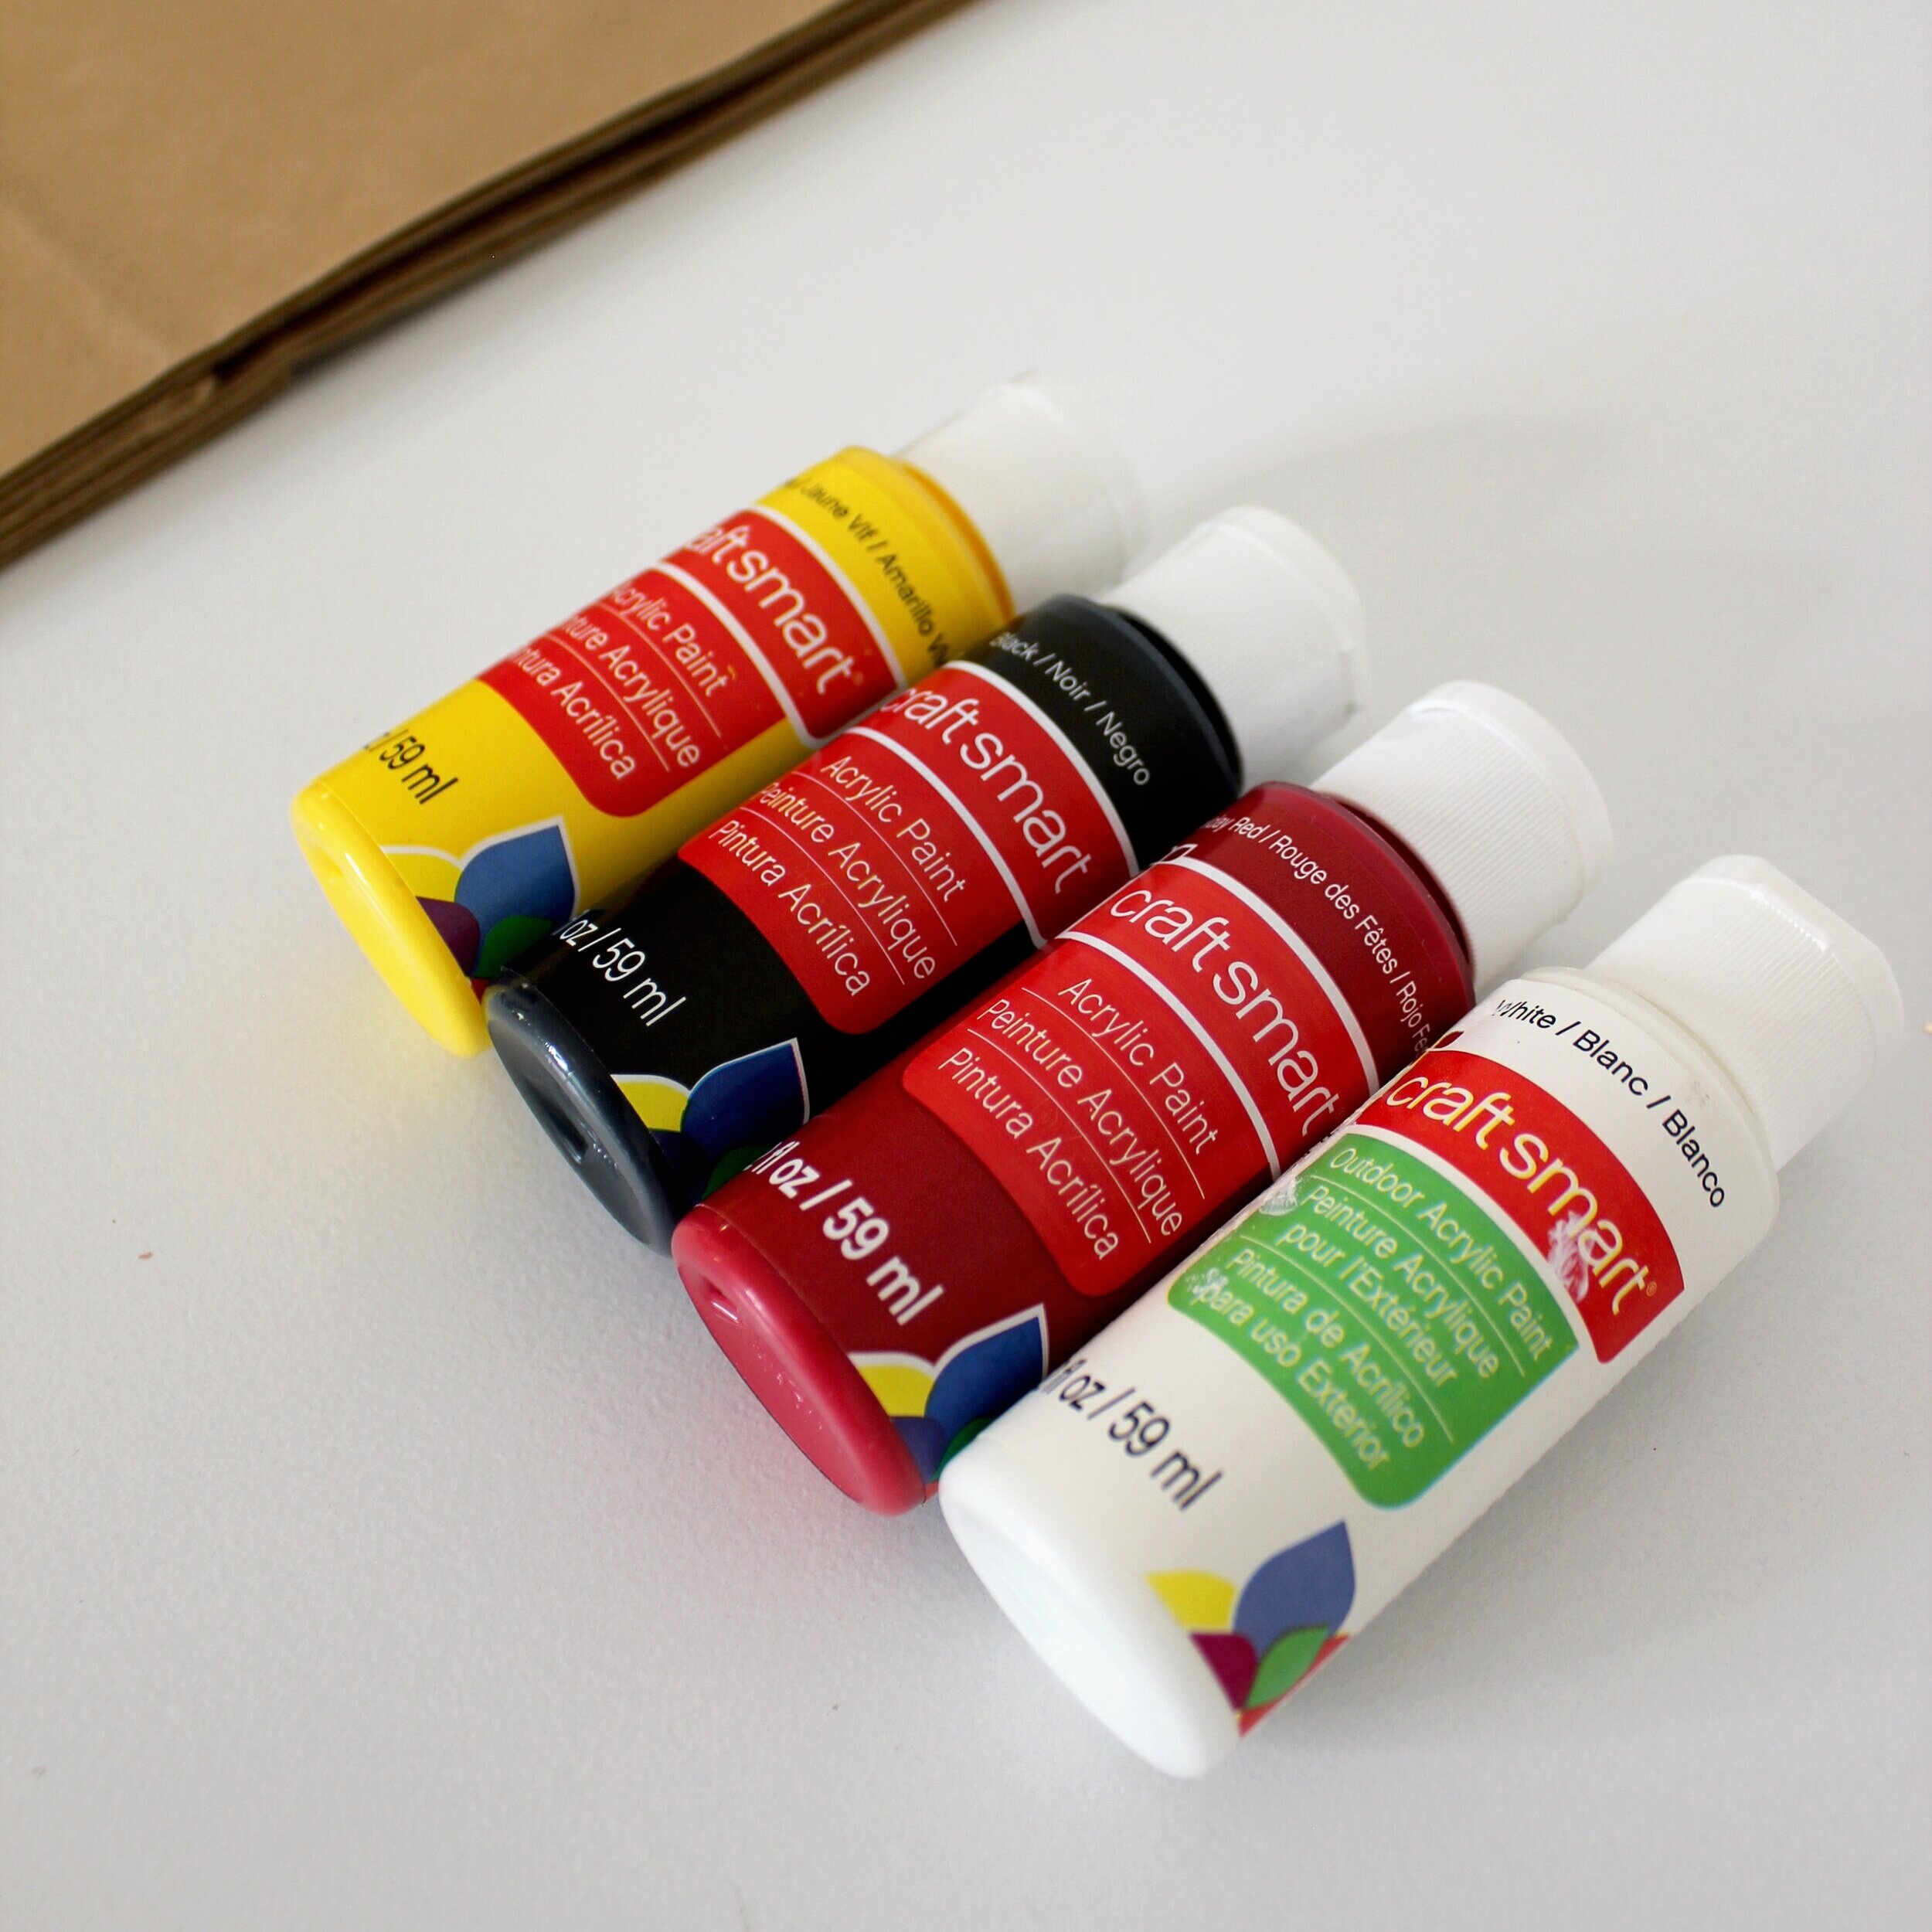
Paint: red, white, black, and yellow
Paint brushes
Plastic or paper cup
Newspaper, paper bags, or dirty table cloth…something to cover your table and protect your work space
Black and Red Sharpie
STEP 1: Start with a clean workspace
Protect your table or floor and place old newspapers/paper bags/old sheet to create a paint-friendly work space

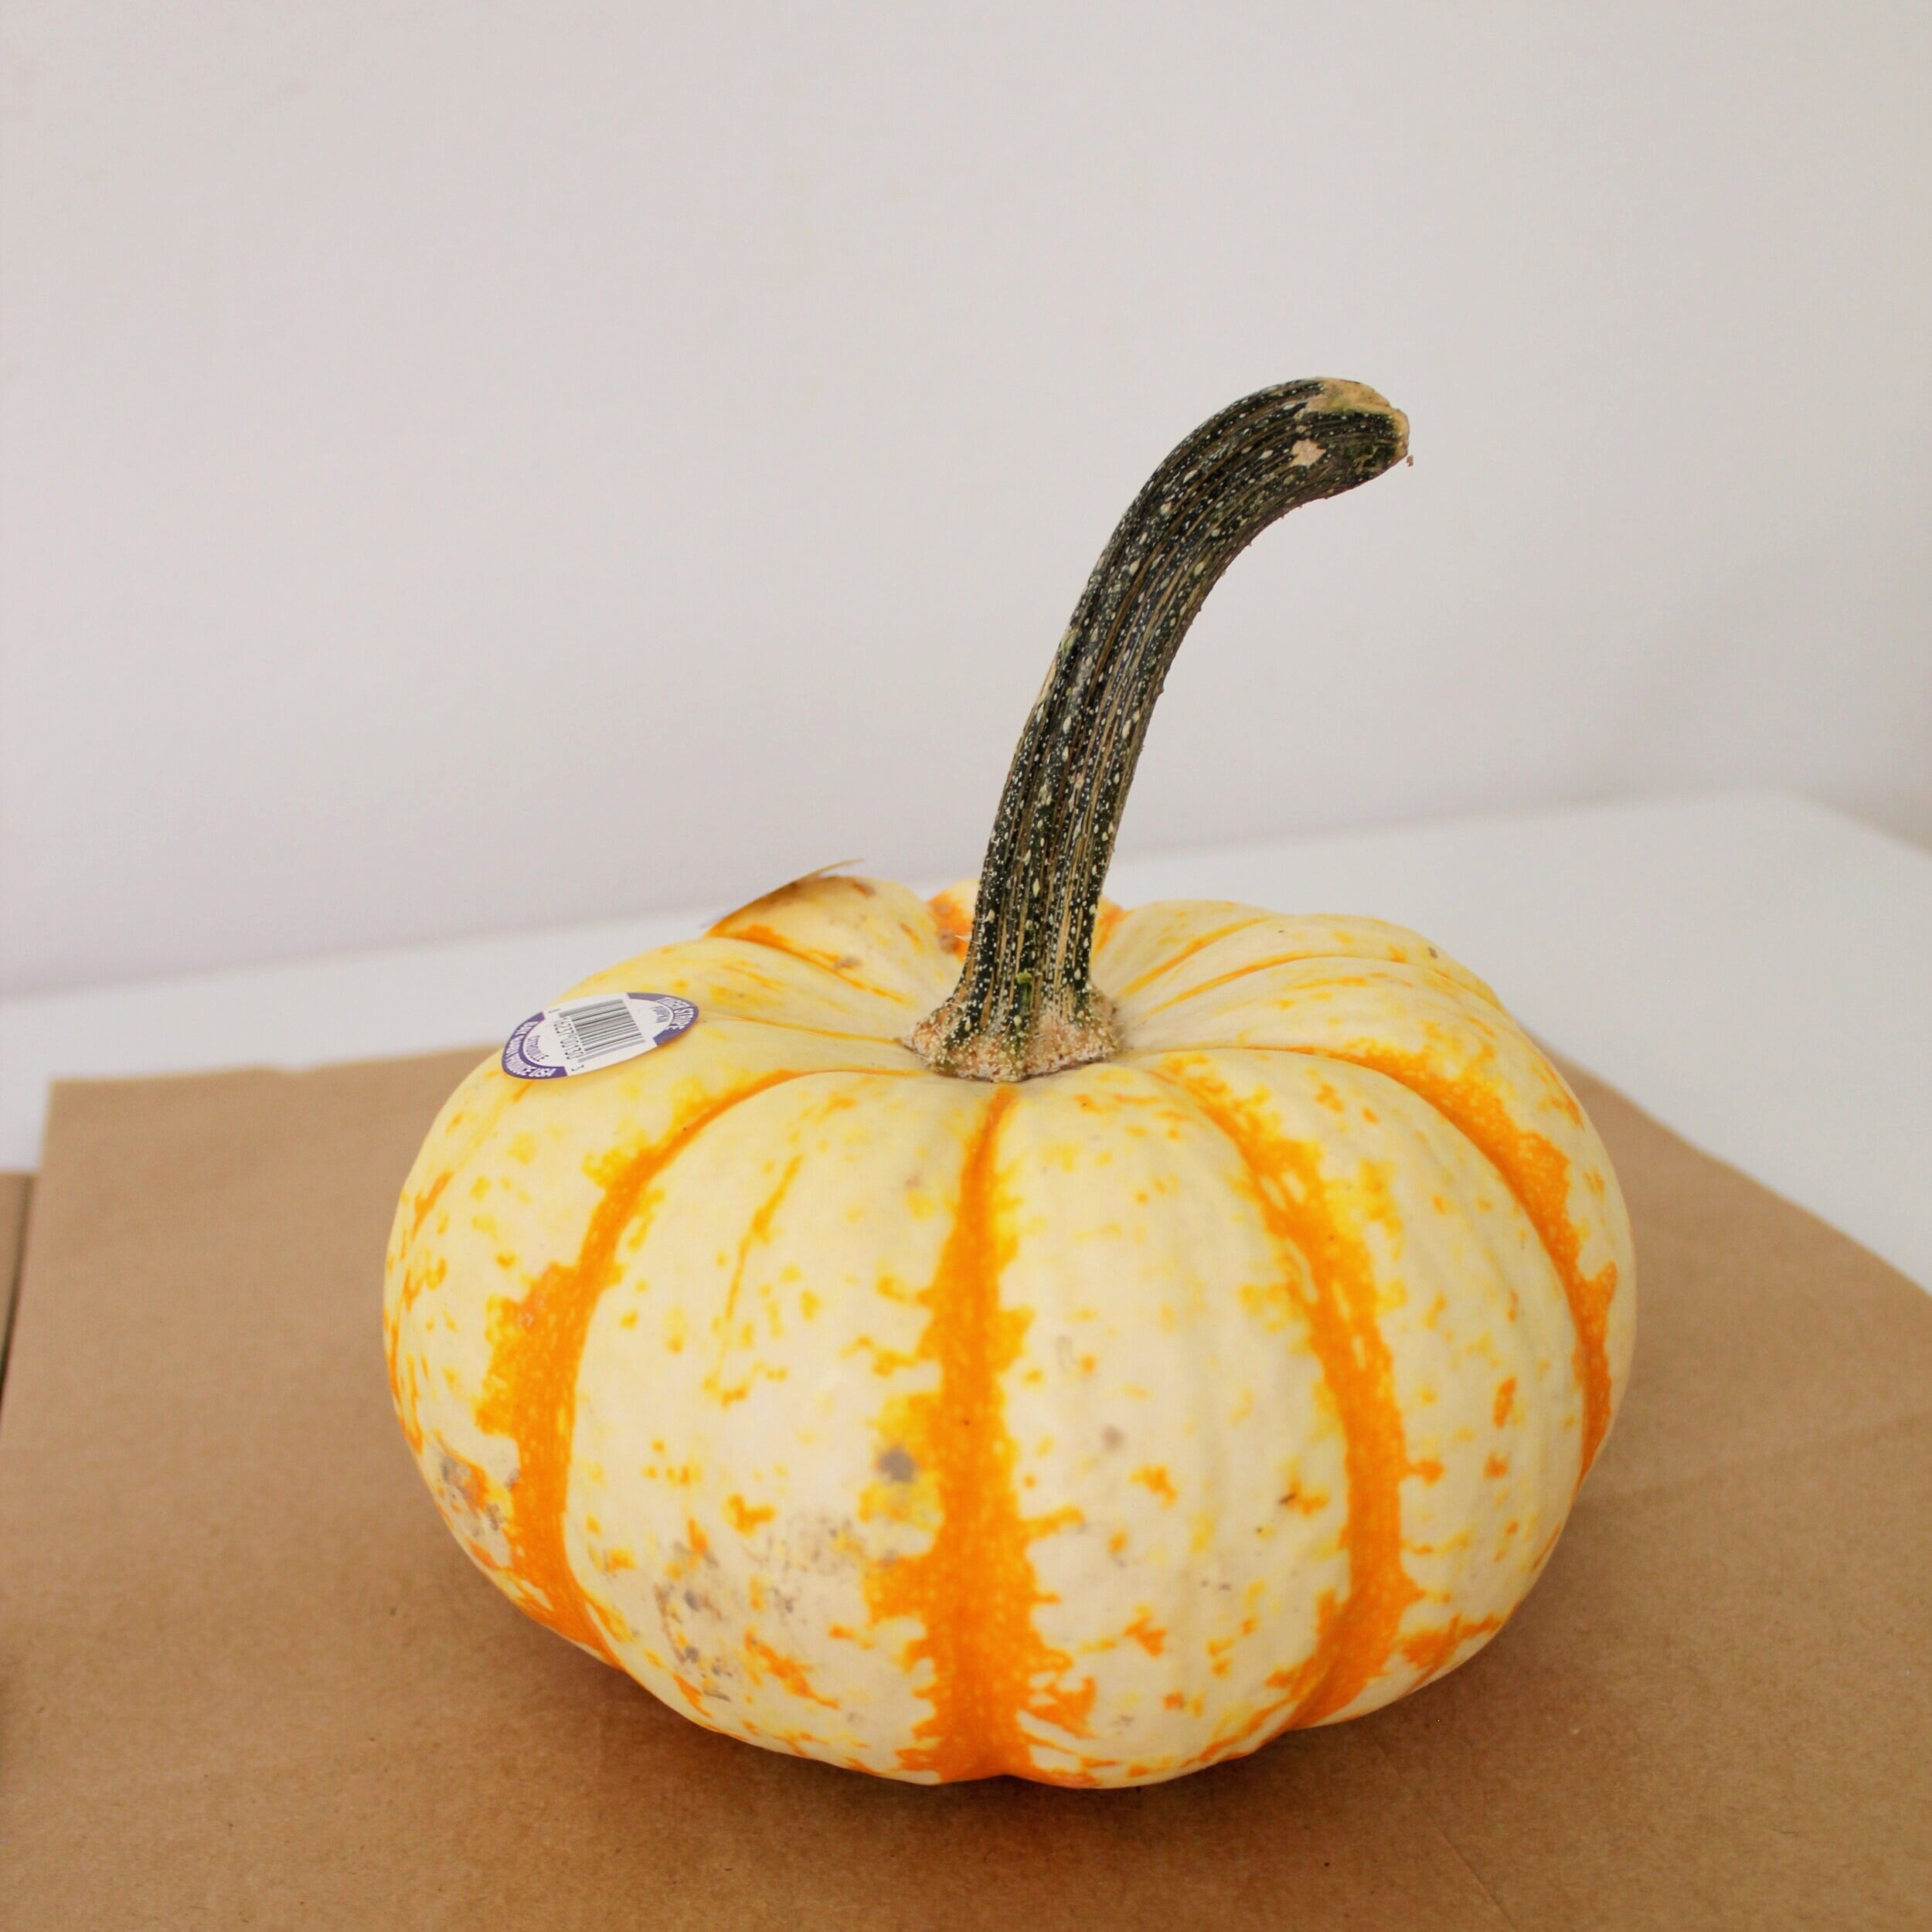
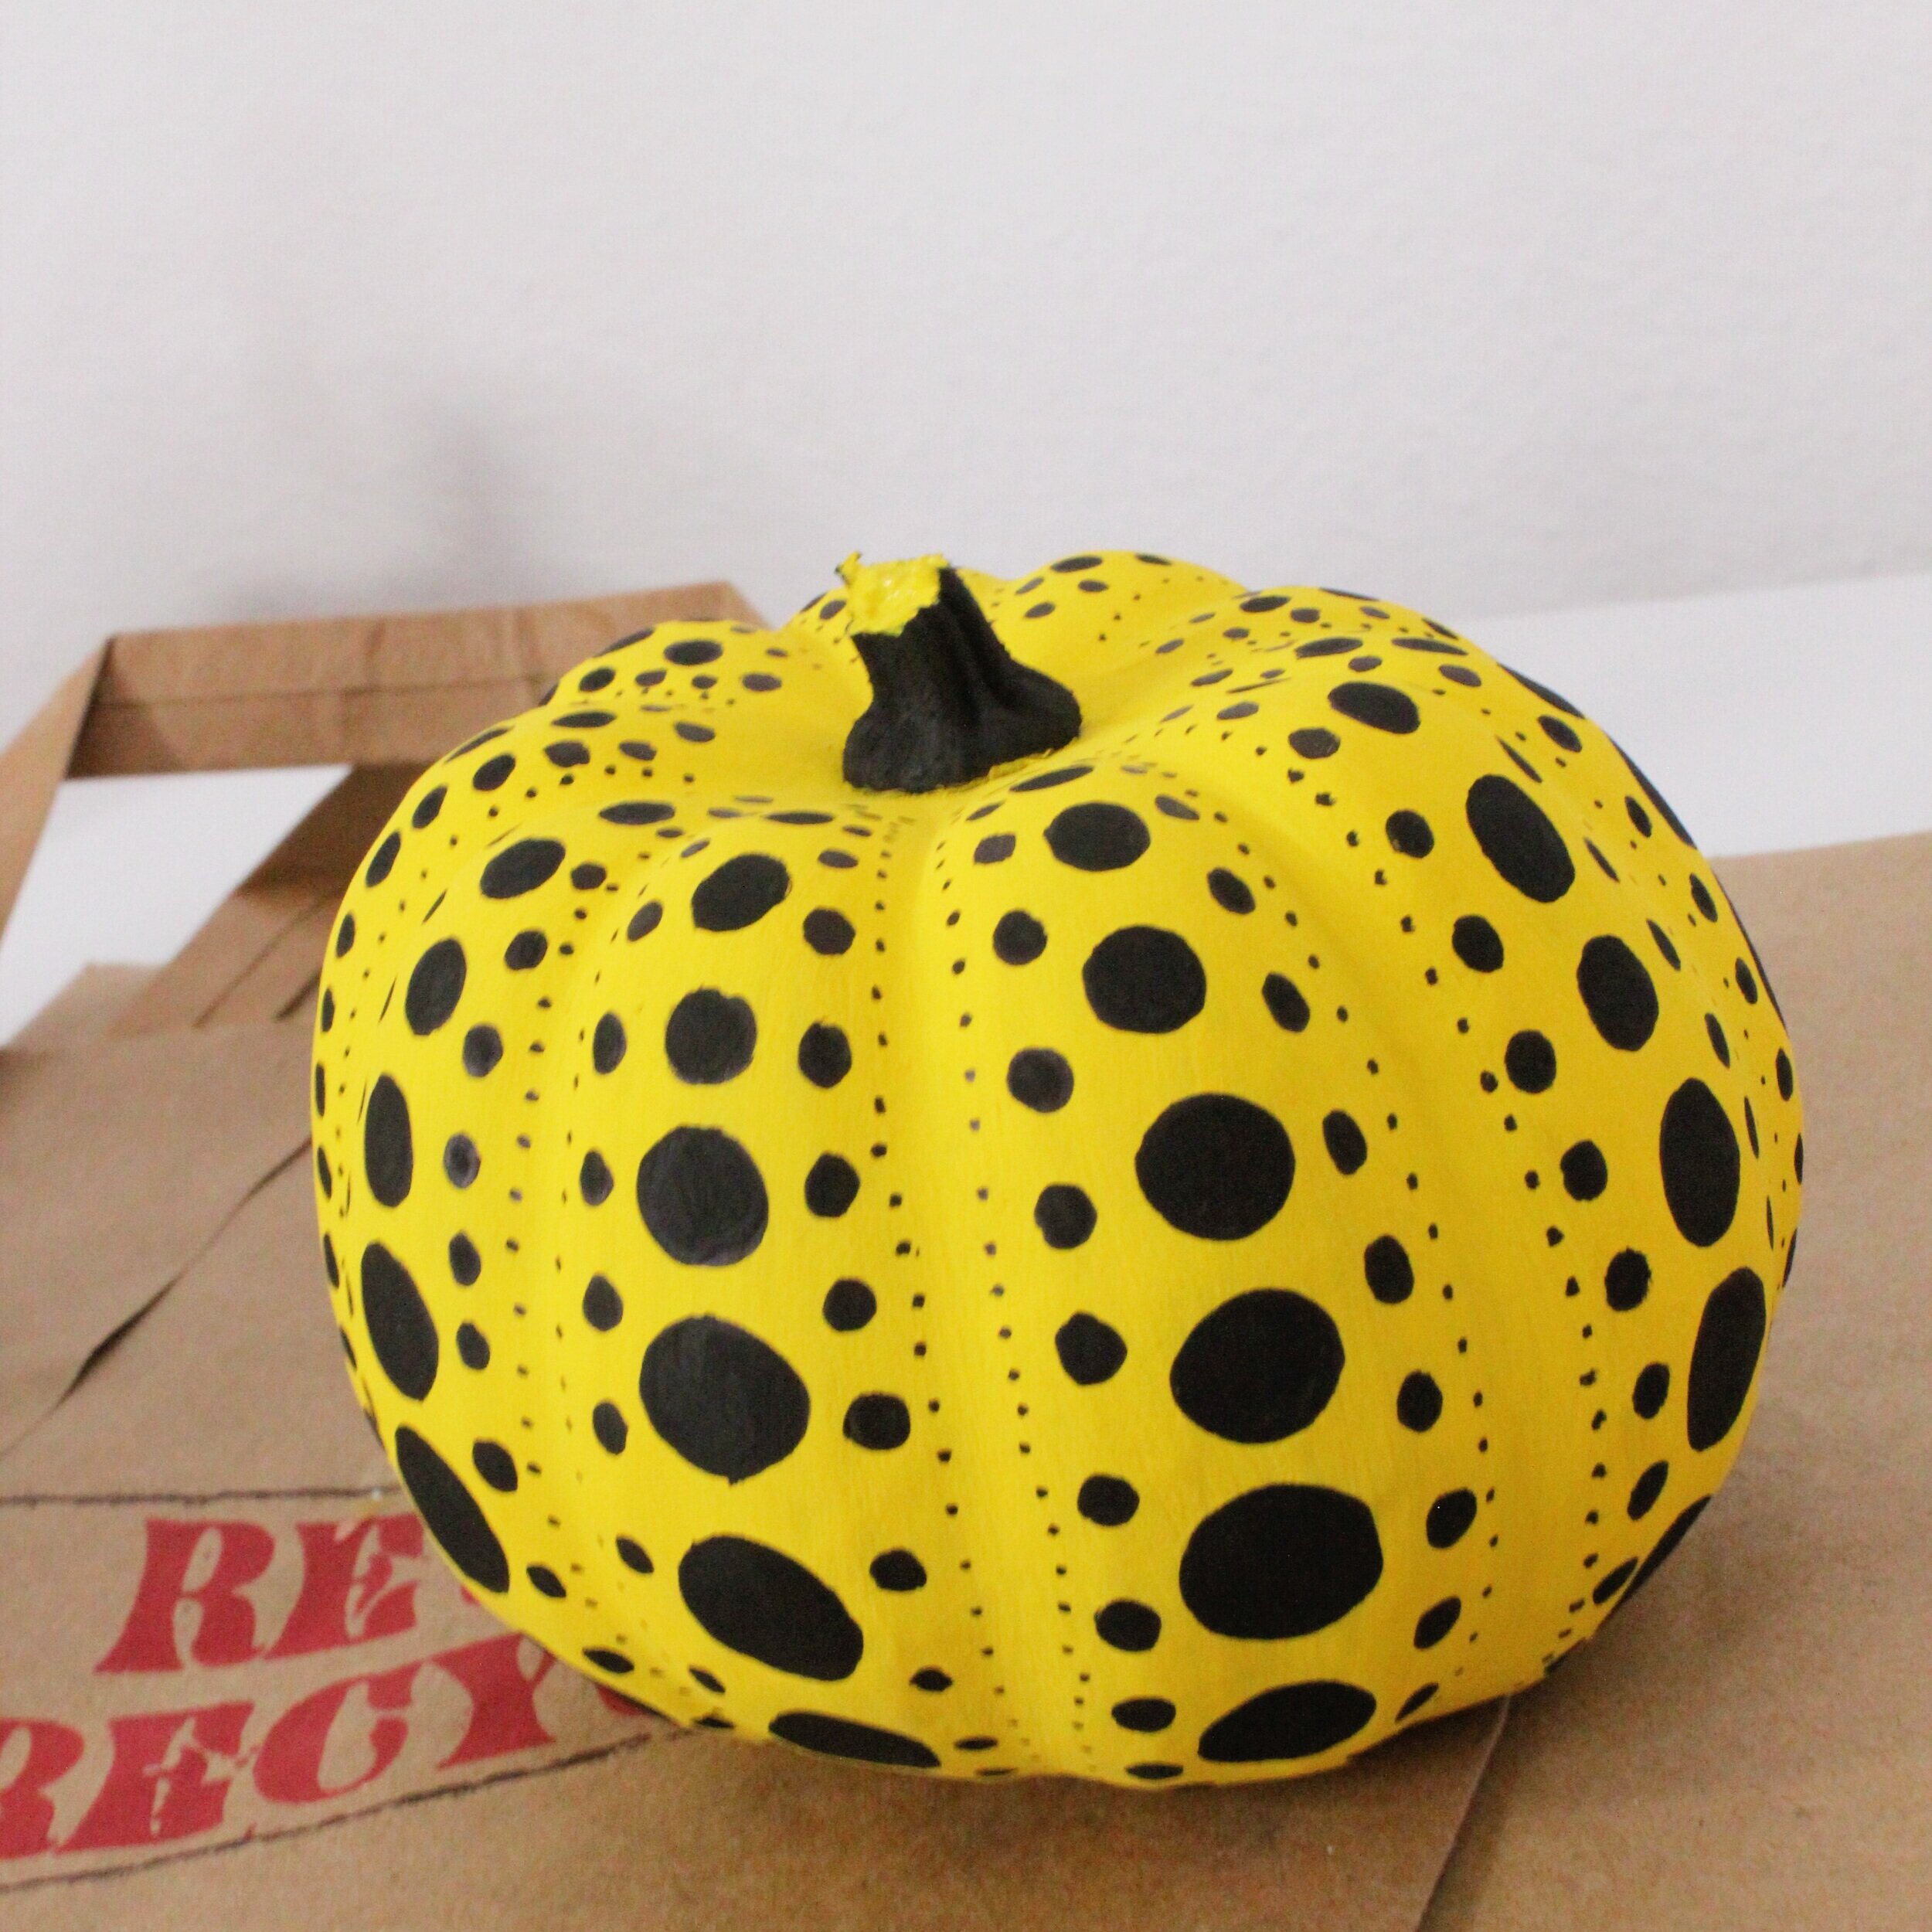
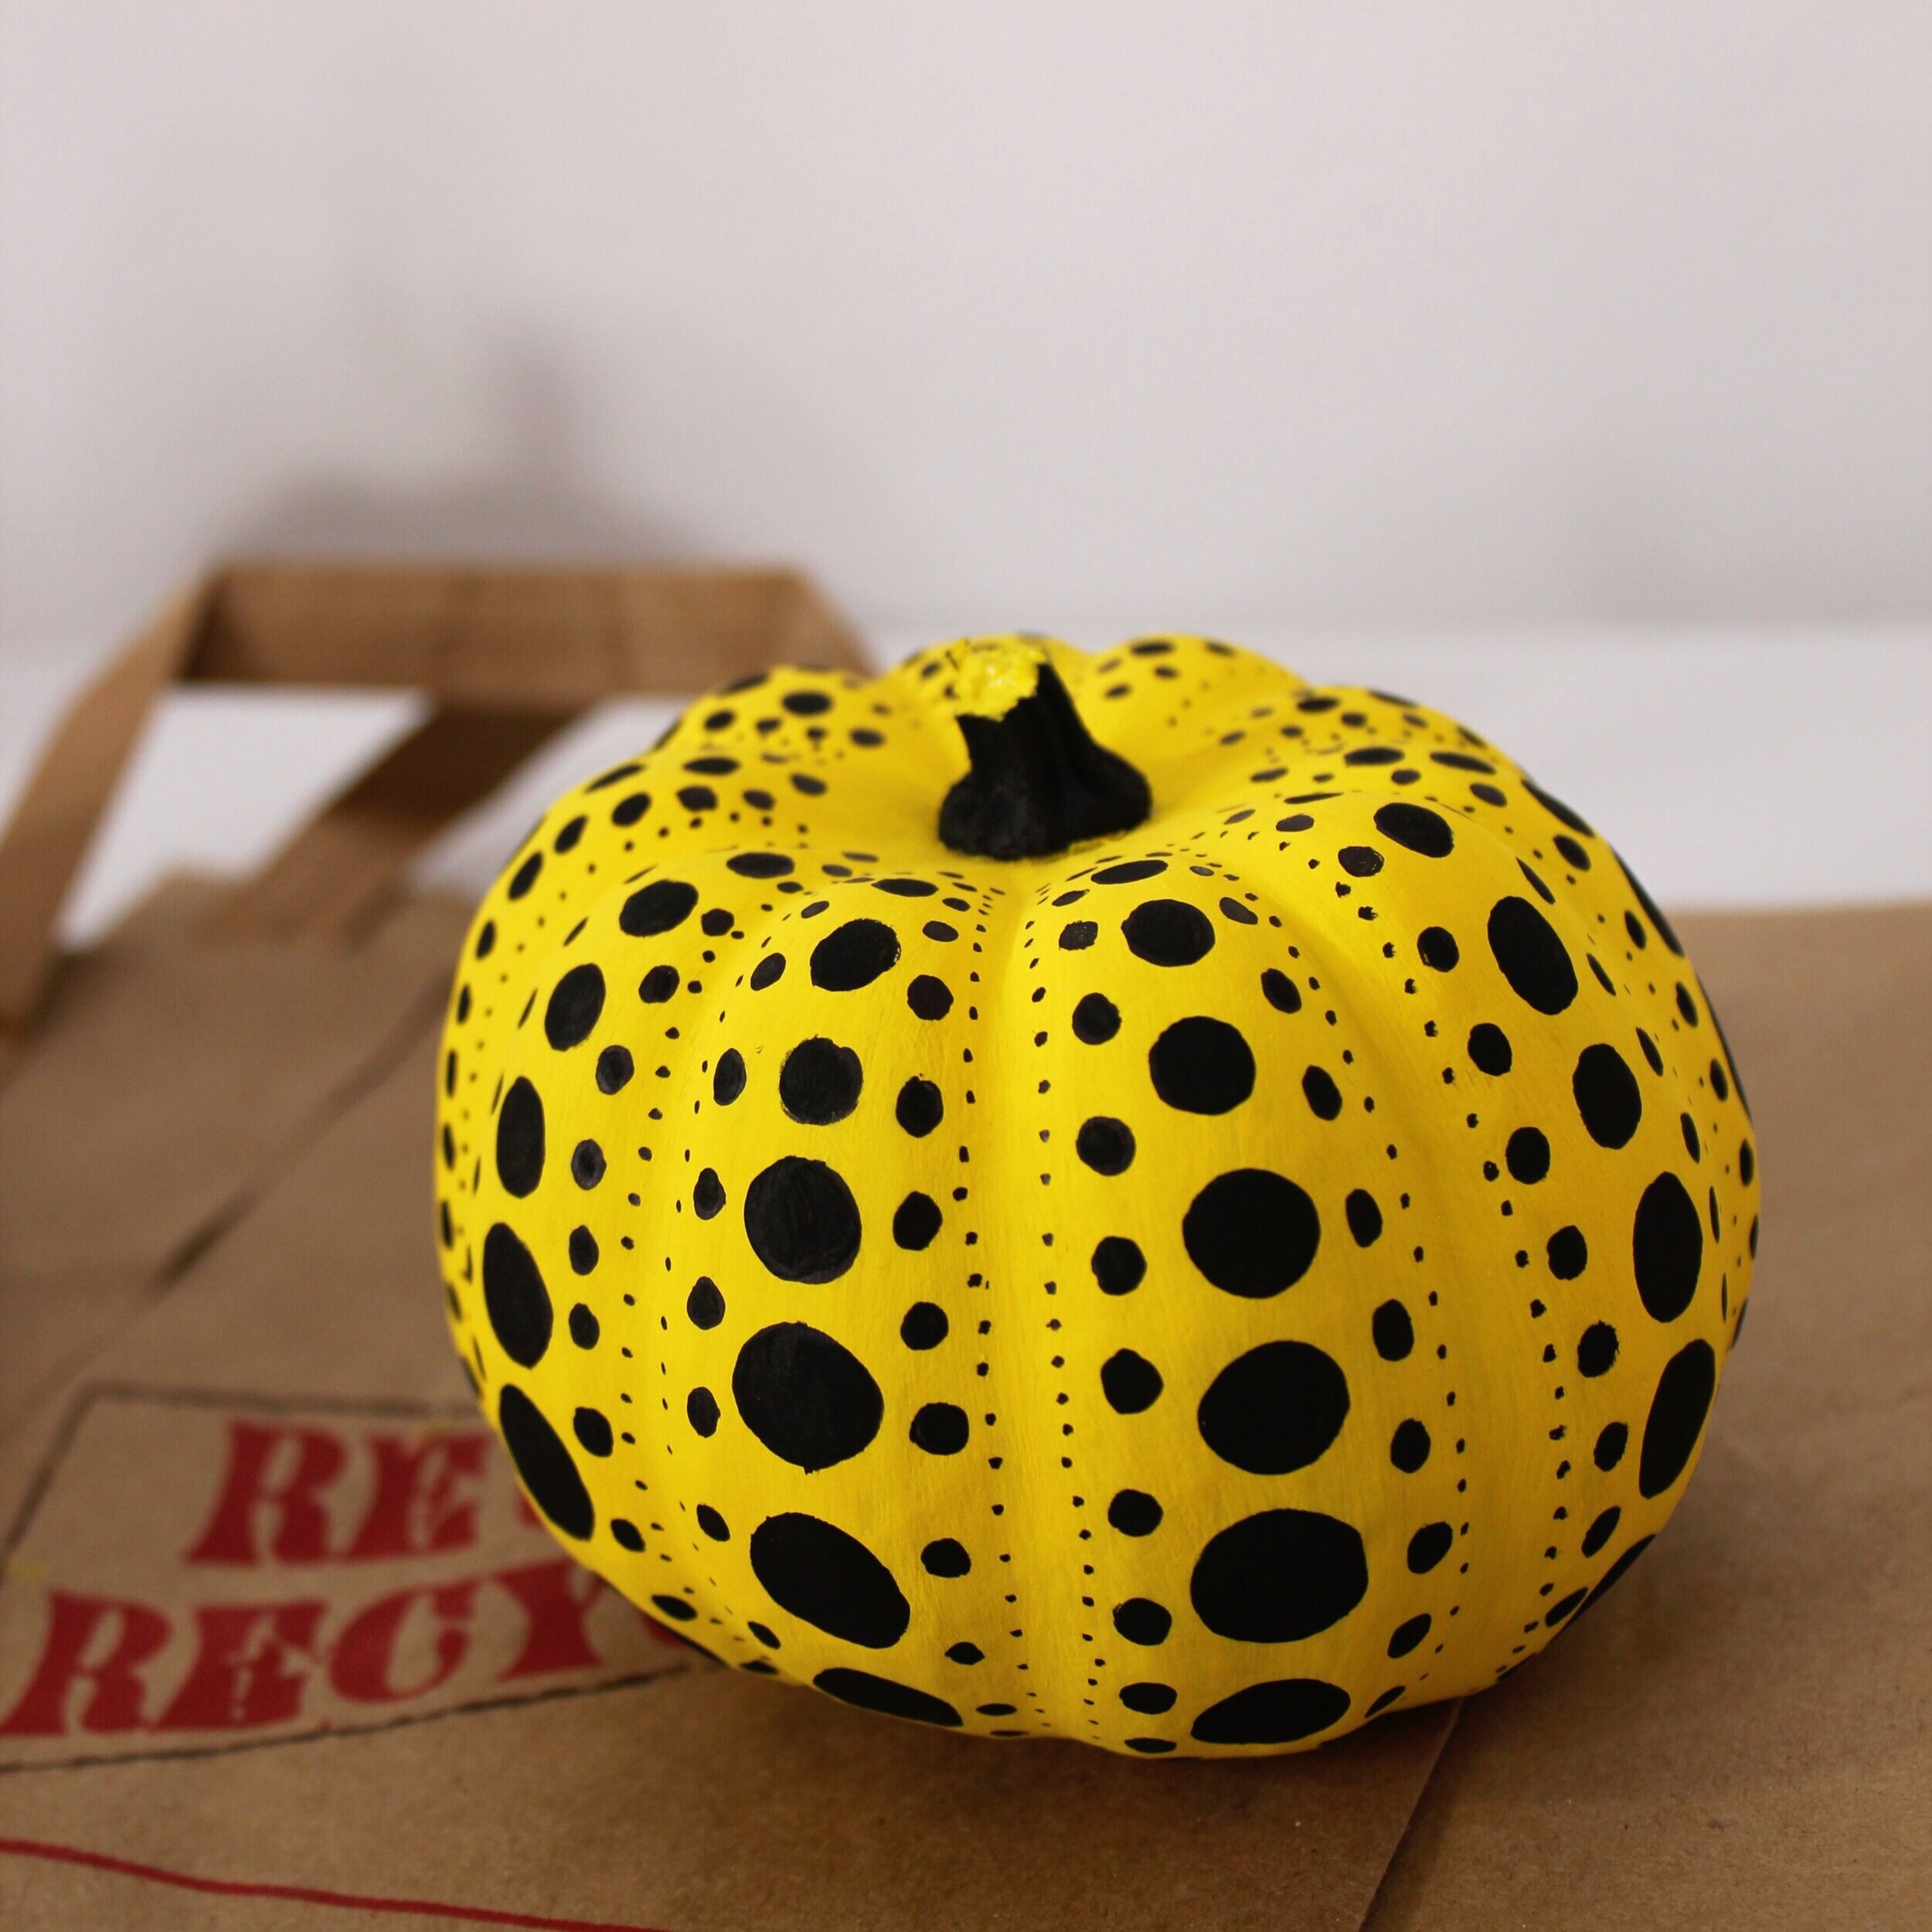
STEP 2: Paint the base color of the pumpkin
Here, I started with painting the body of the pumpkin with yellow paint. Let the paint dry for a couple hours before proceeding to the next step. In this demo, I allowed the pumpkin to dry overnight.
***REMEMBER to leave the stem unpainted (we will later be painting it the contrasting color)

To achieve a strong pigment, a couple of paint coats will be required.
Remember to allow time to dry between each coat of paint

Note: Spray paint can also be used to apply the base color!
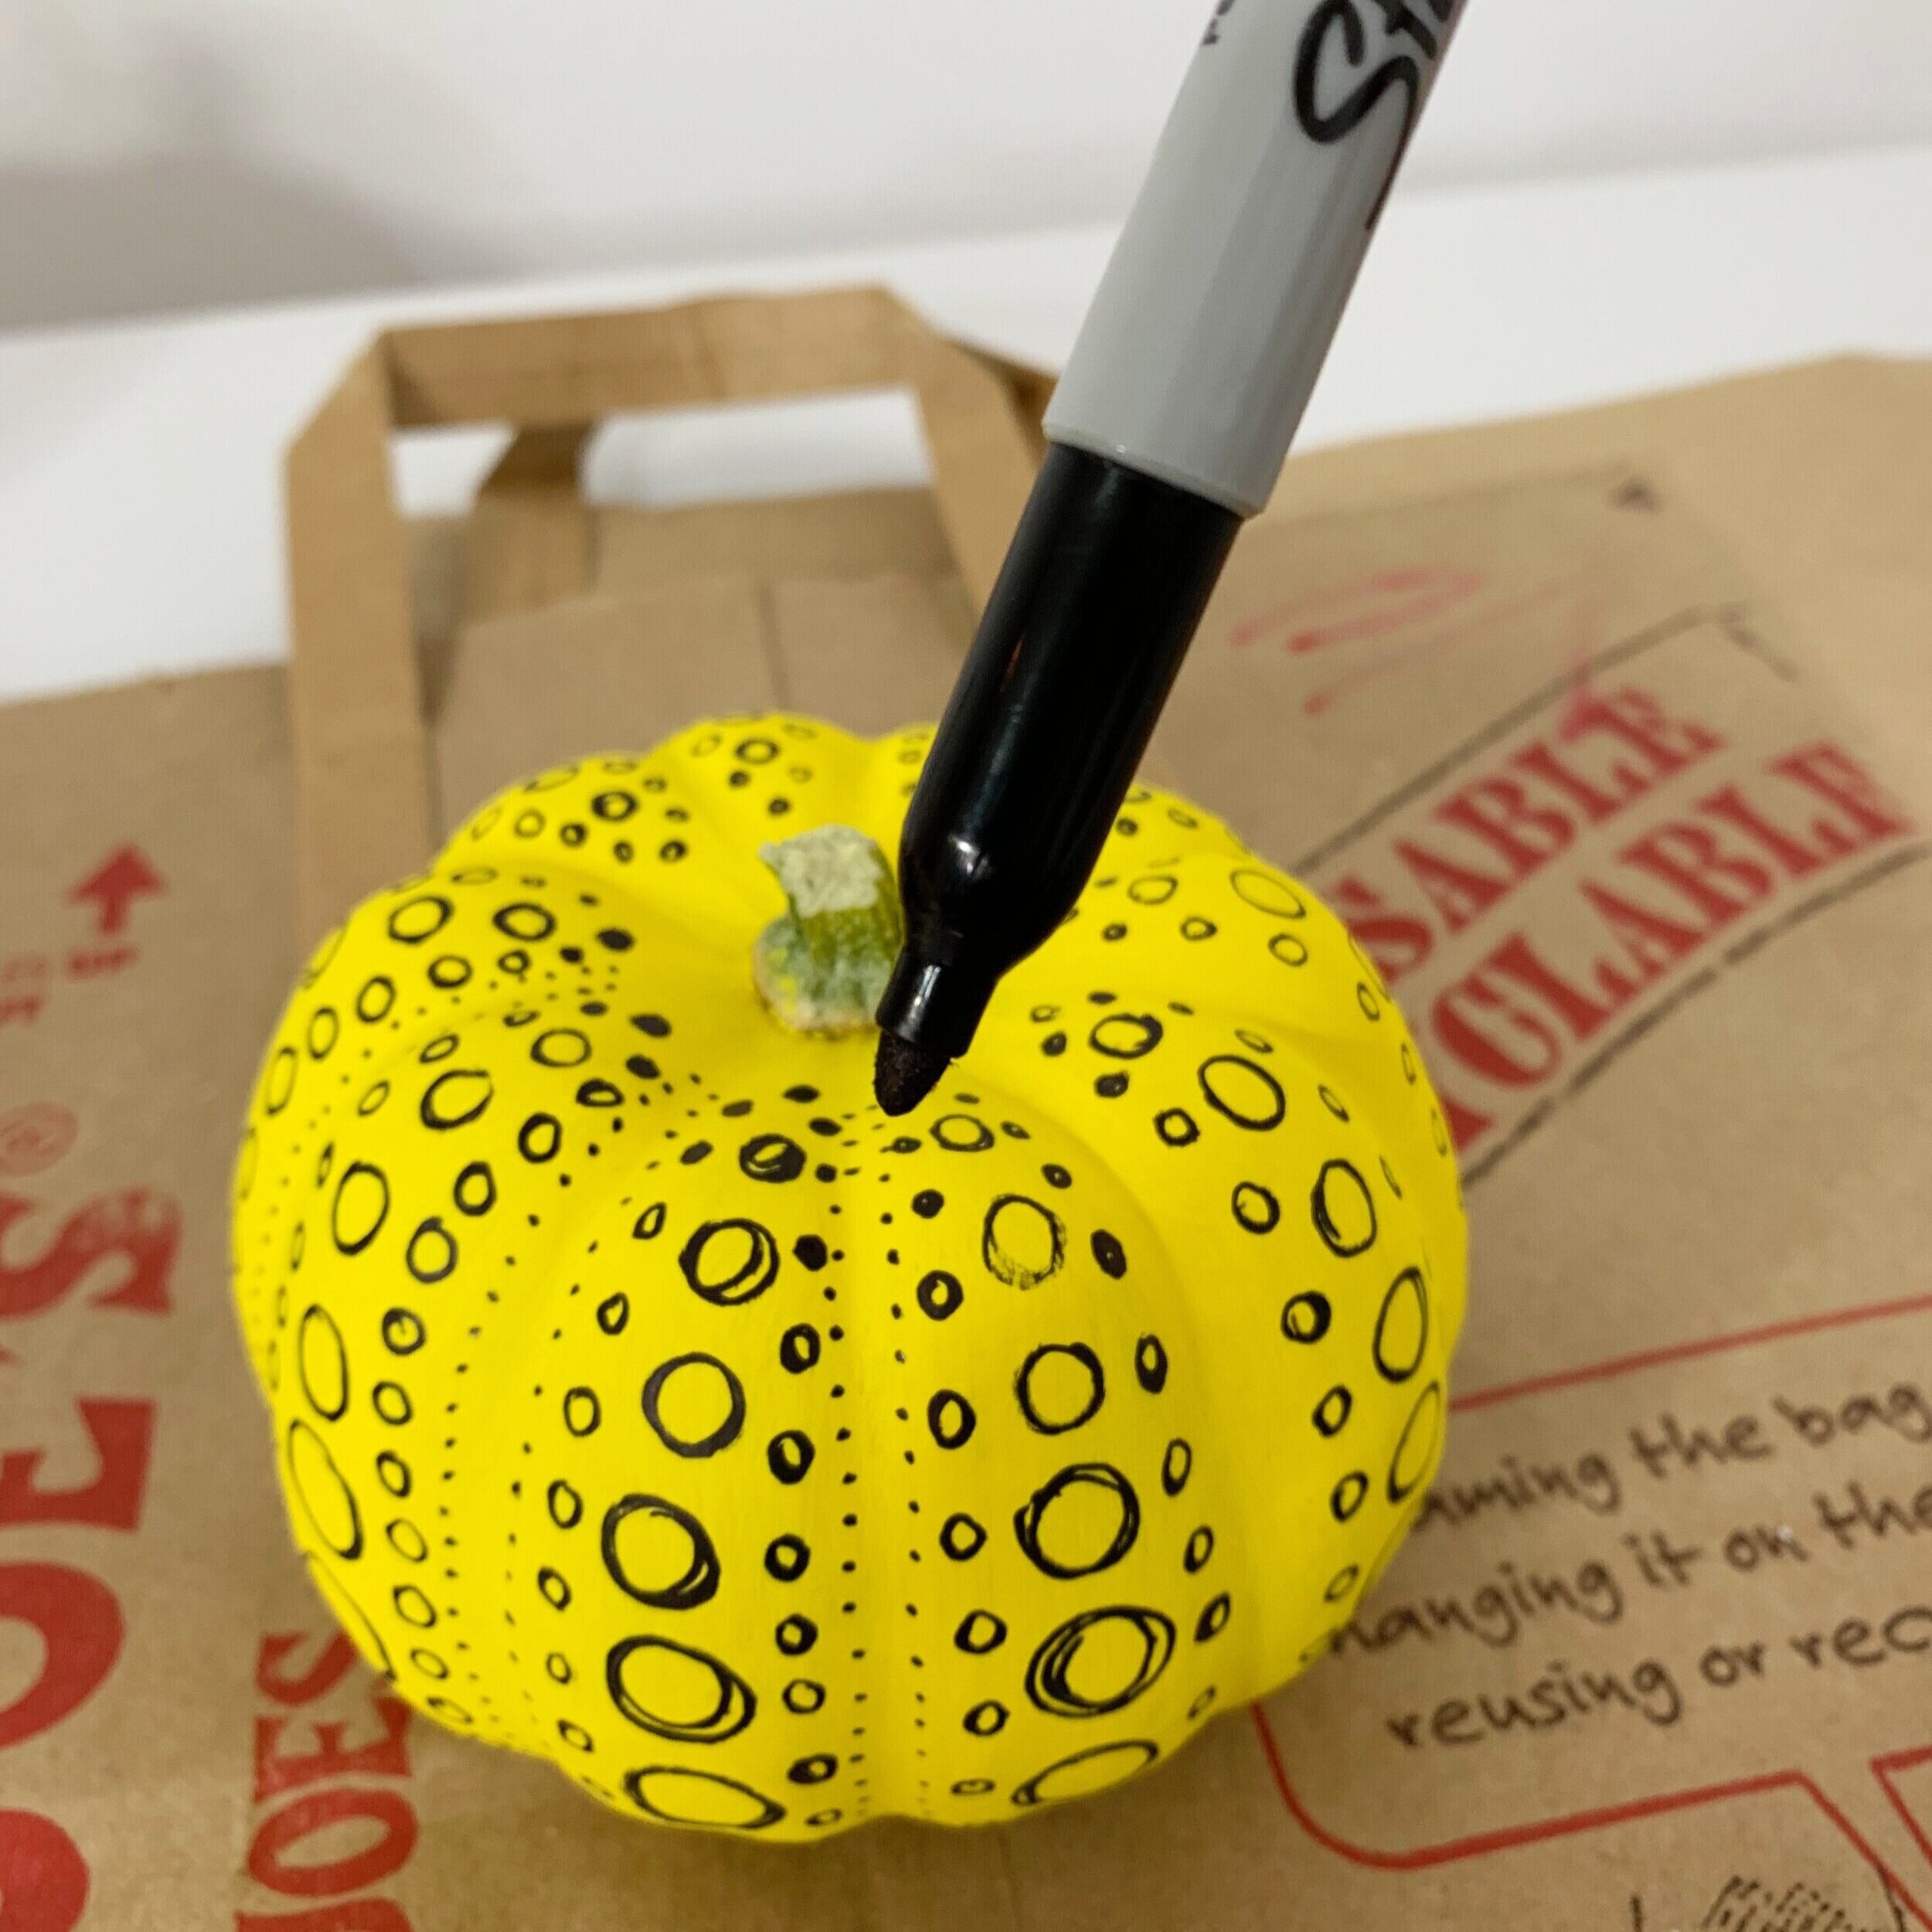
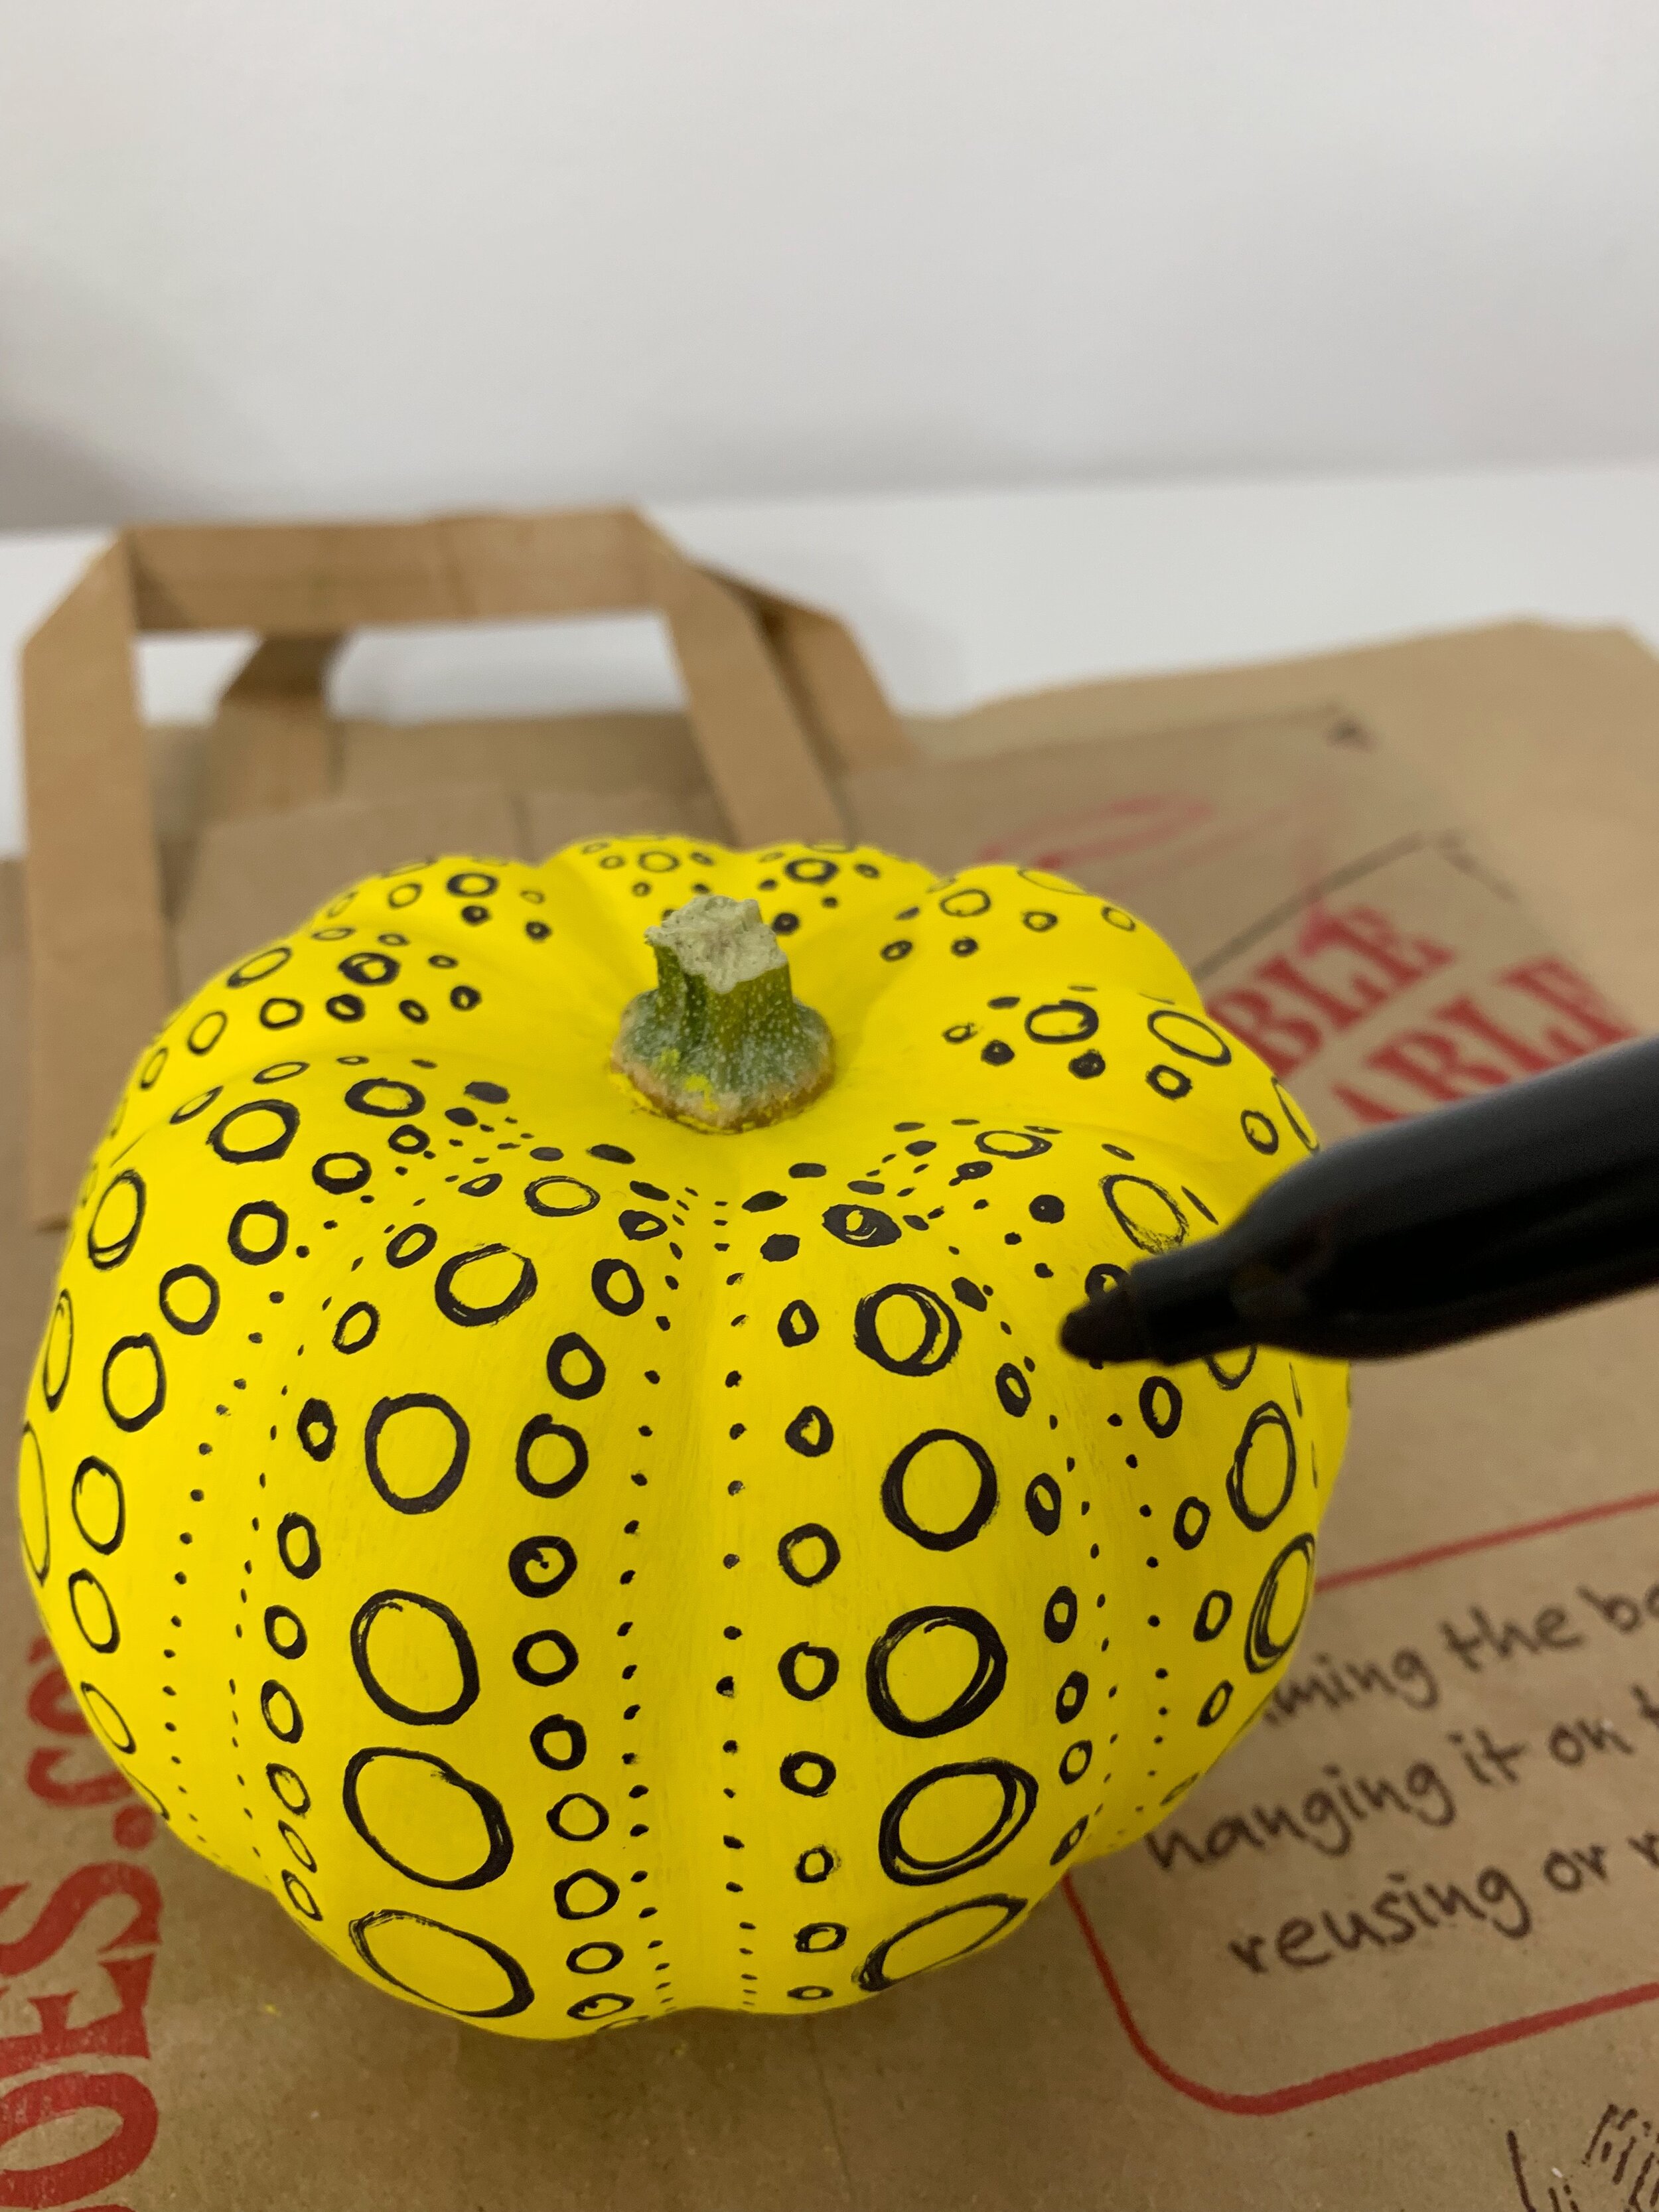
STEP 3: Use a Sharpie to outline the dot pattern
I found it easier to paint on the “Kusama” dot pattern by first outlining the design with a sharpie.
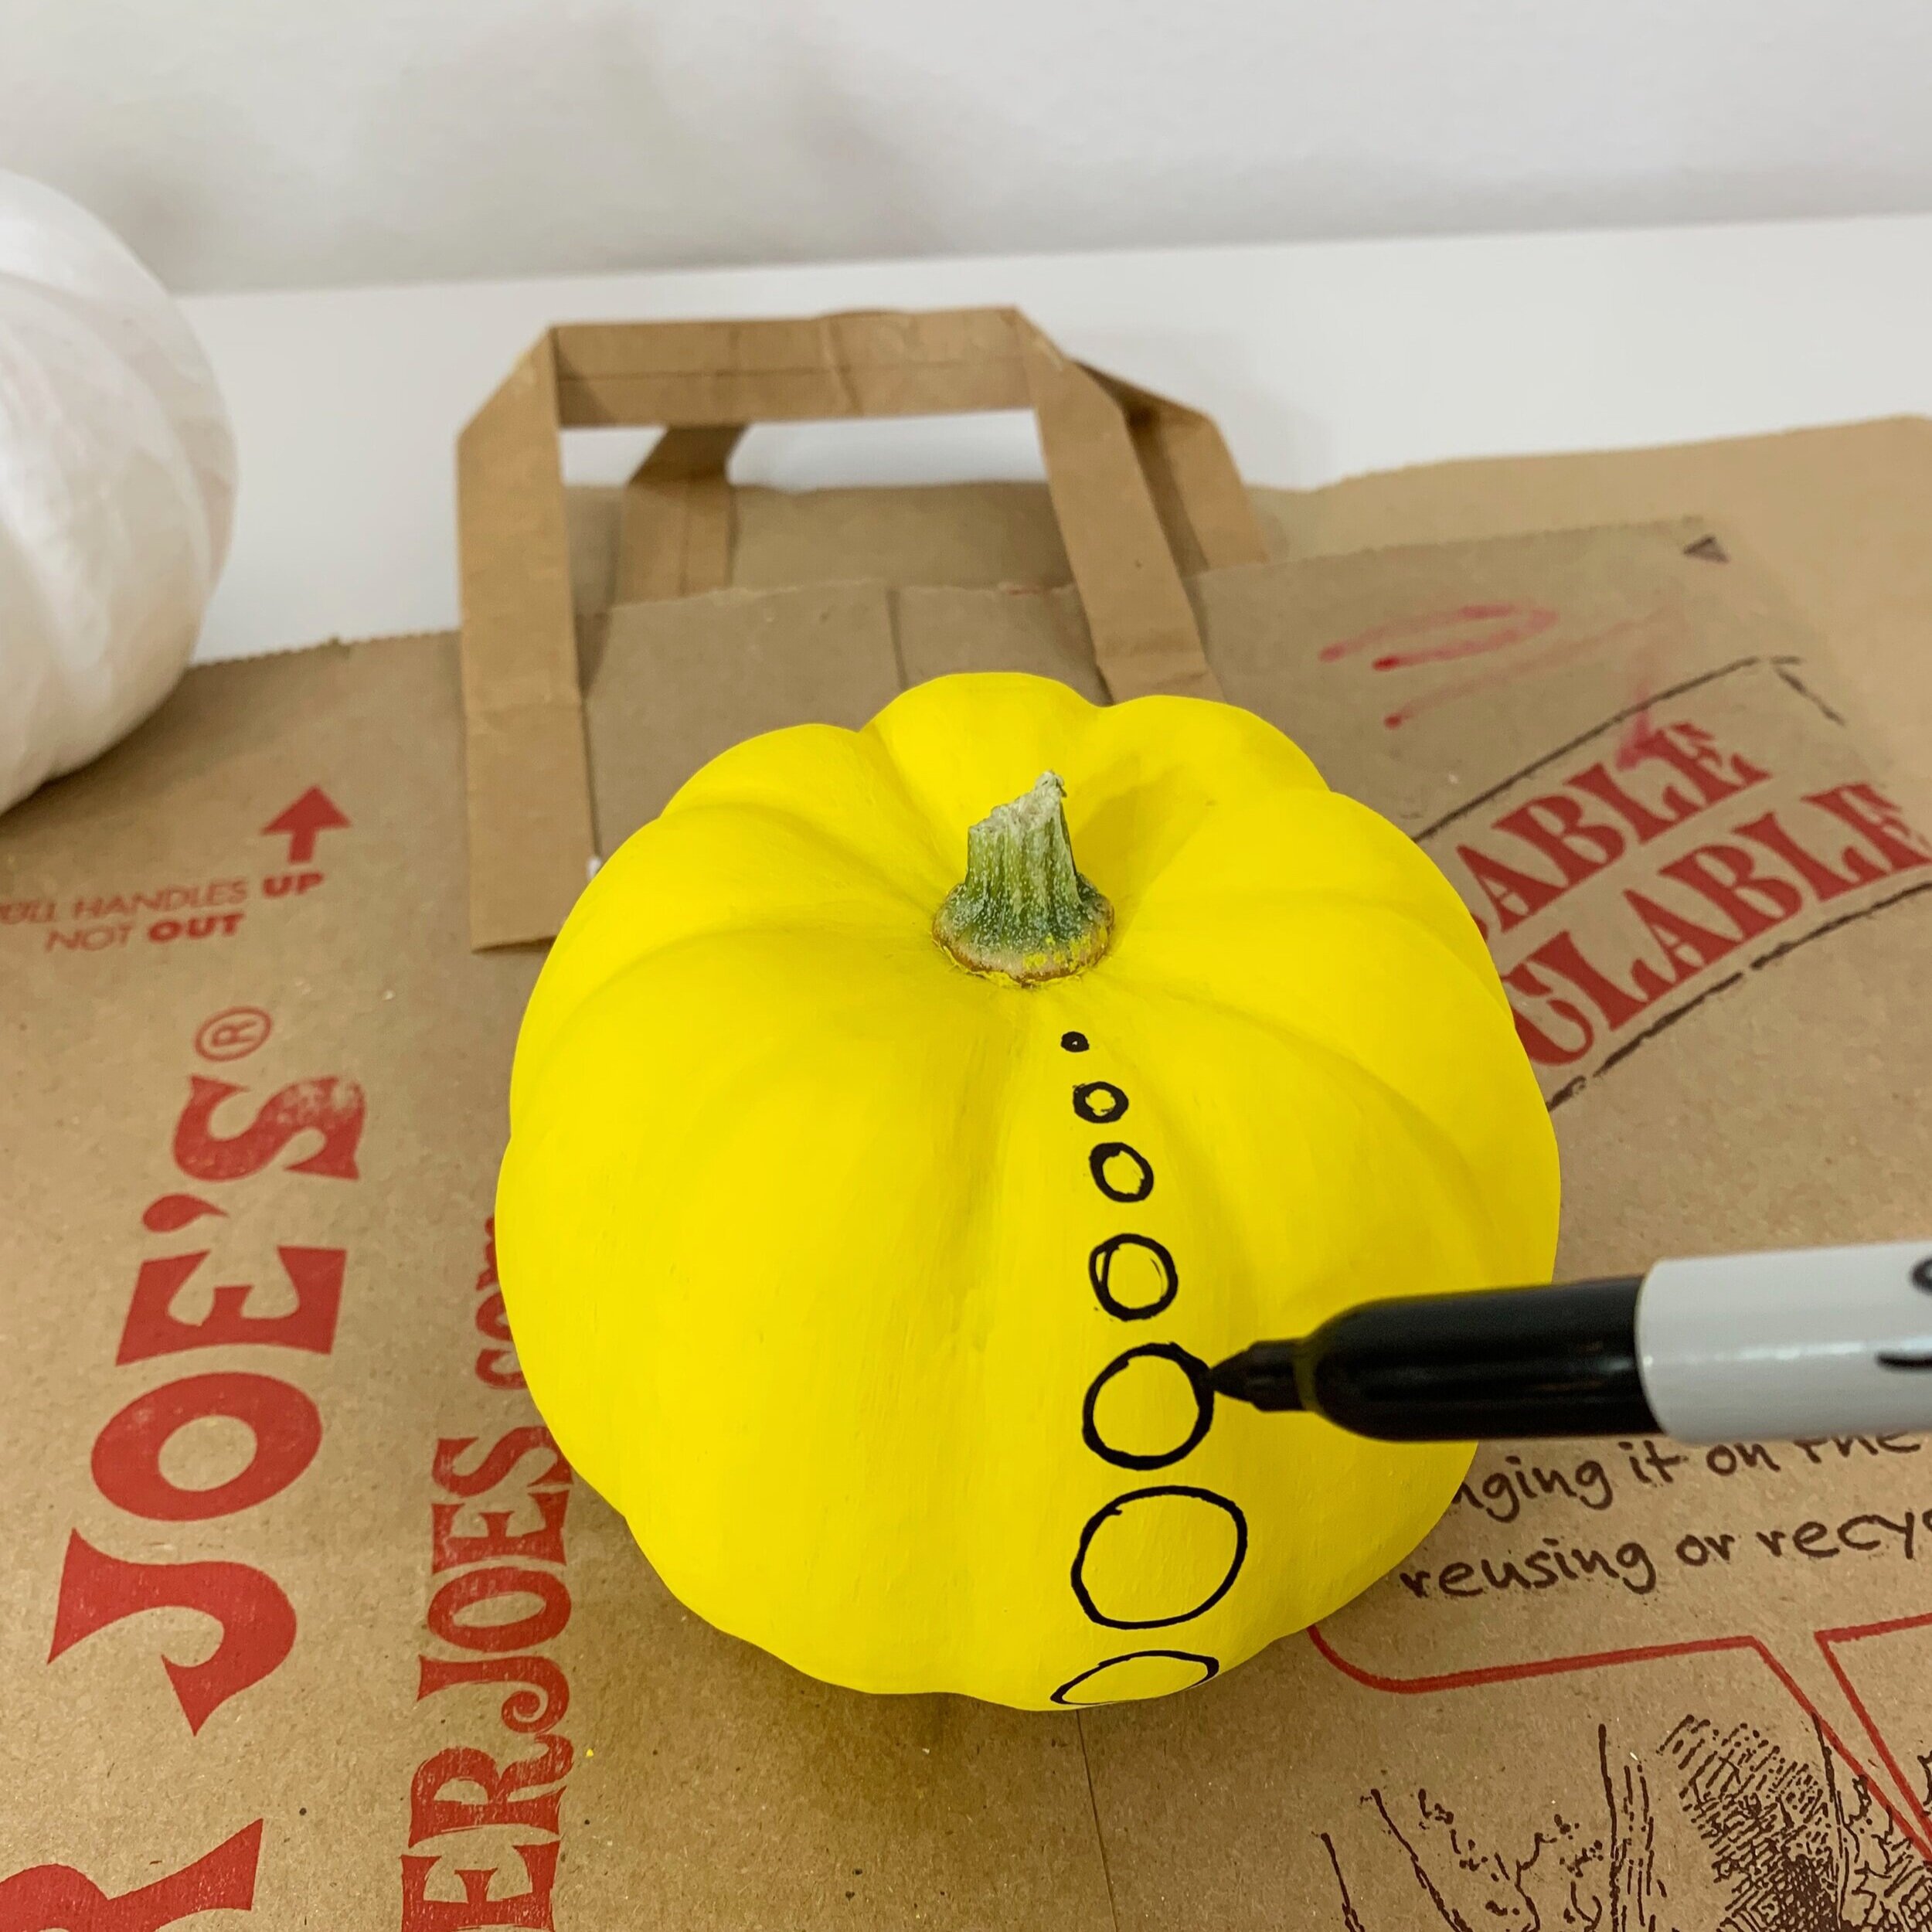
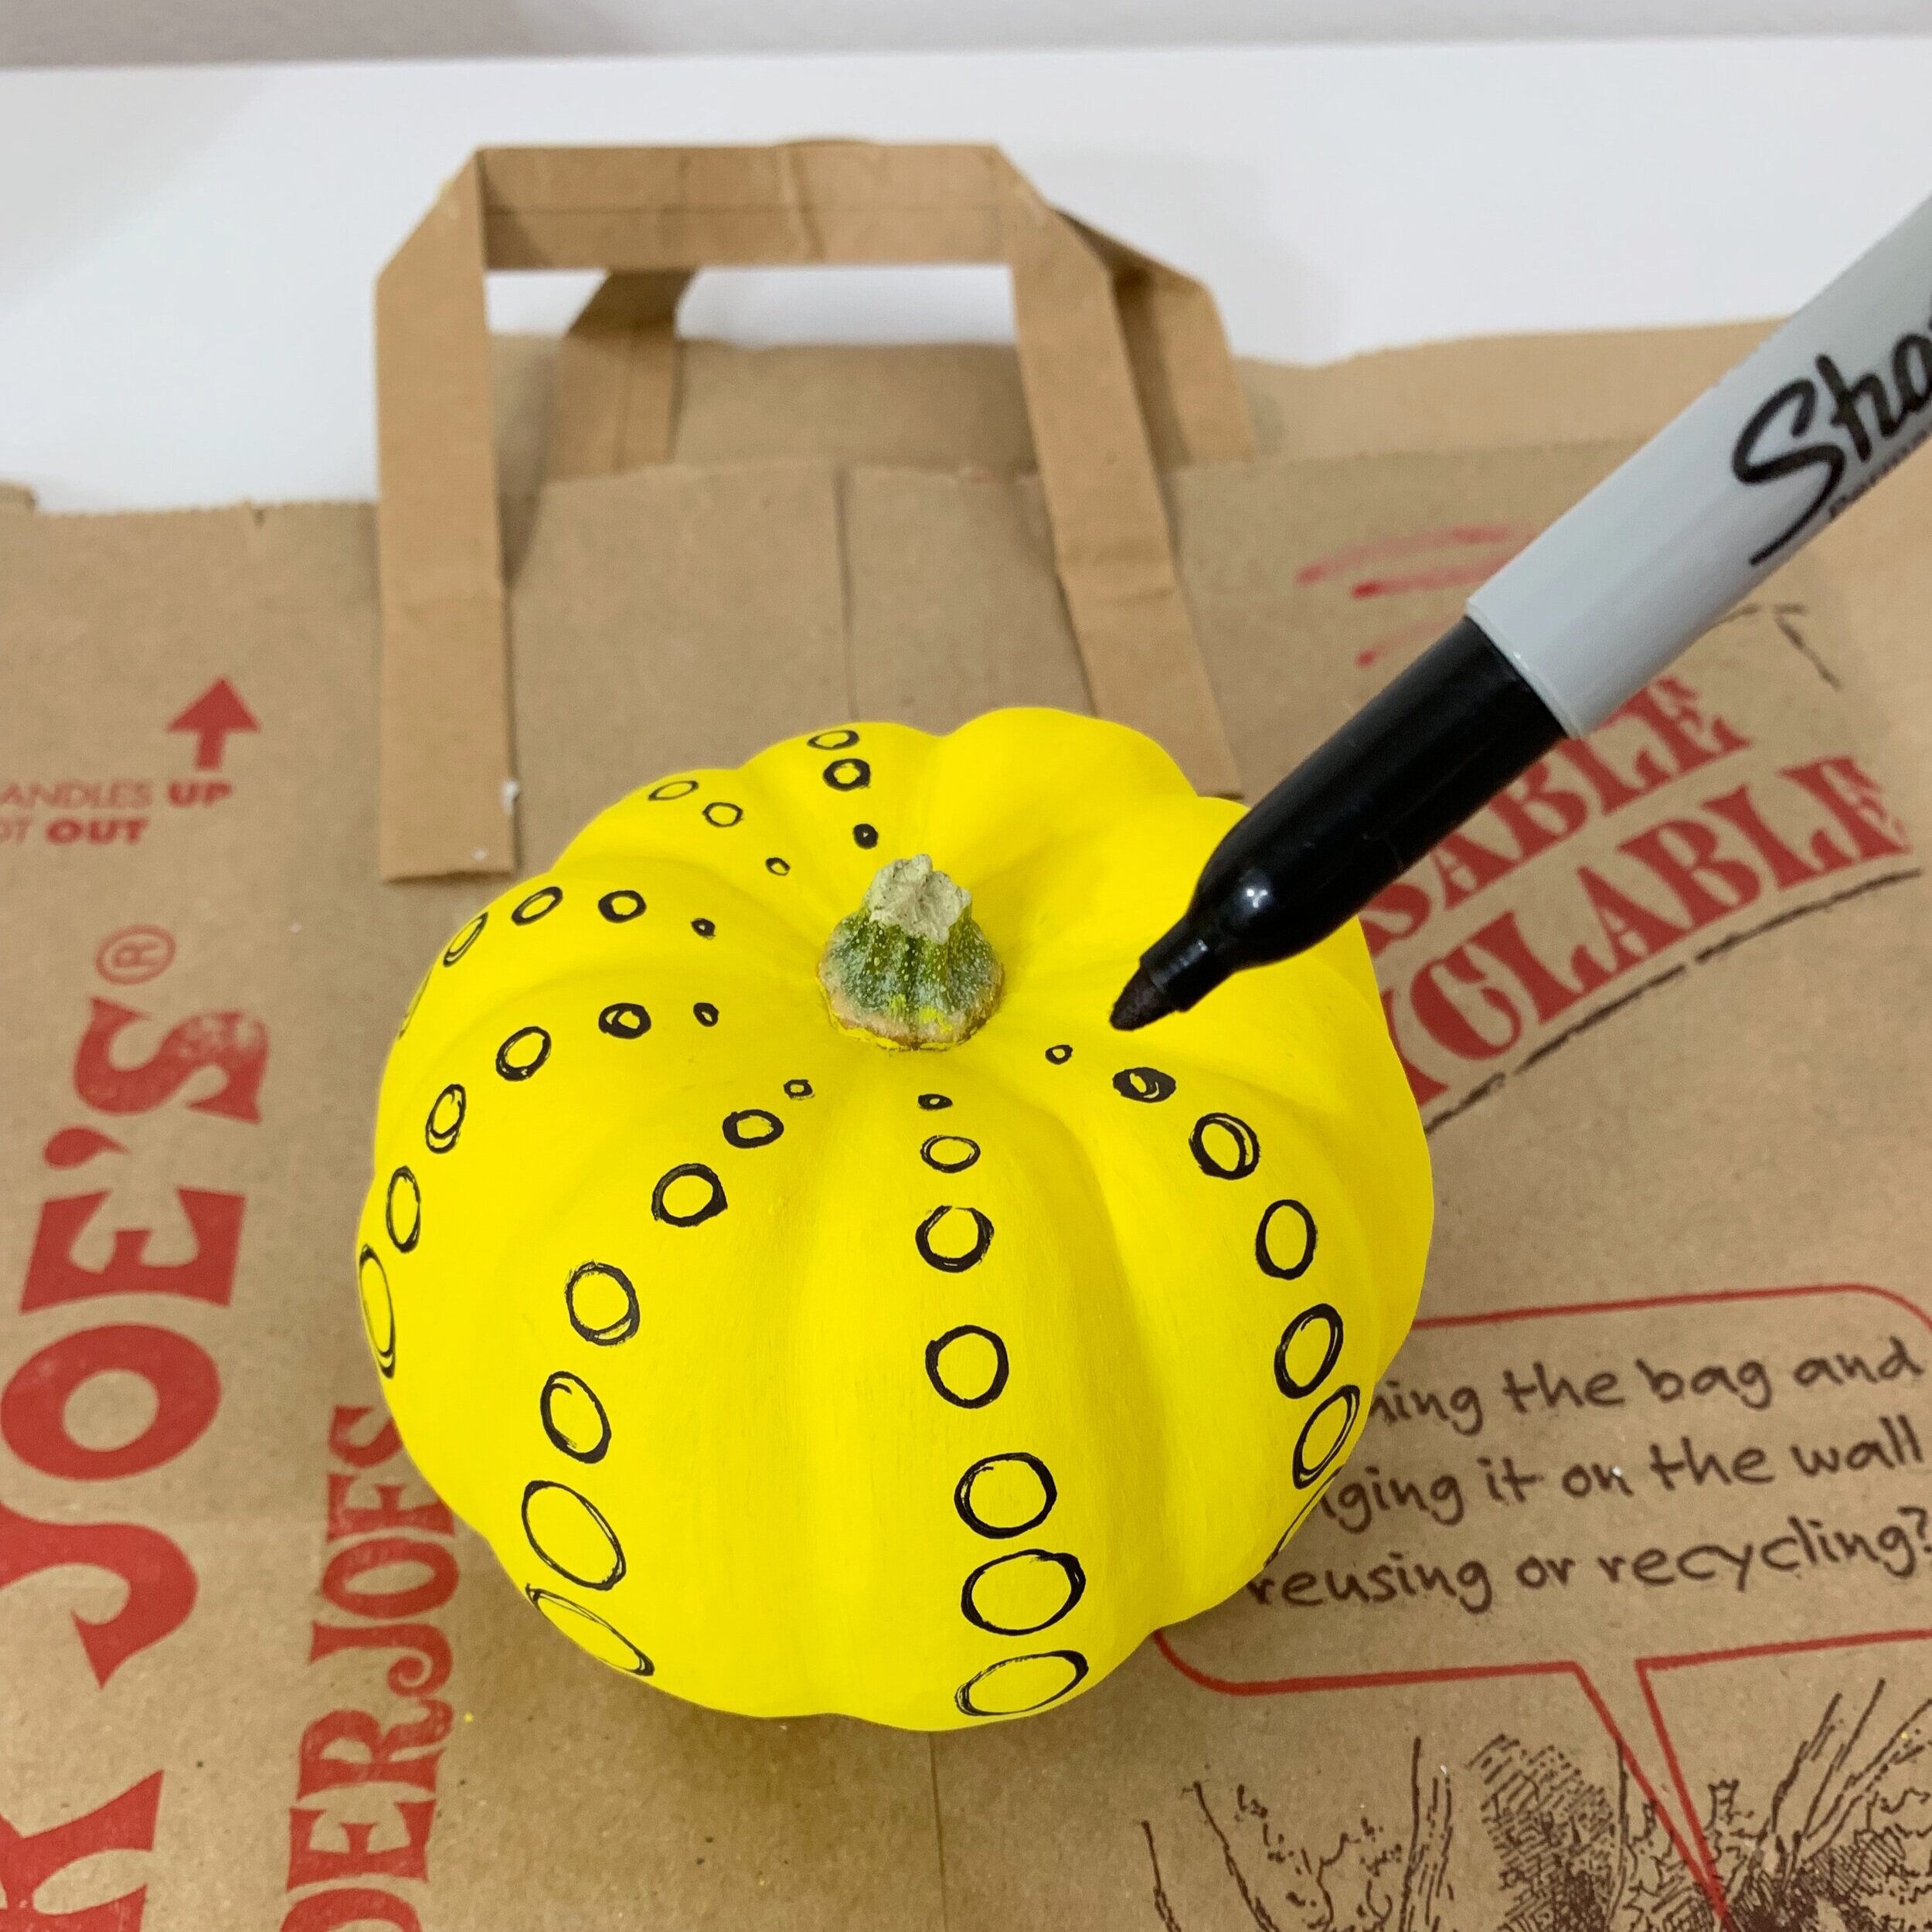
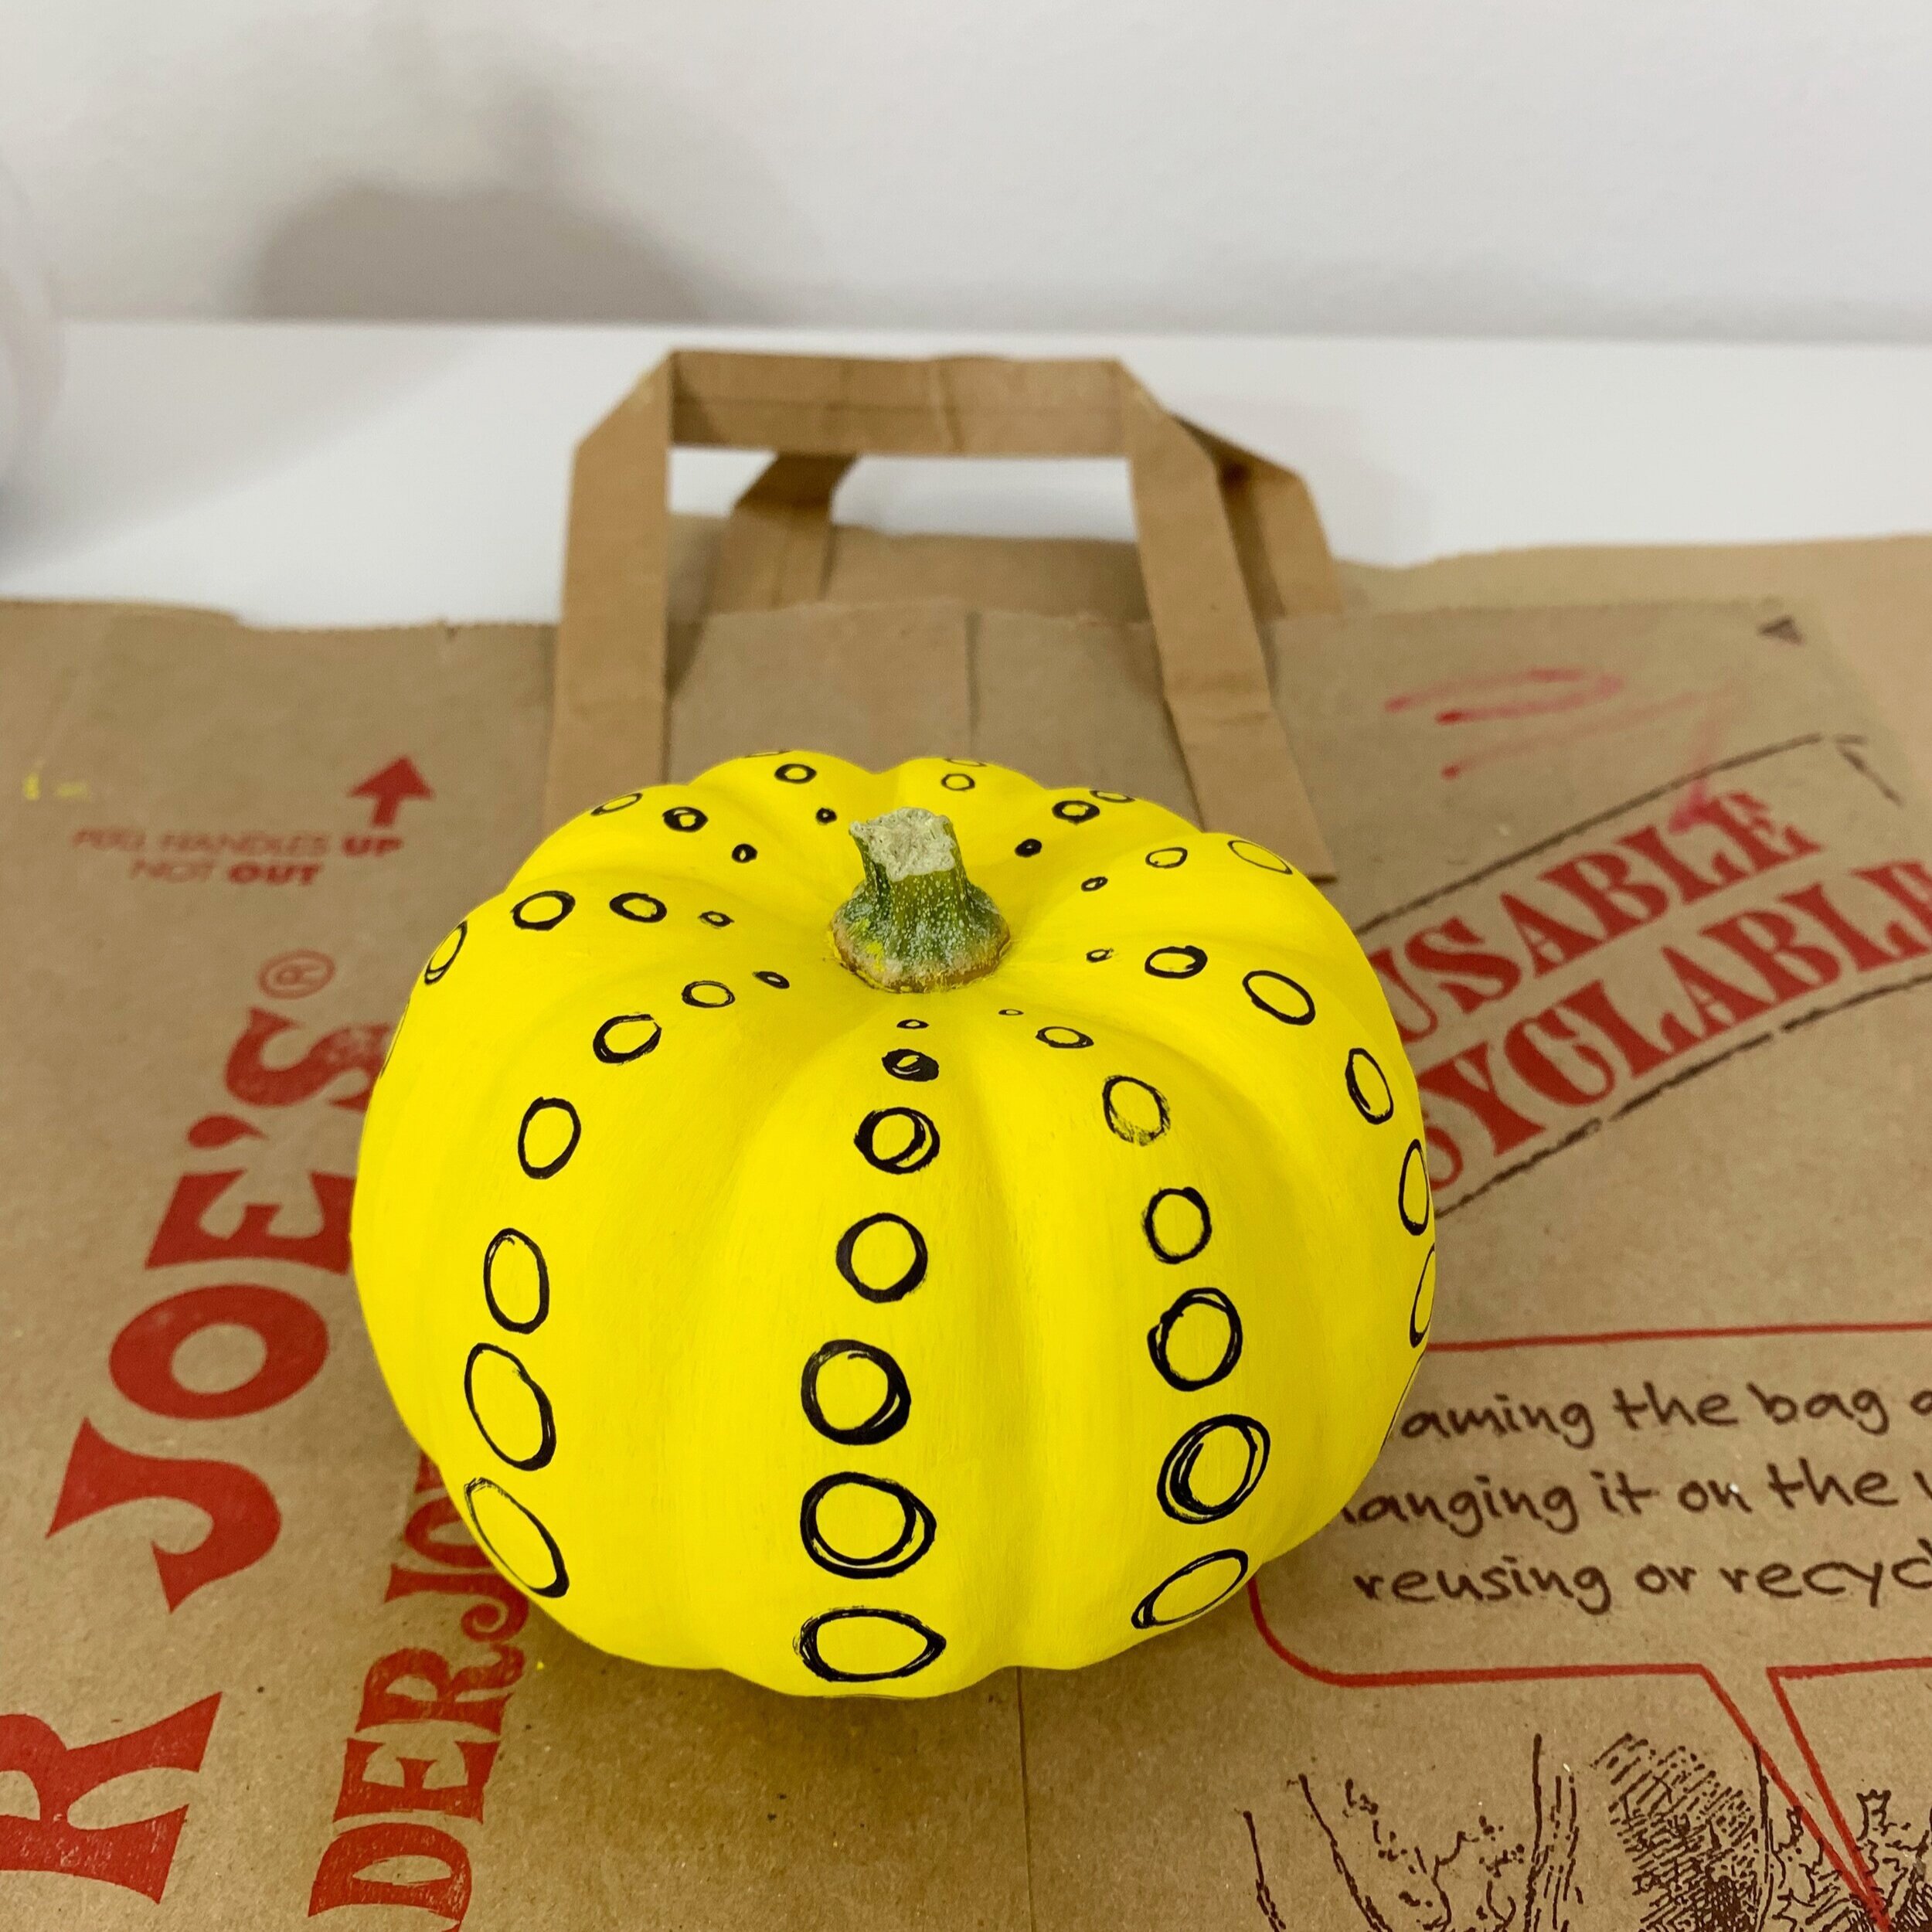
To create this pattern, first draw small circles that gradually get bigger as it moves down the pumpkin. This first line of circles will be drawn in the central part of each pumpkin segment.
*Remember it doesn’t have to be perfect! We will be tidying up when we paint in the next step!
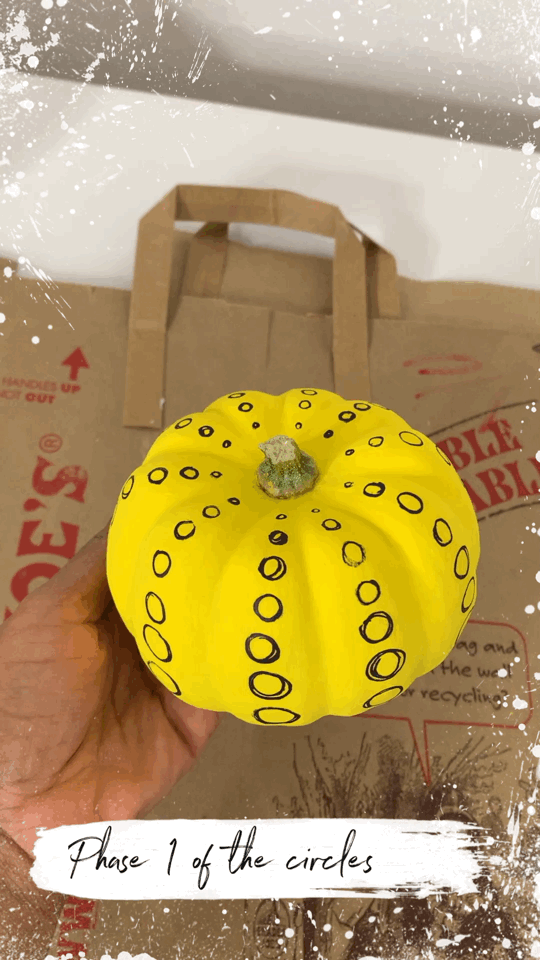
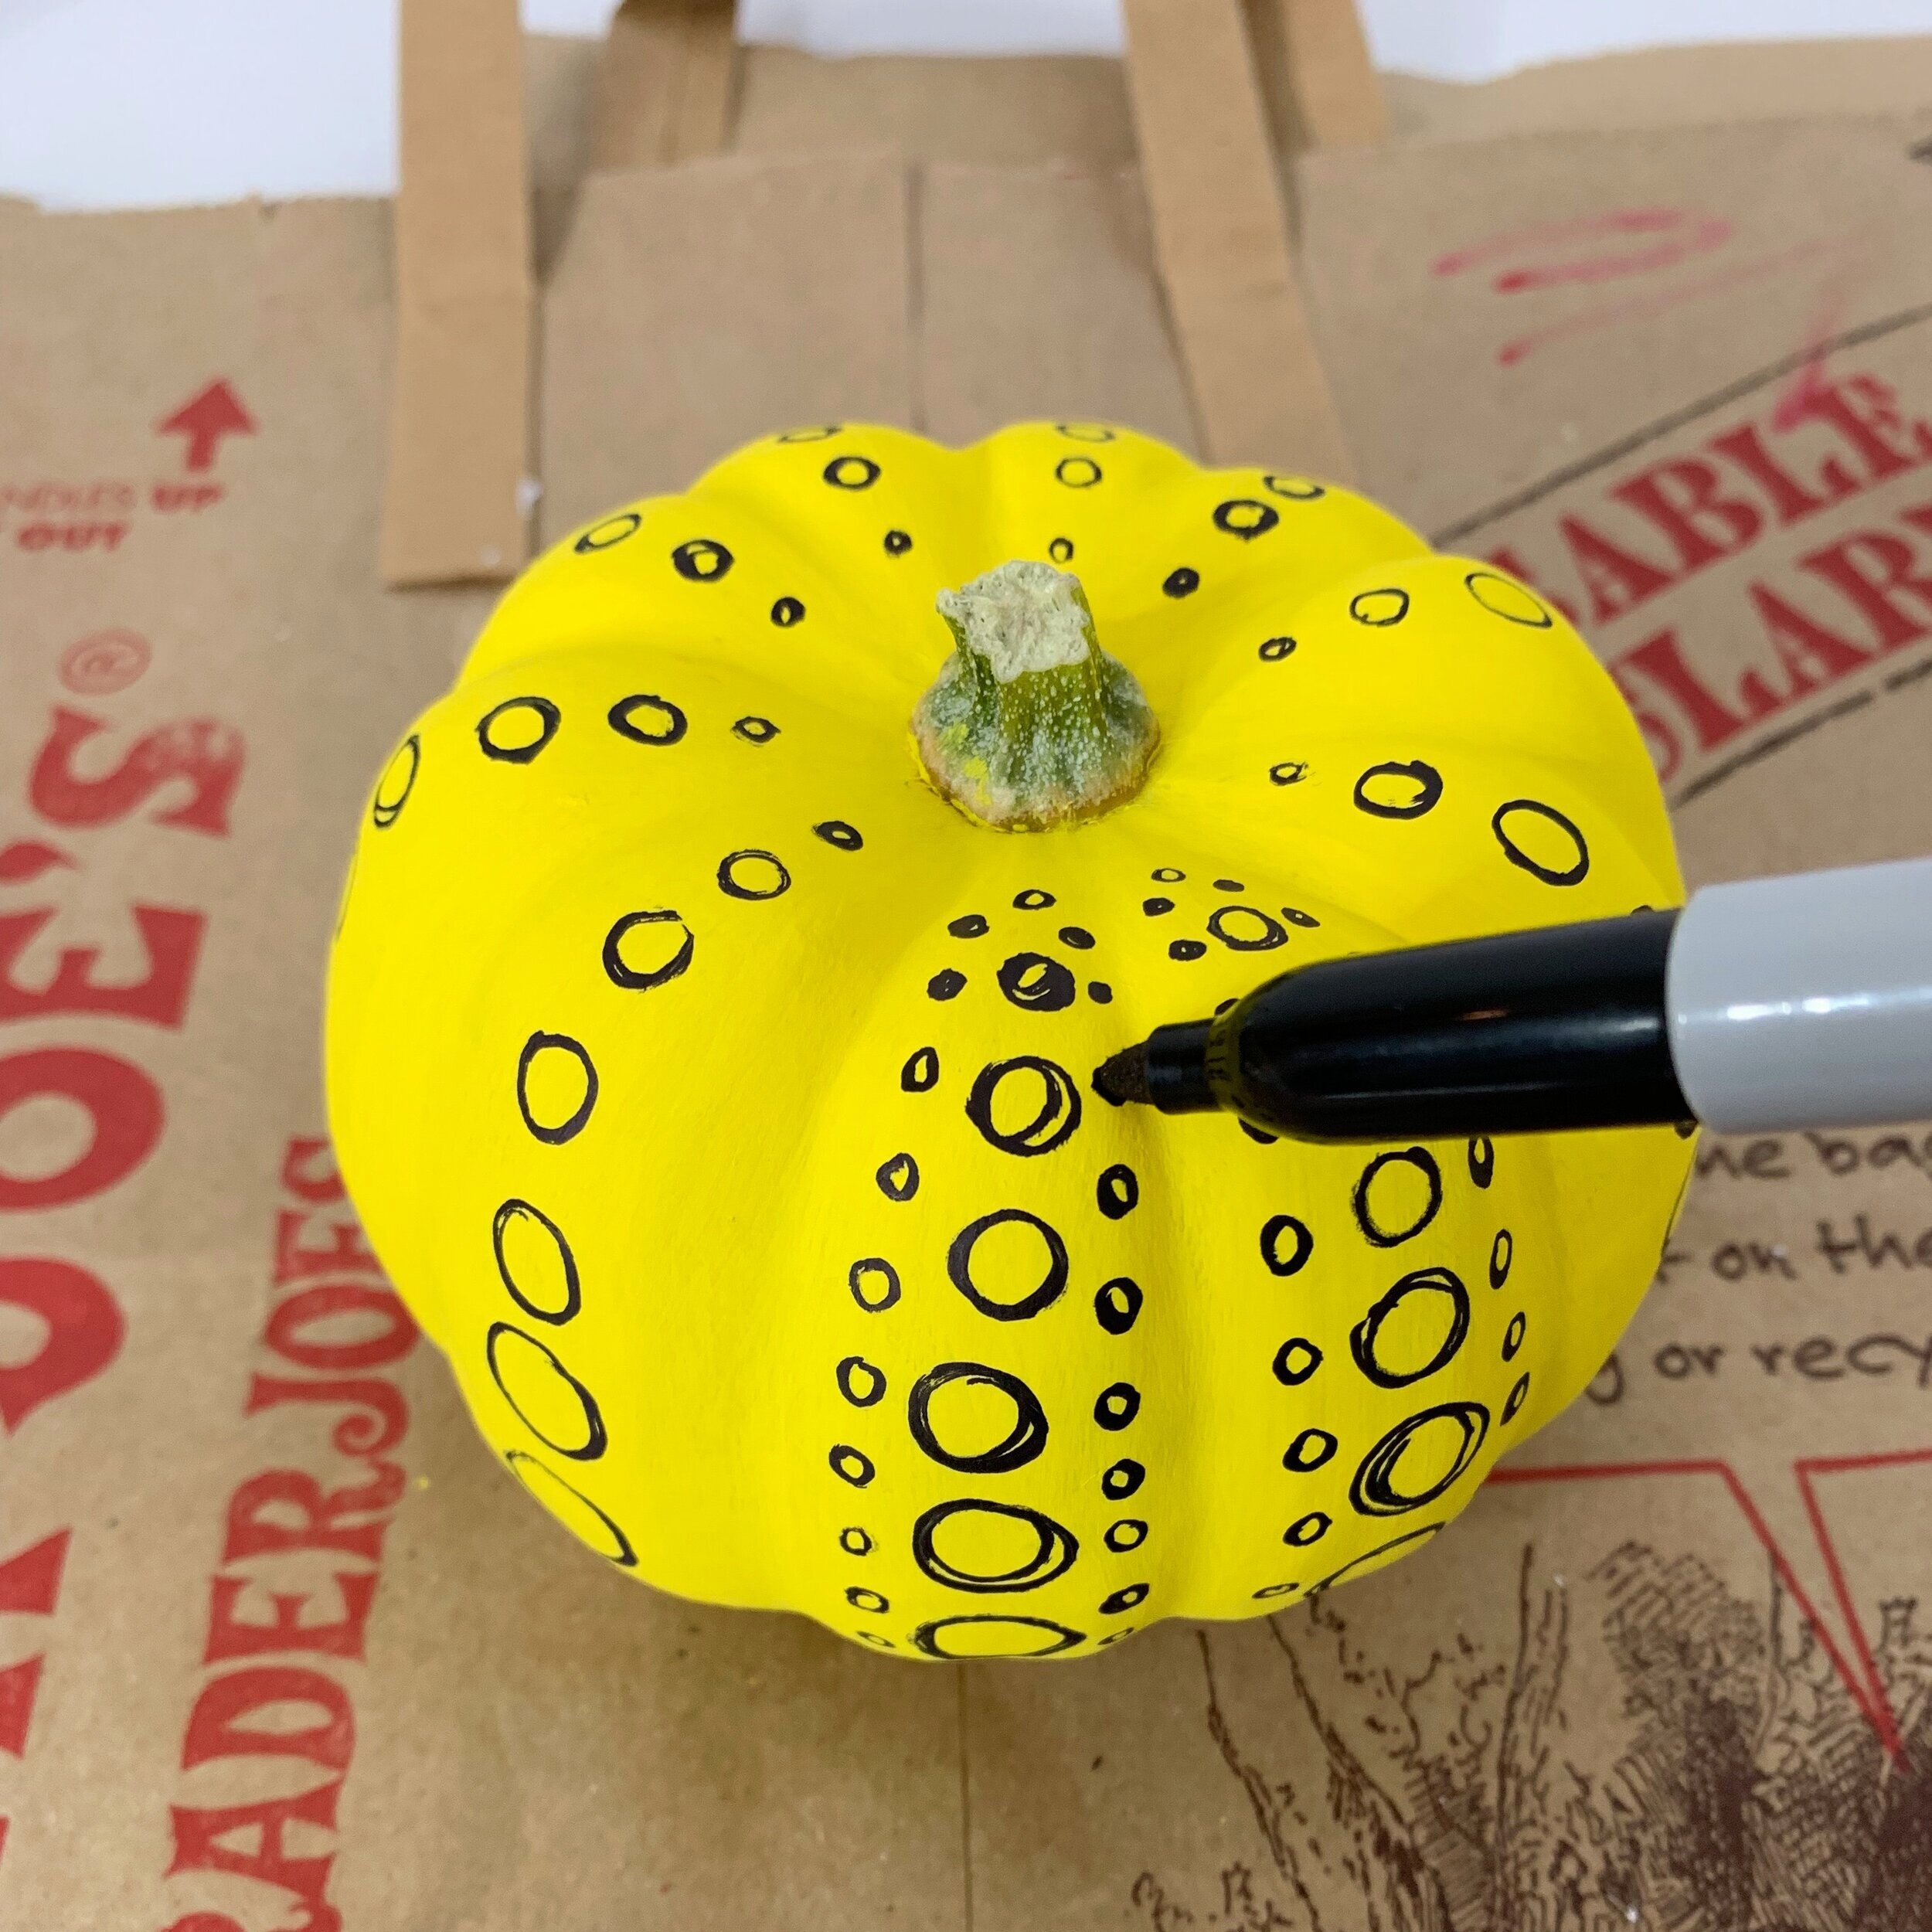
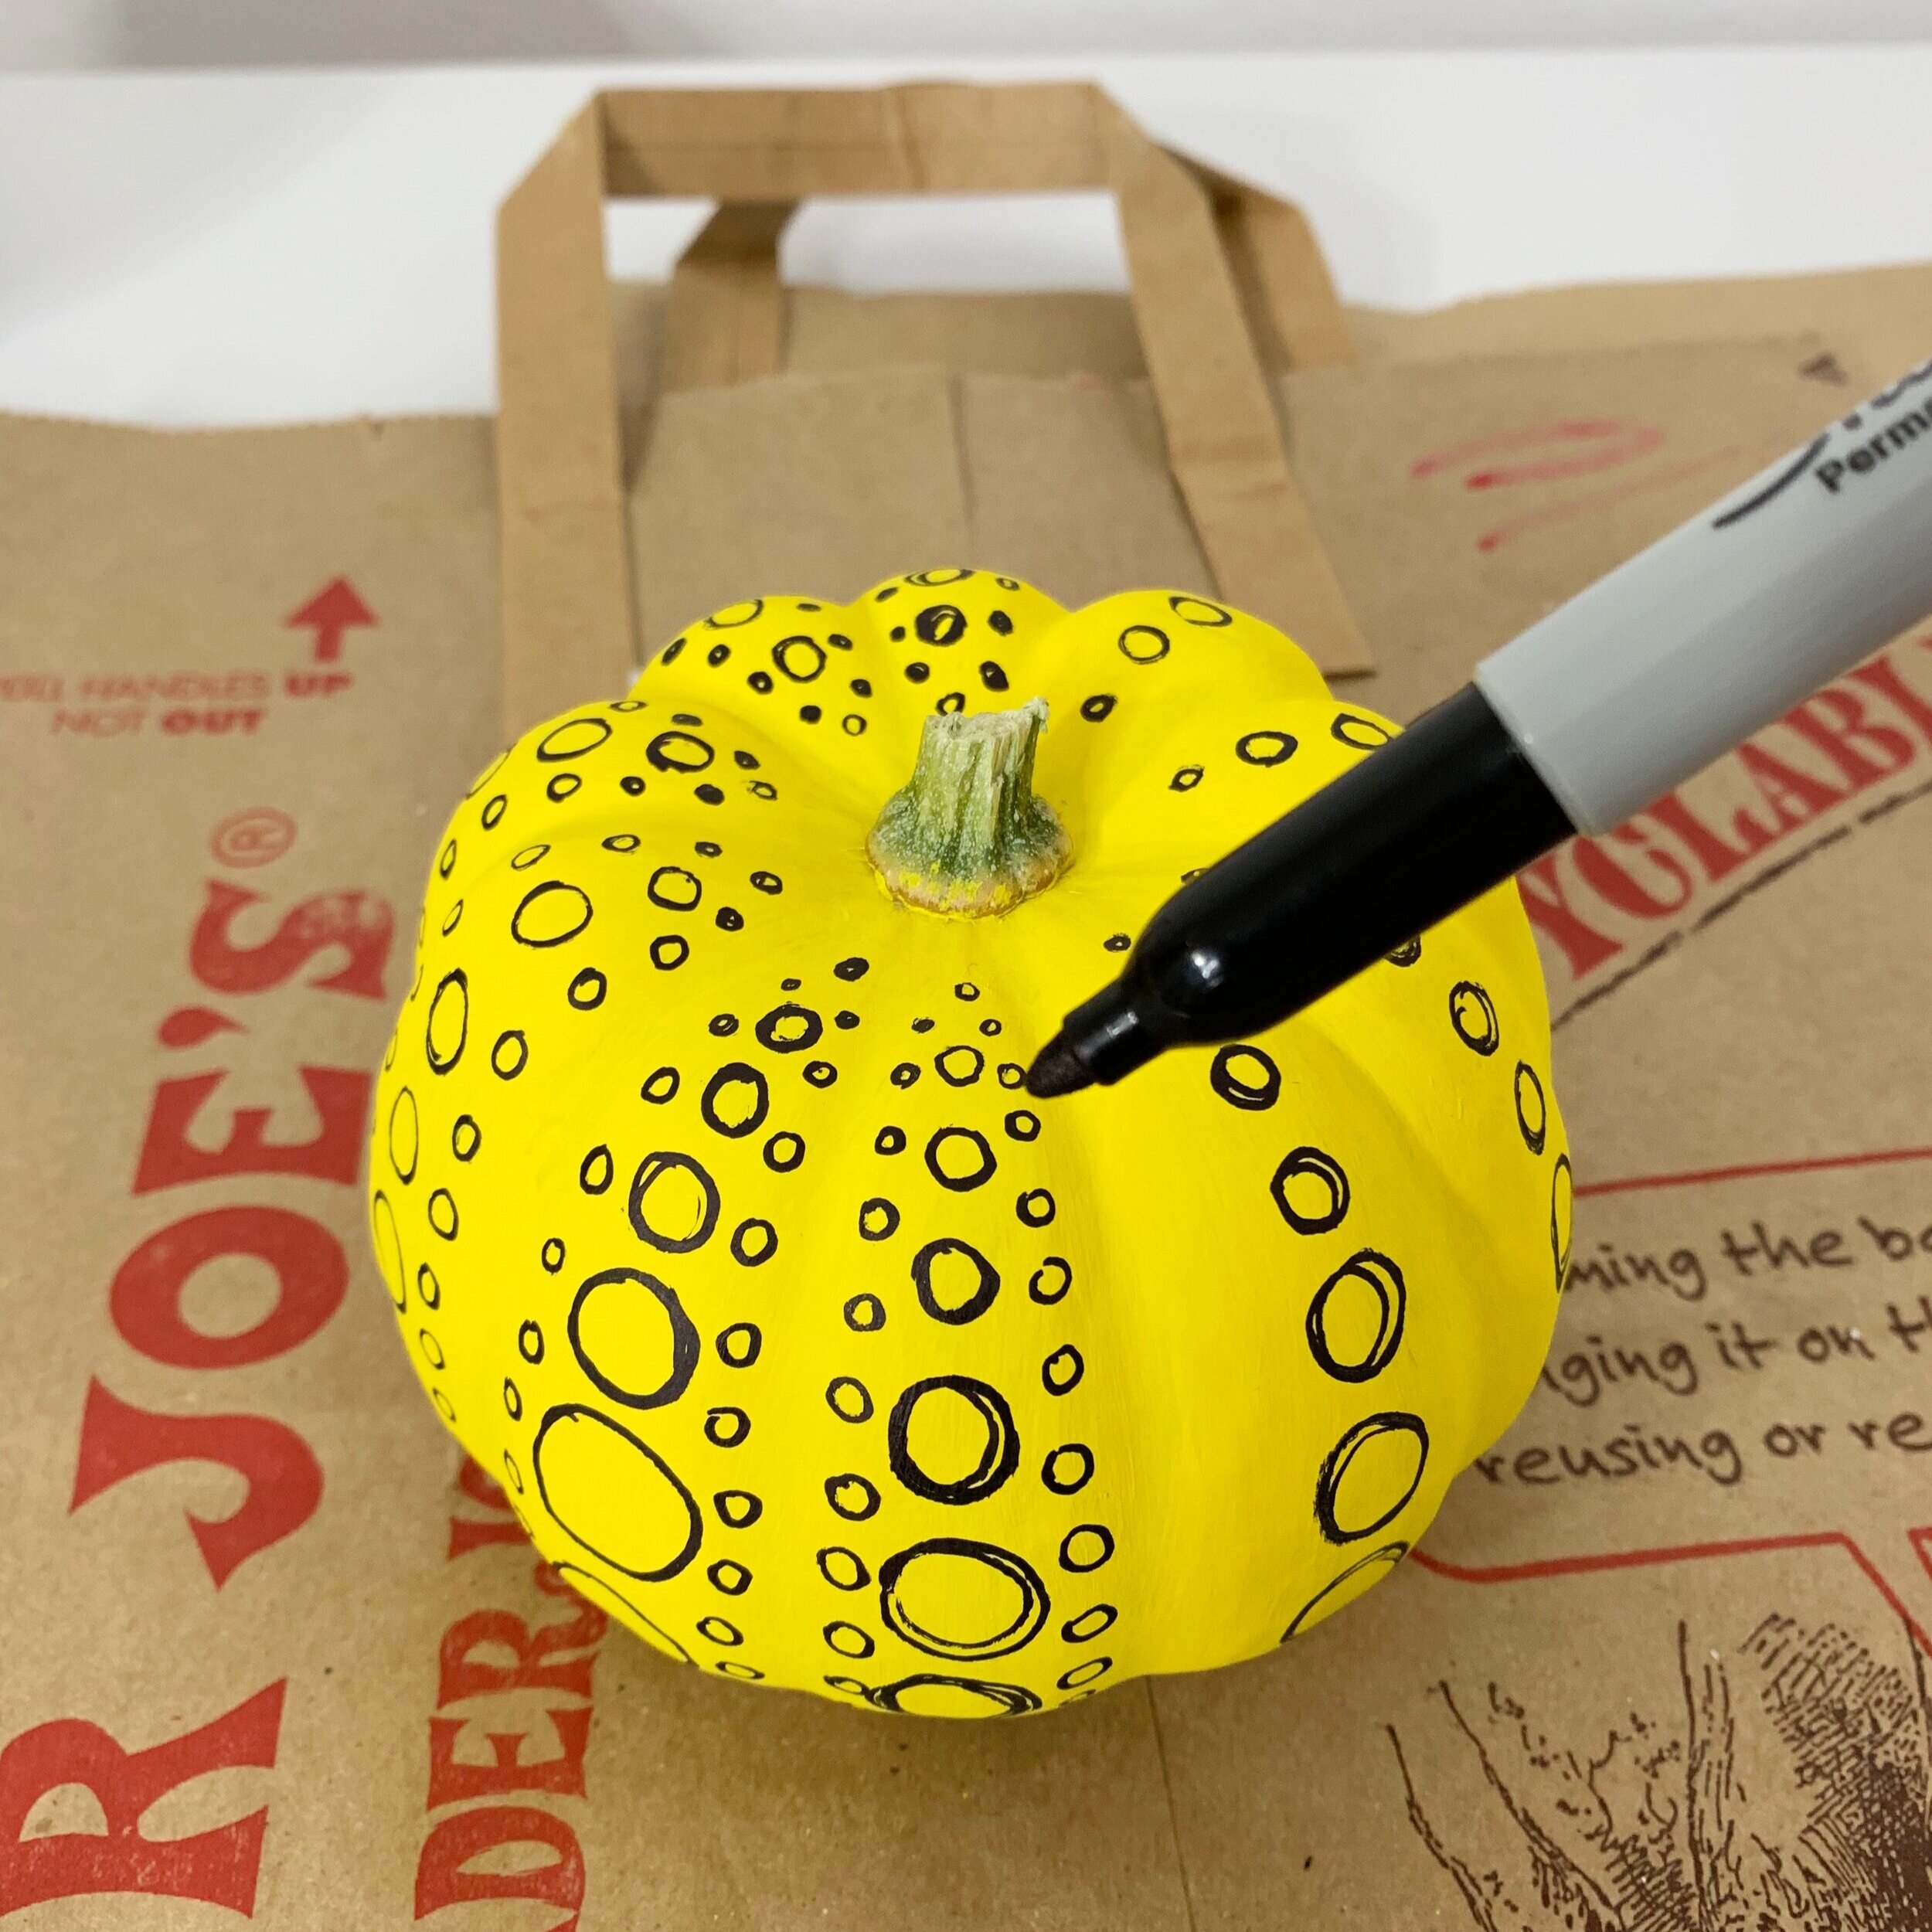
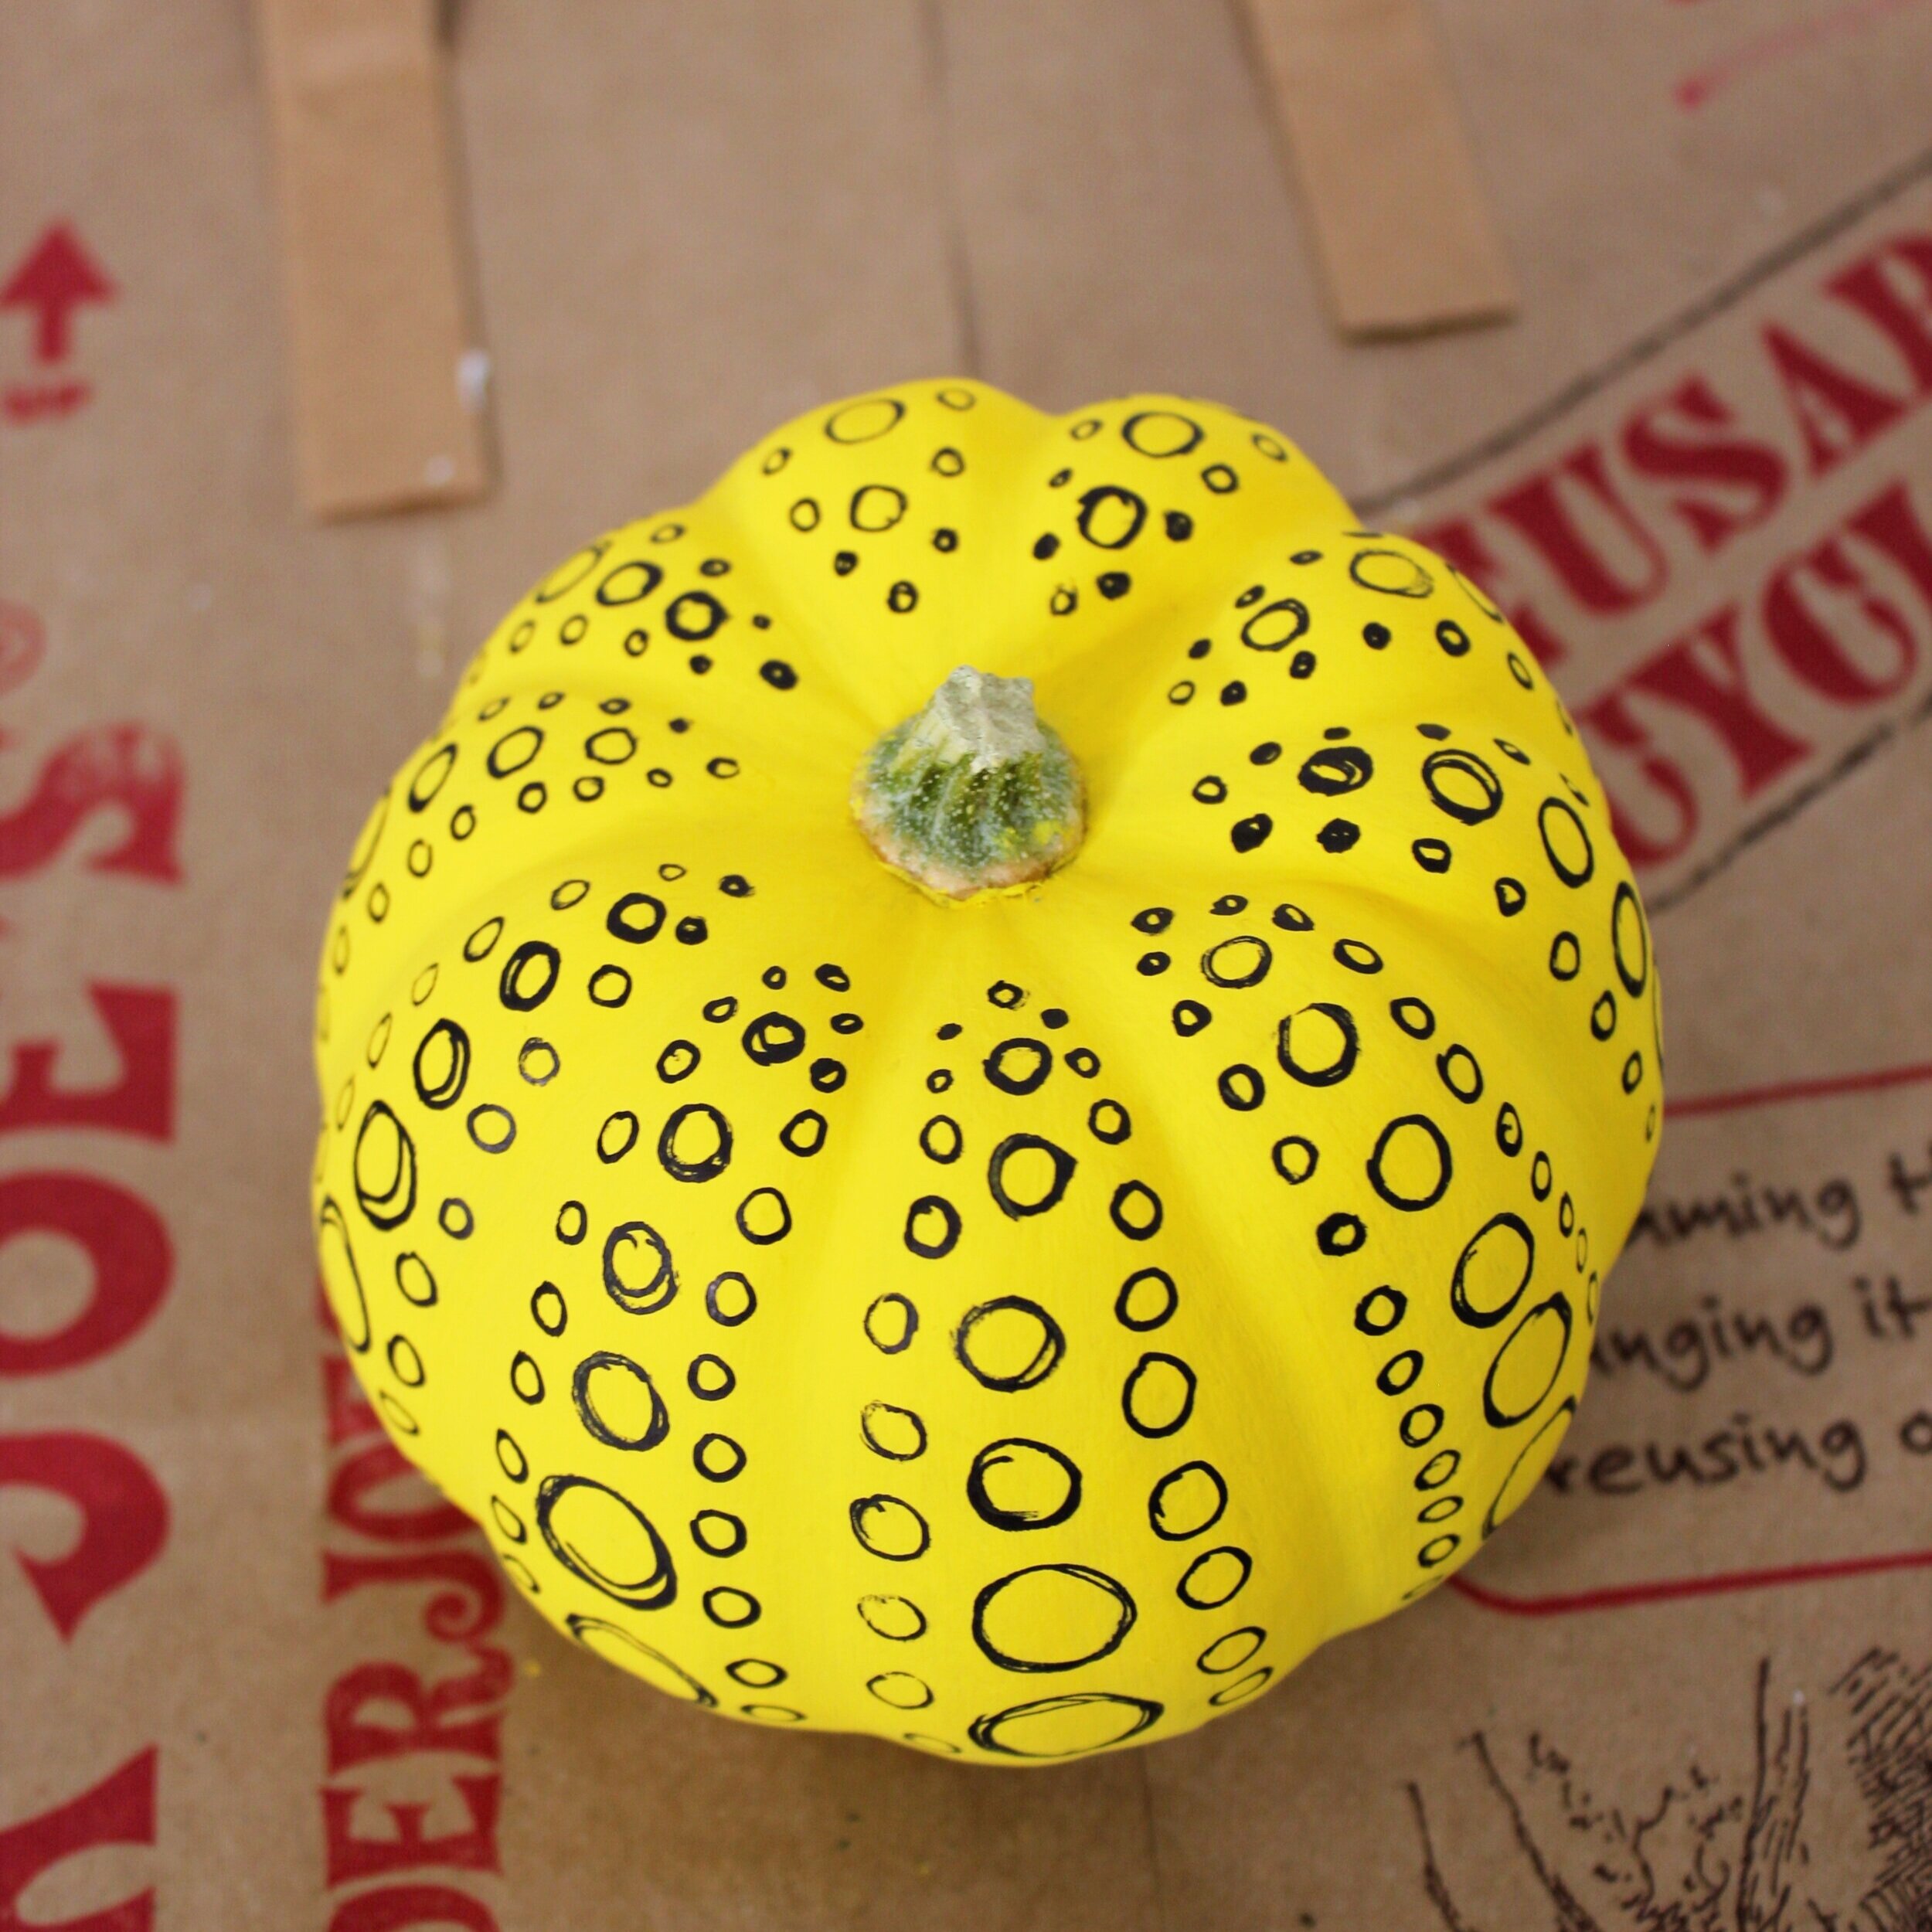
Next, draw a line of smaller circles on either side of the line previously drawn.

Draw a row of small dots along either side of the line dots previously drawn.

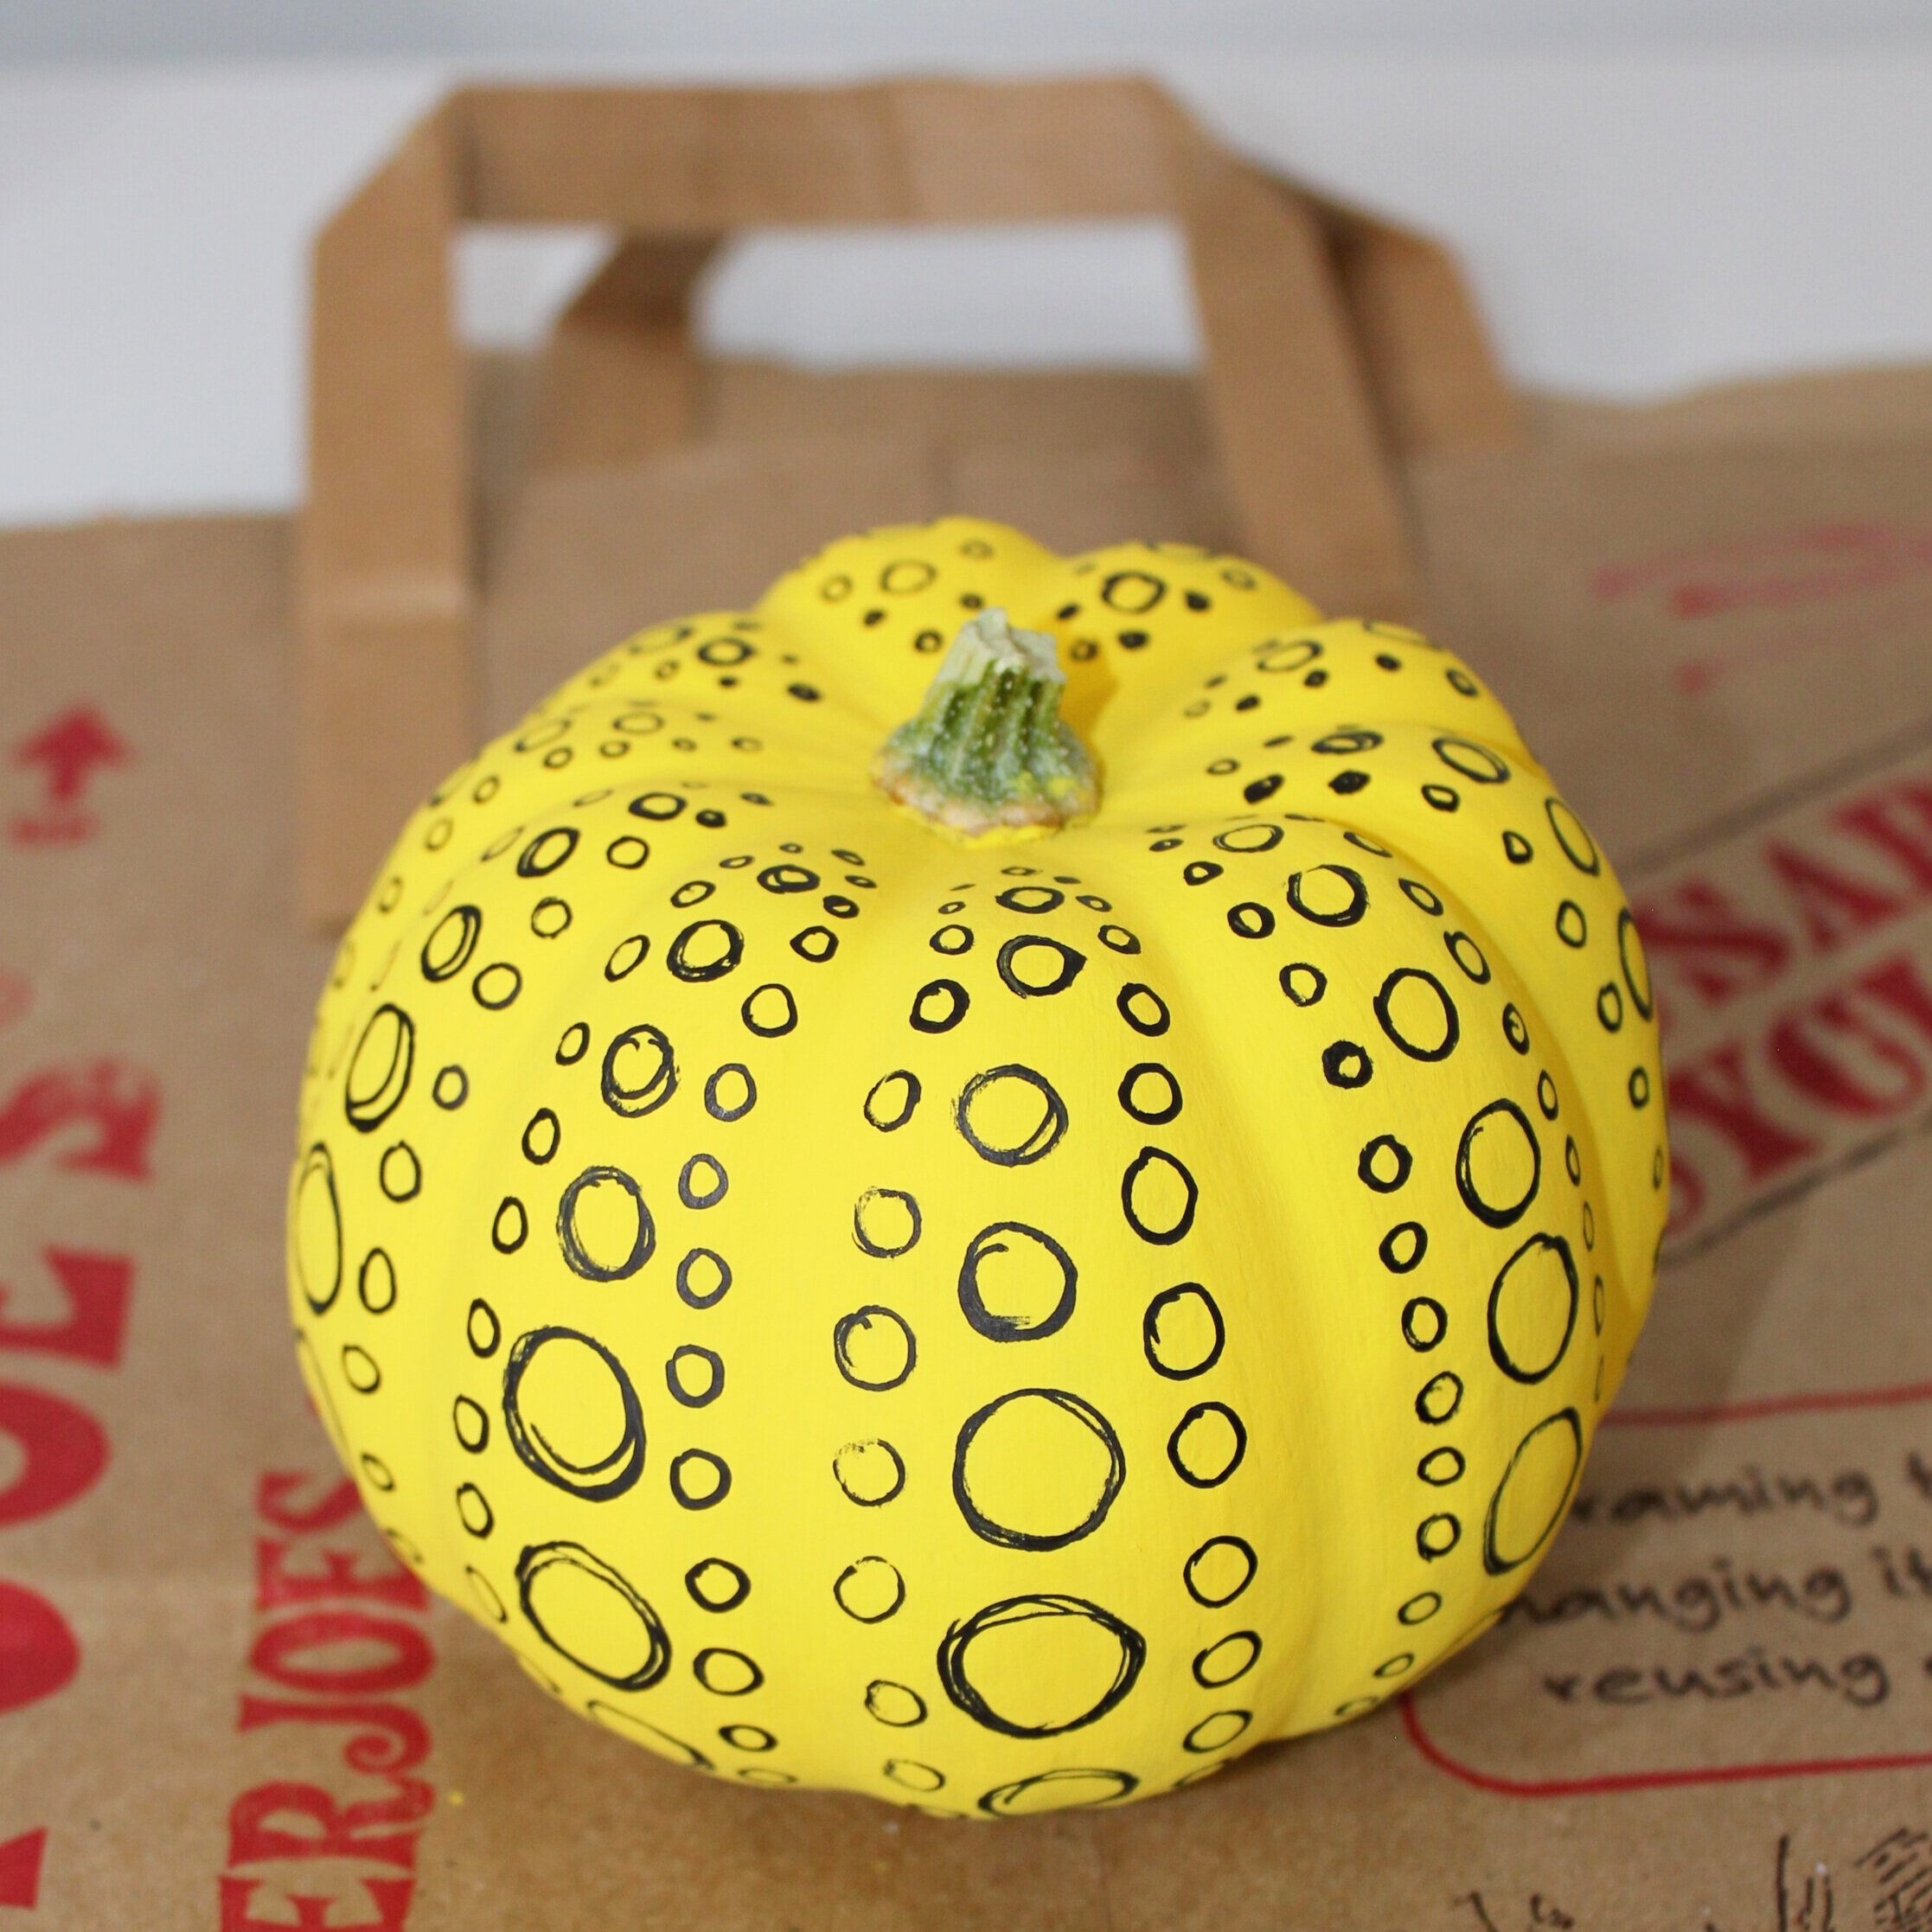
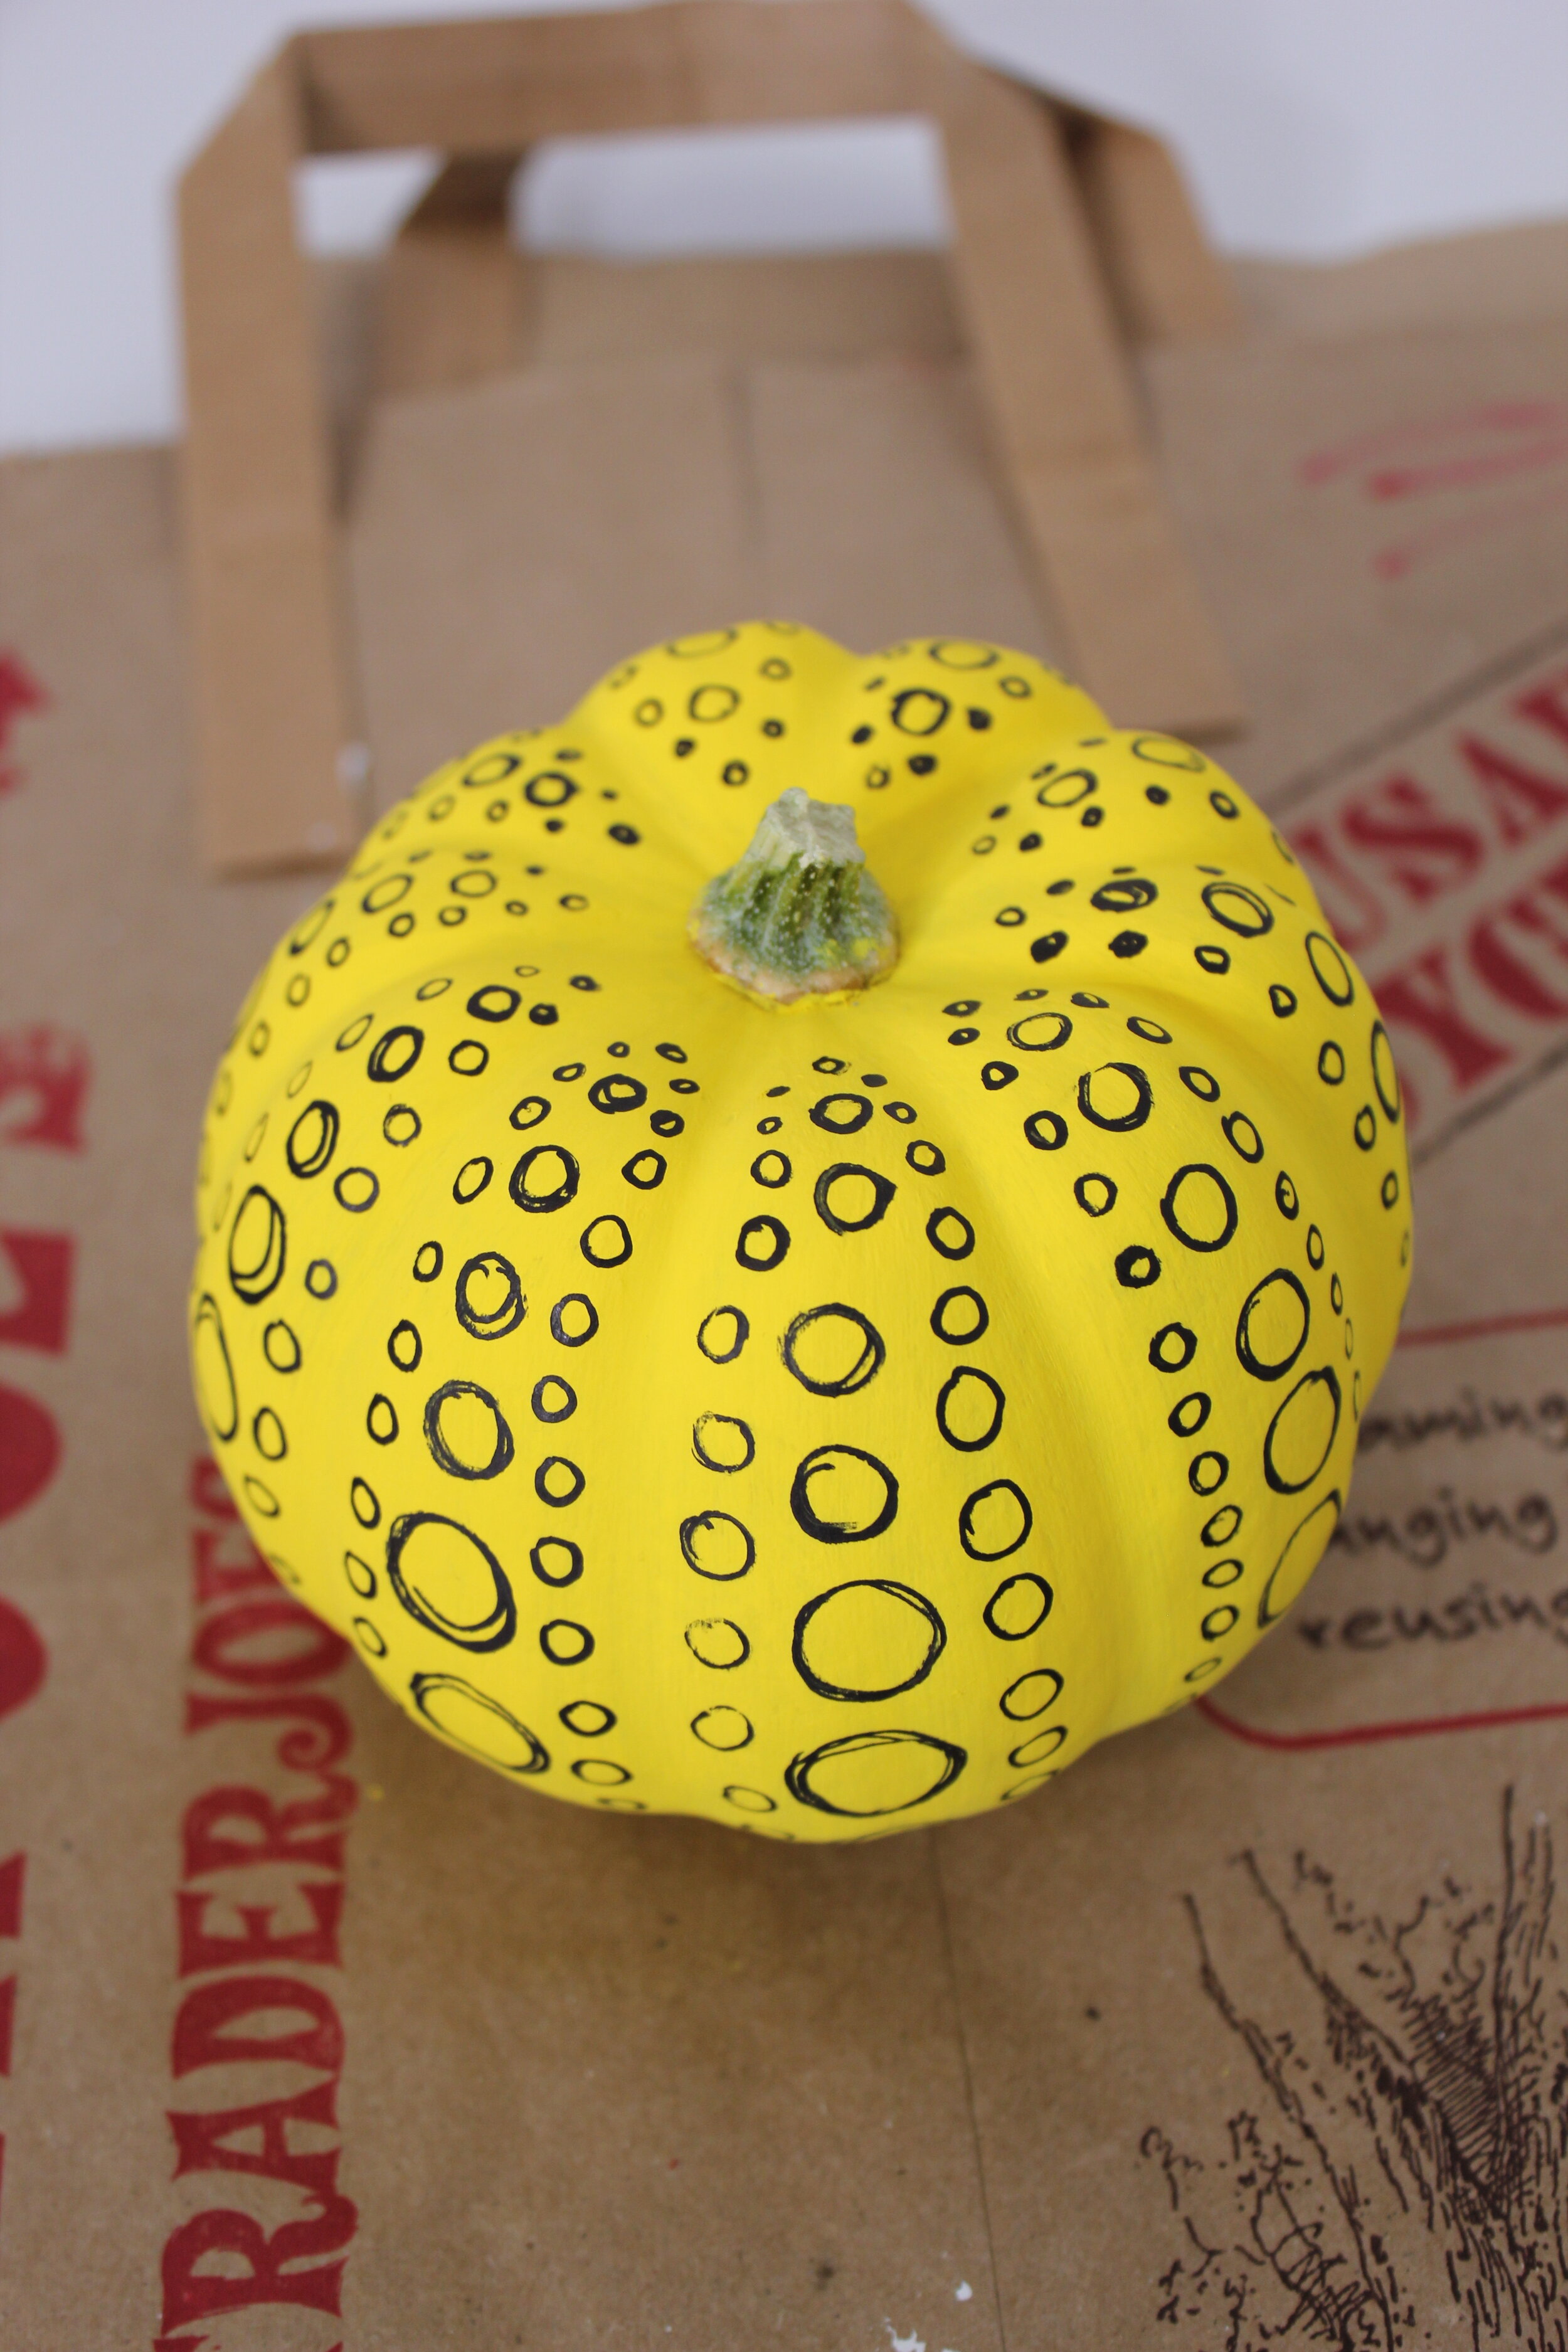
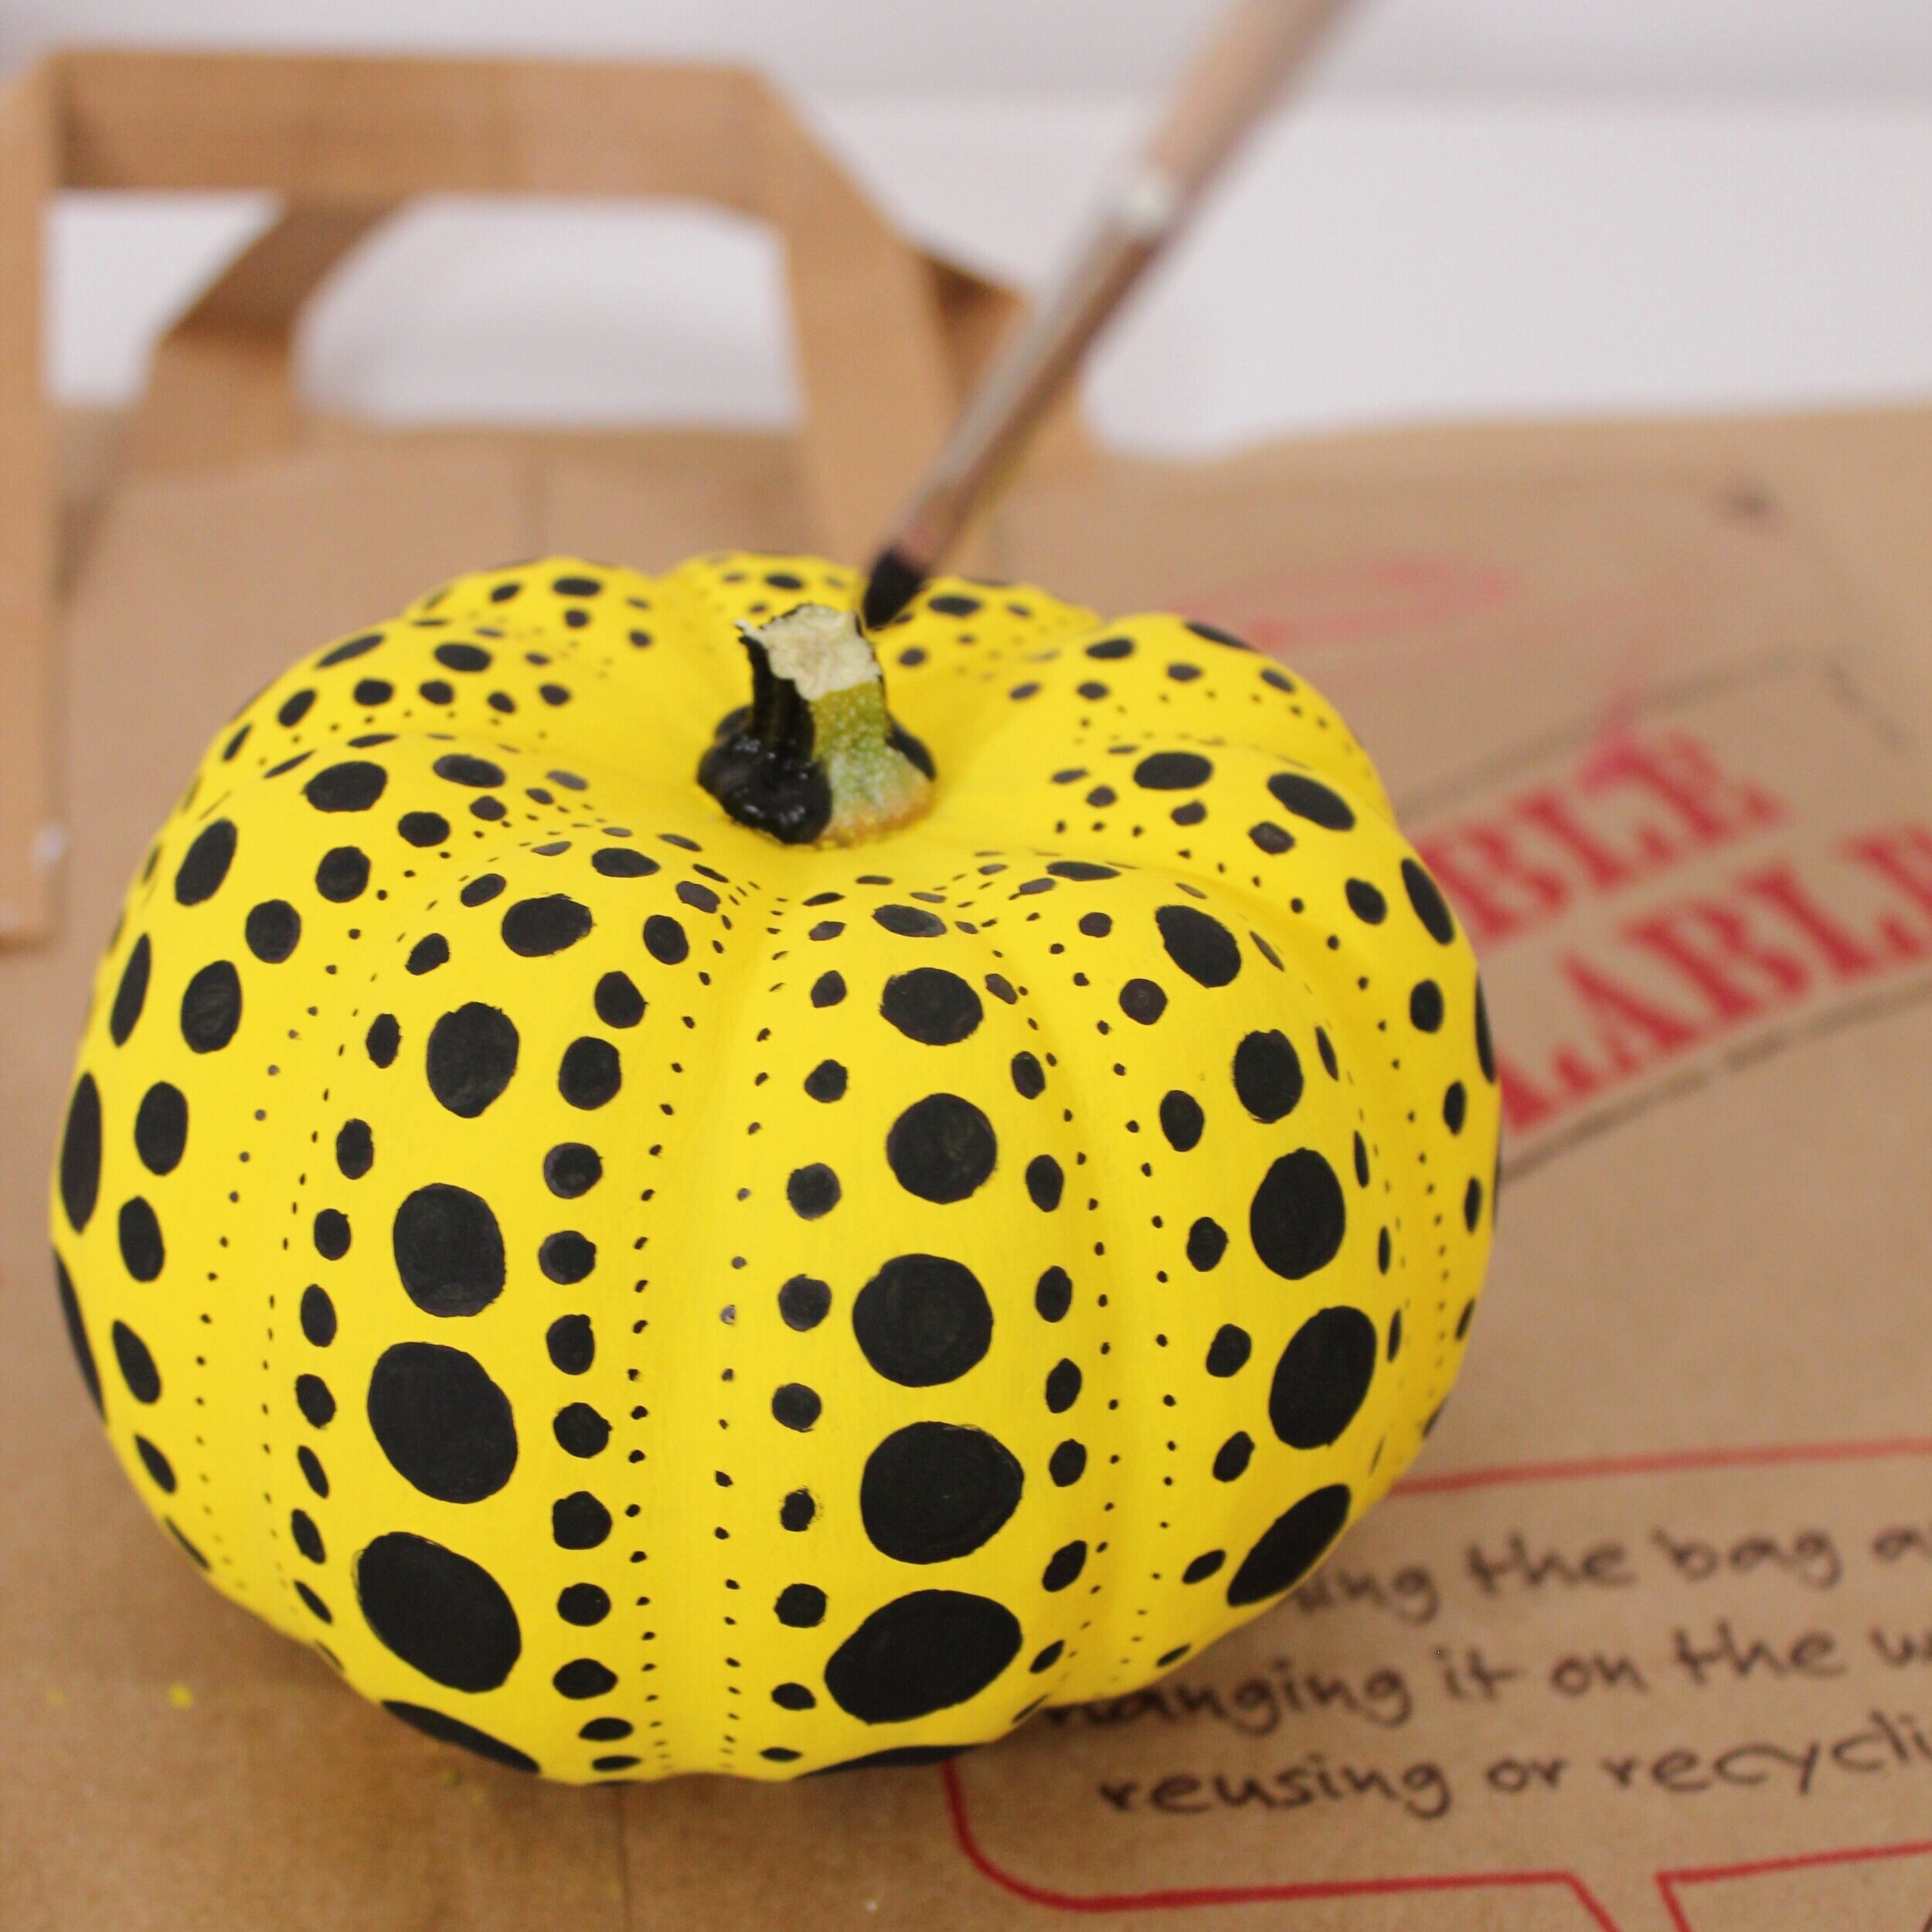
STEP 4: Paint and fill in the circular outline
Use black paint to fill in the circles previously drawn with the sharpie. The sharpie can be used to fill in the smallest circles.
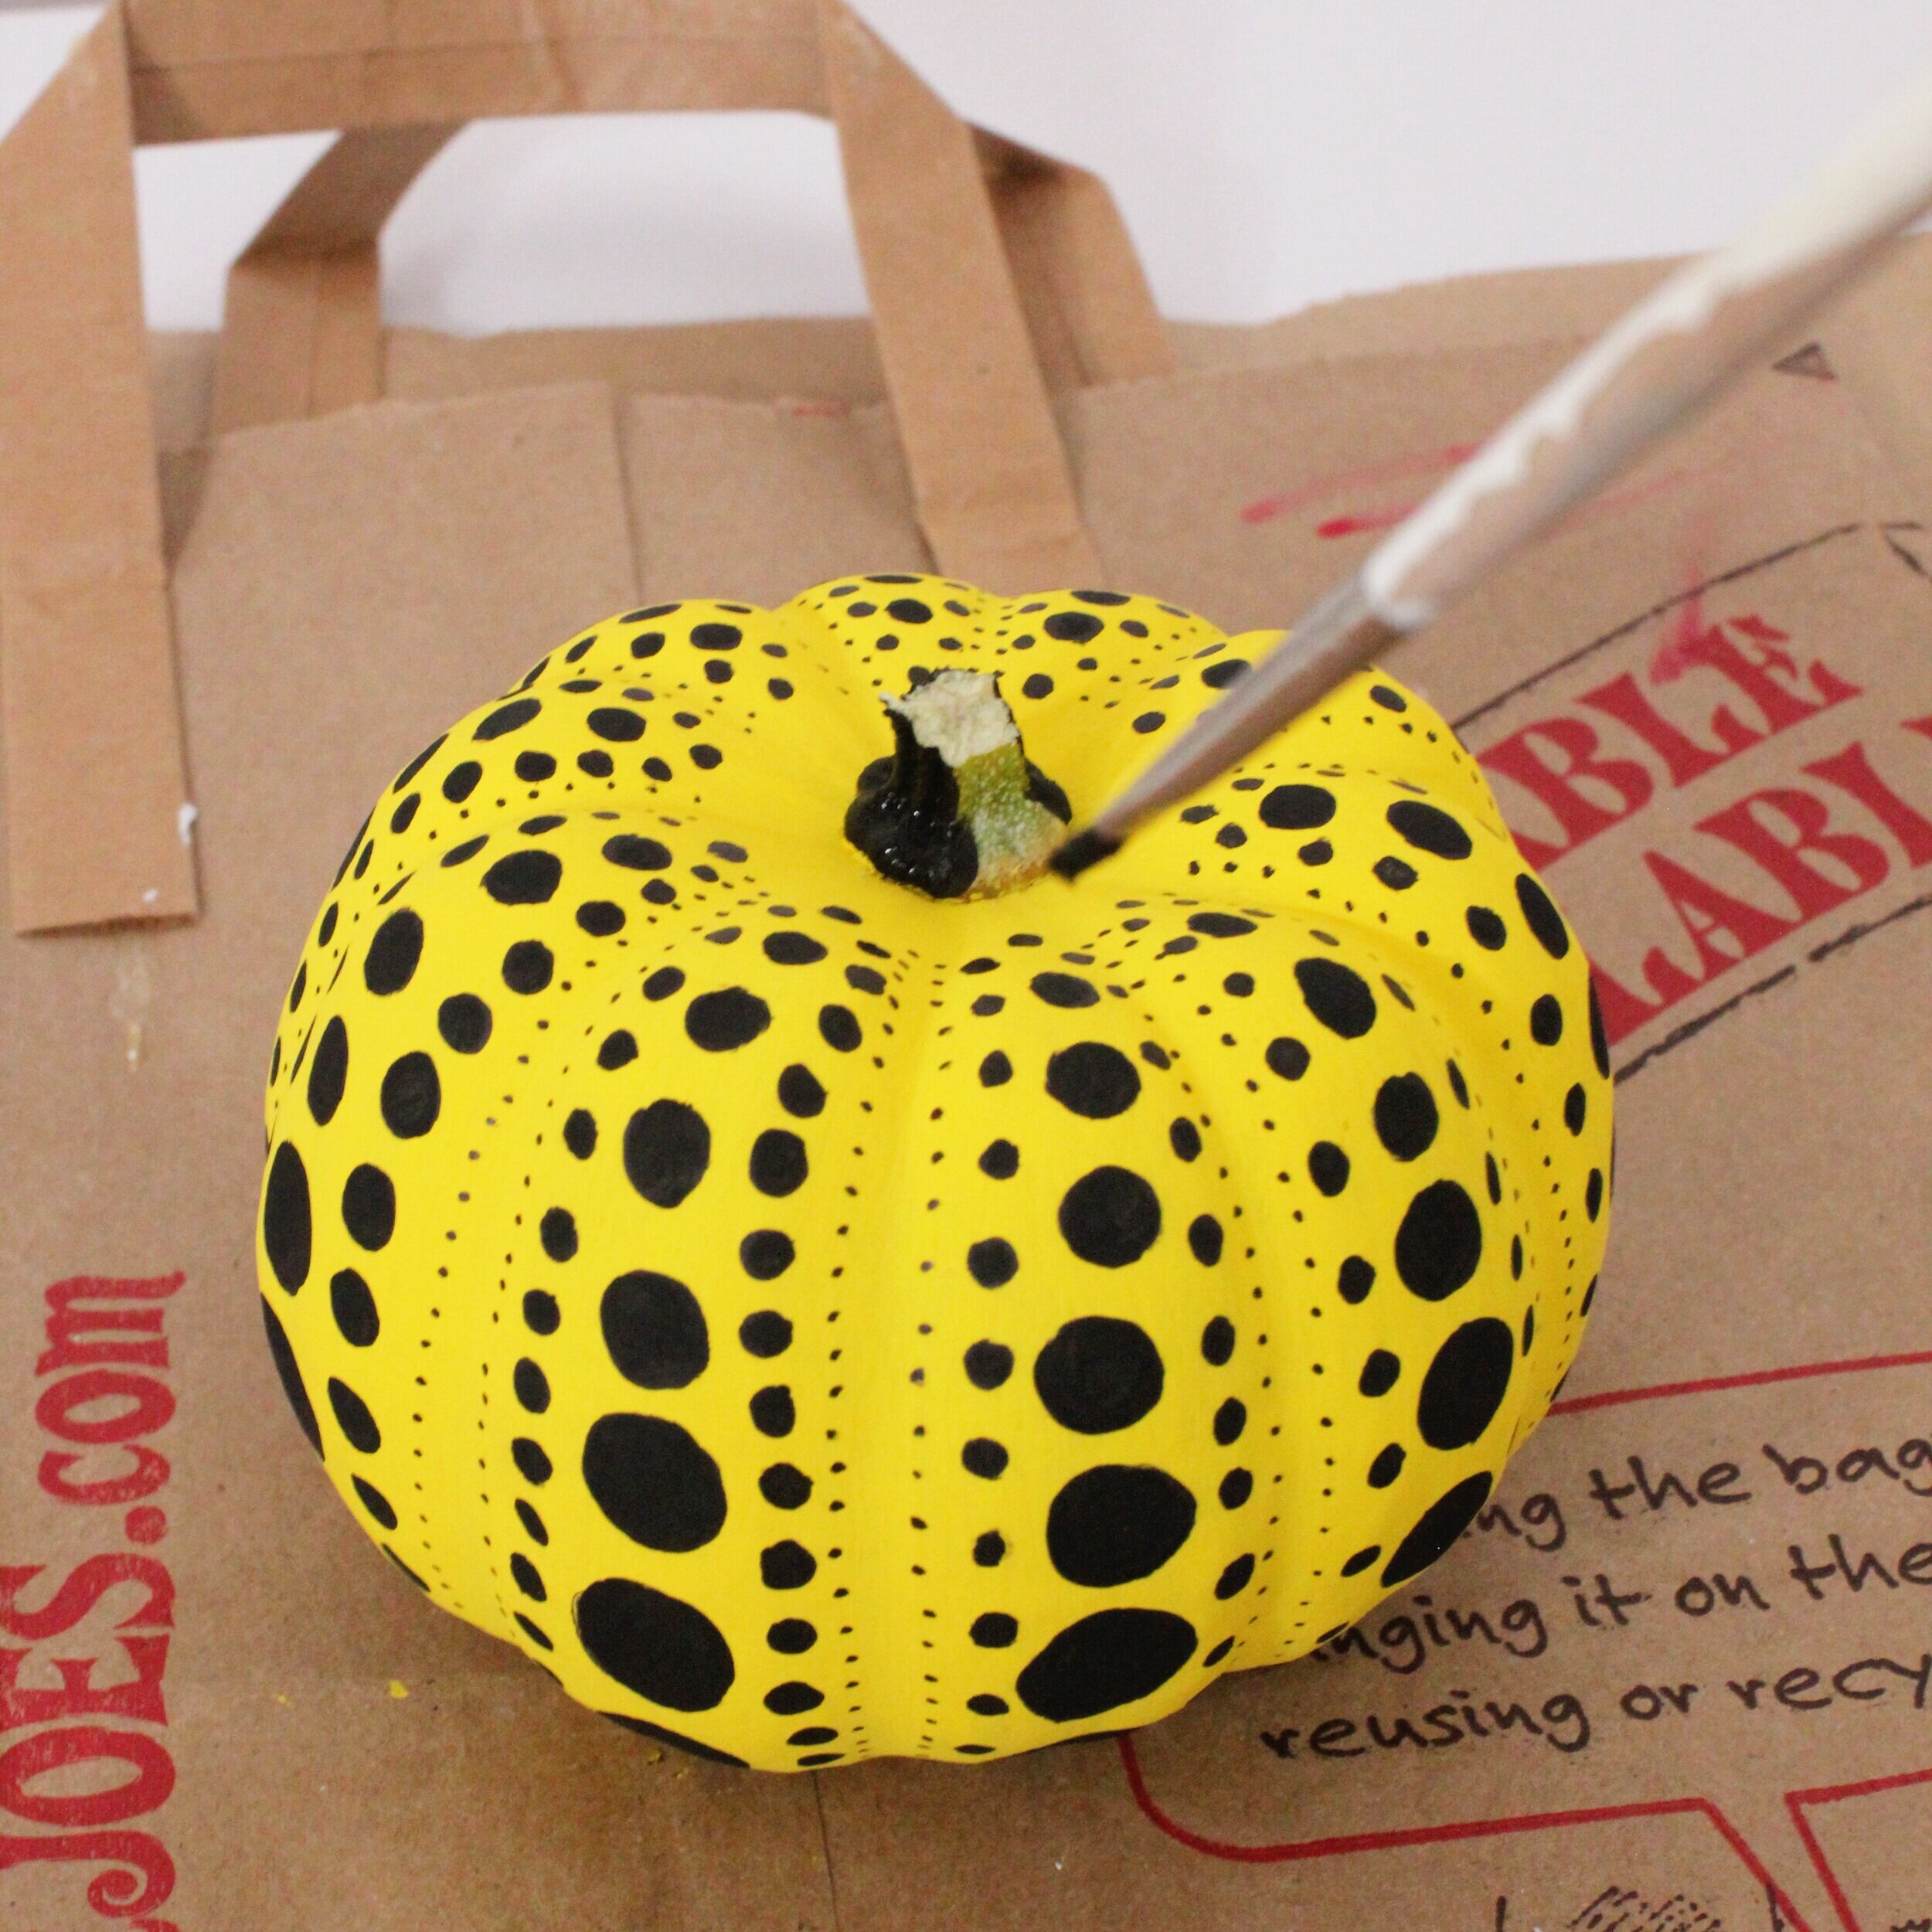
STEP 5: Paint the pumpkin stem the contrast color (black)
Leave the top of the stem unpainted for the next step! Let the paint dry before moving on
STEP 6: Paint the top of pumpkin stem the base color (yellow)
In this case, the base color is yellow. Paint the top of the stem yellow and let the paint dry before moving to the next step.
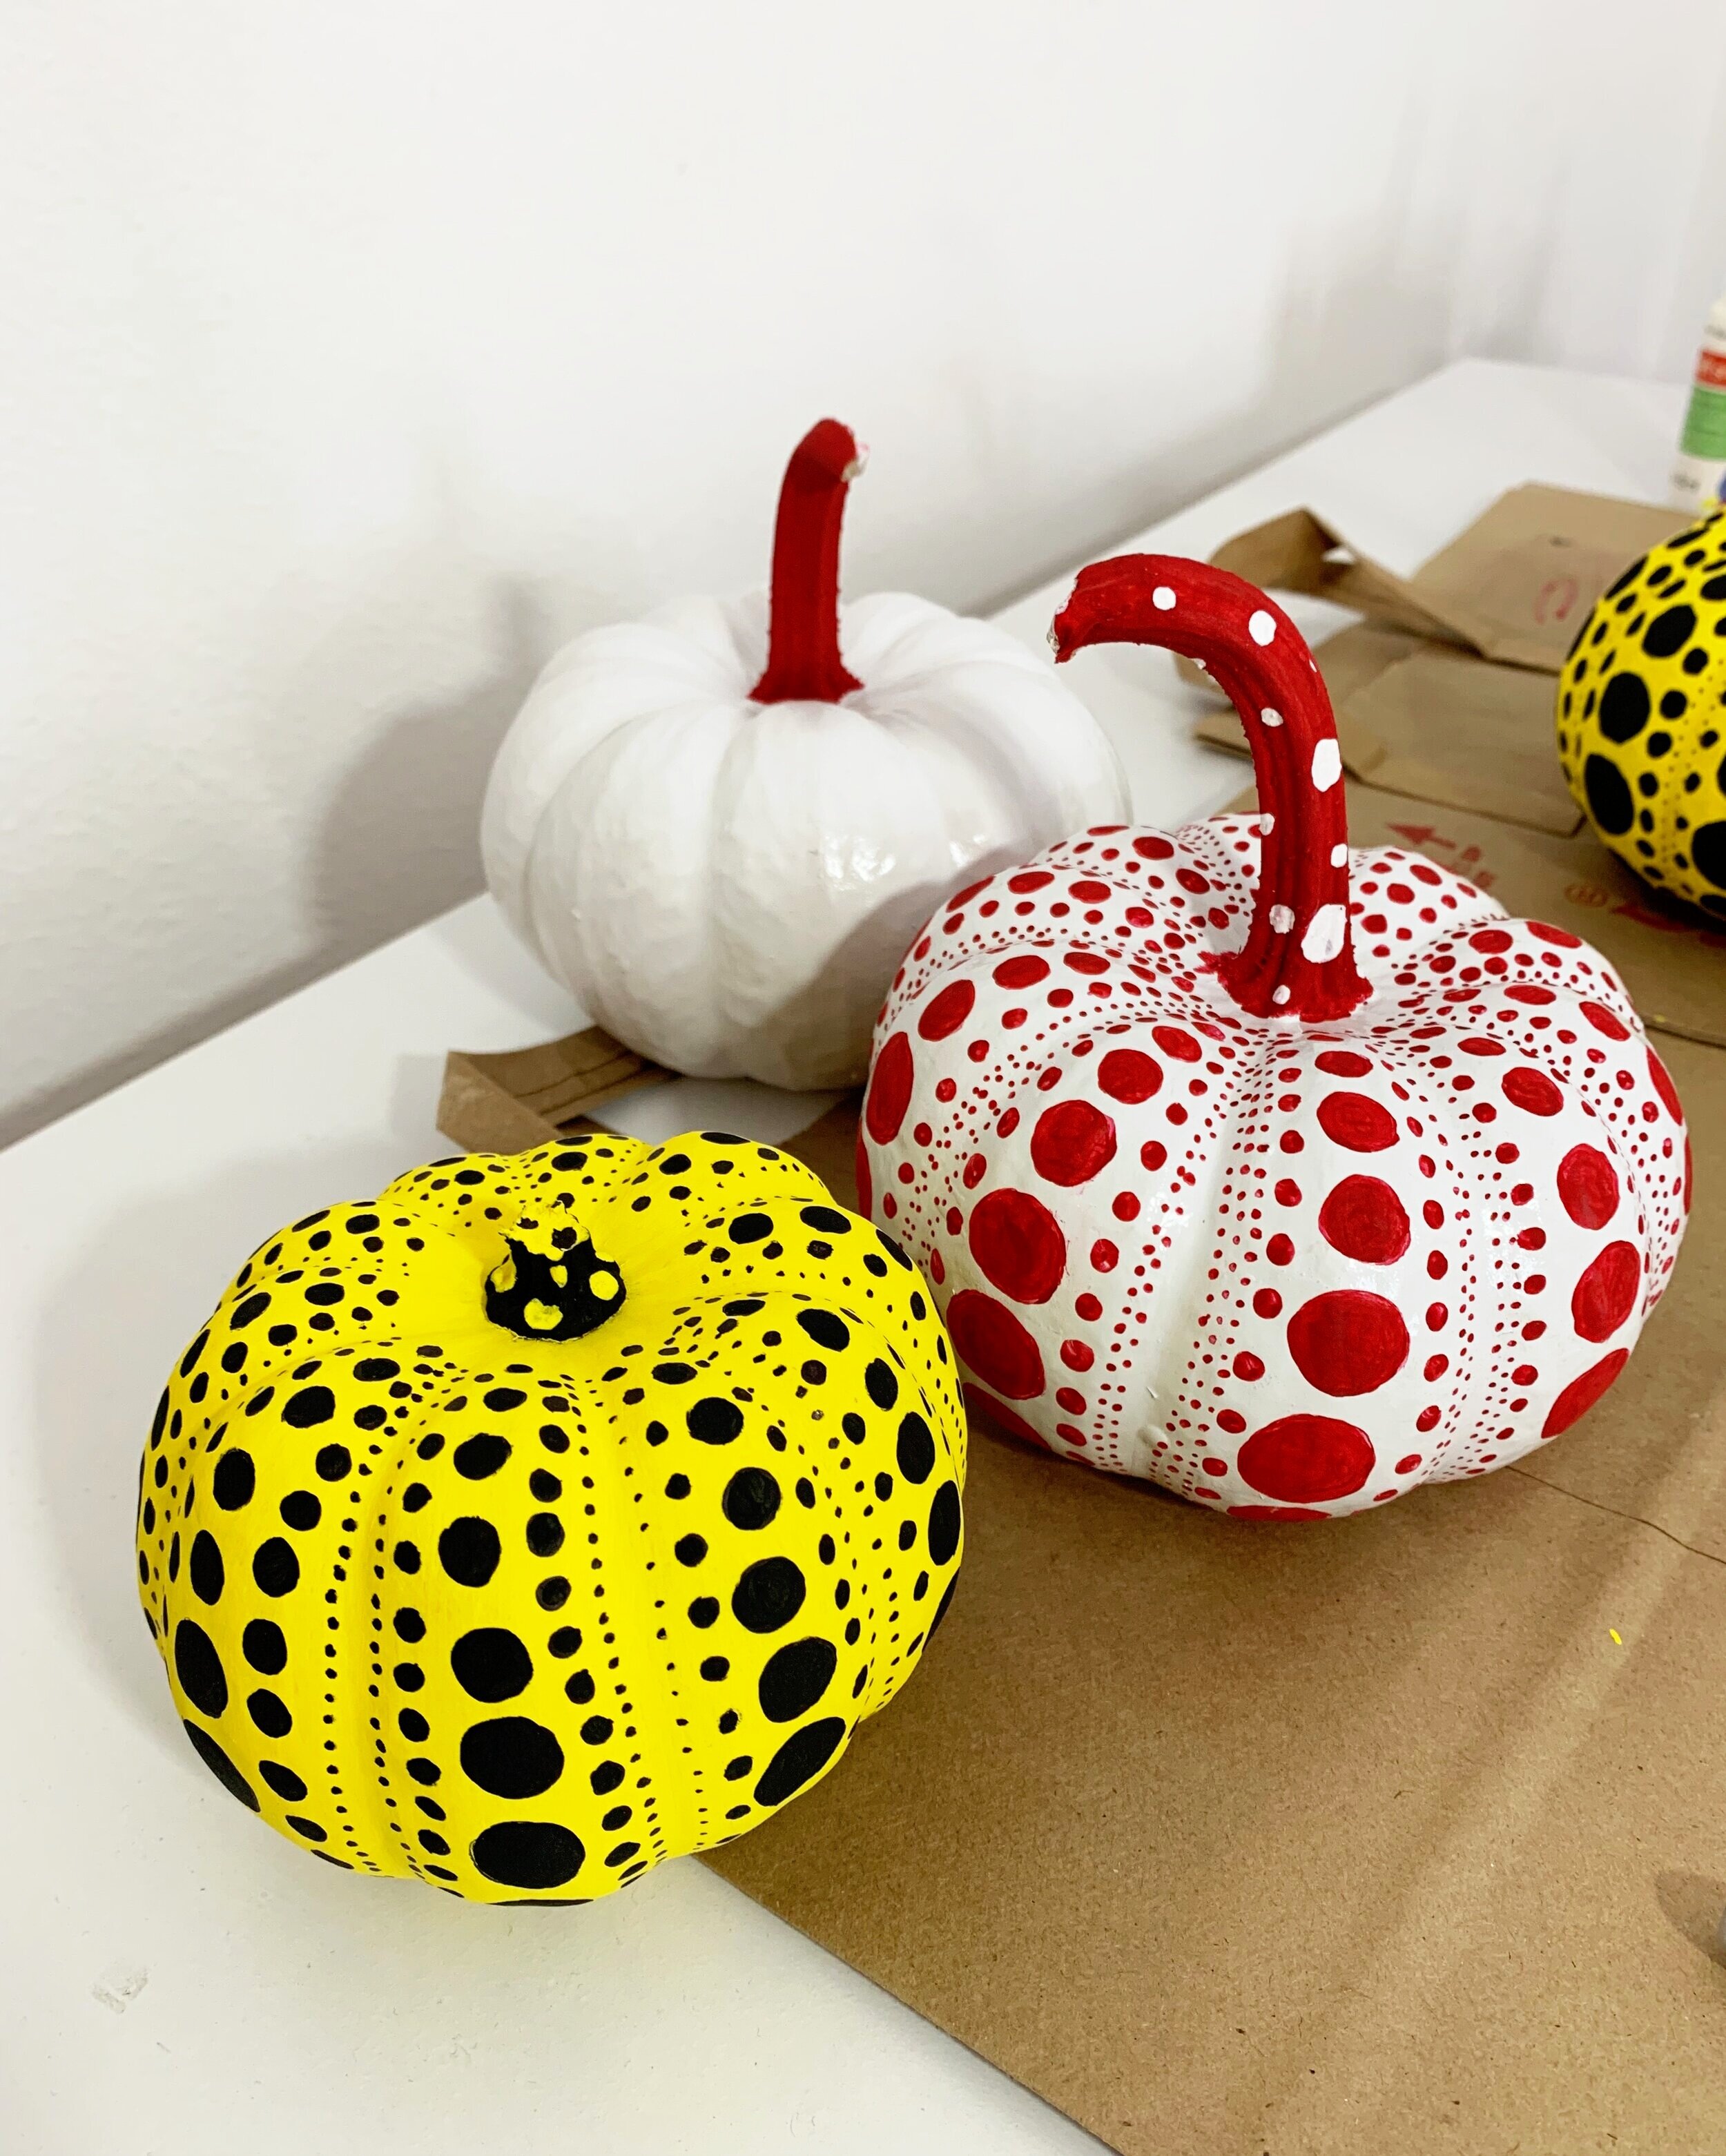
STEP 7: Paint circles in the contrasting color on and around the stem
Use yellow paint to paint varying sizes of circles on the stem. Then, use black paint or a black sharpie to draw circles in the top of the stem. Let the paint dry
And that’s it! Use this same concept with the red and white paint. Have fun with it!


Learn more about Yayoi Kusama! Stay inspired!